I can hardly believe it's December already. The days are just flying by and I'm still trying to put up the rest of the Christmas decorations!
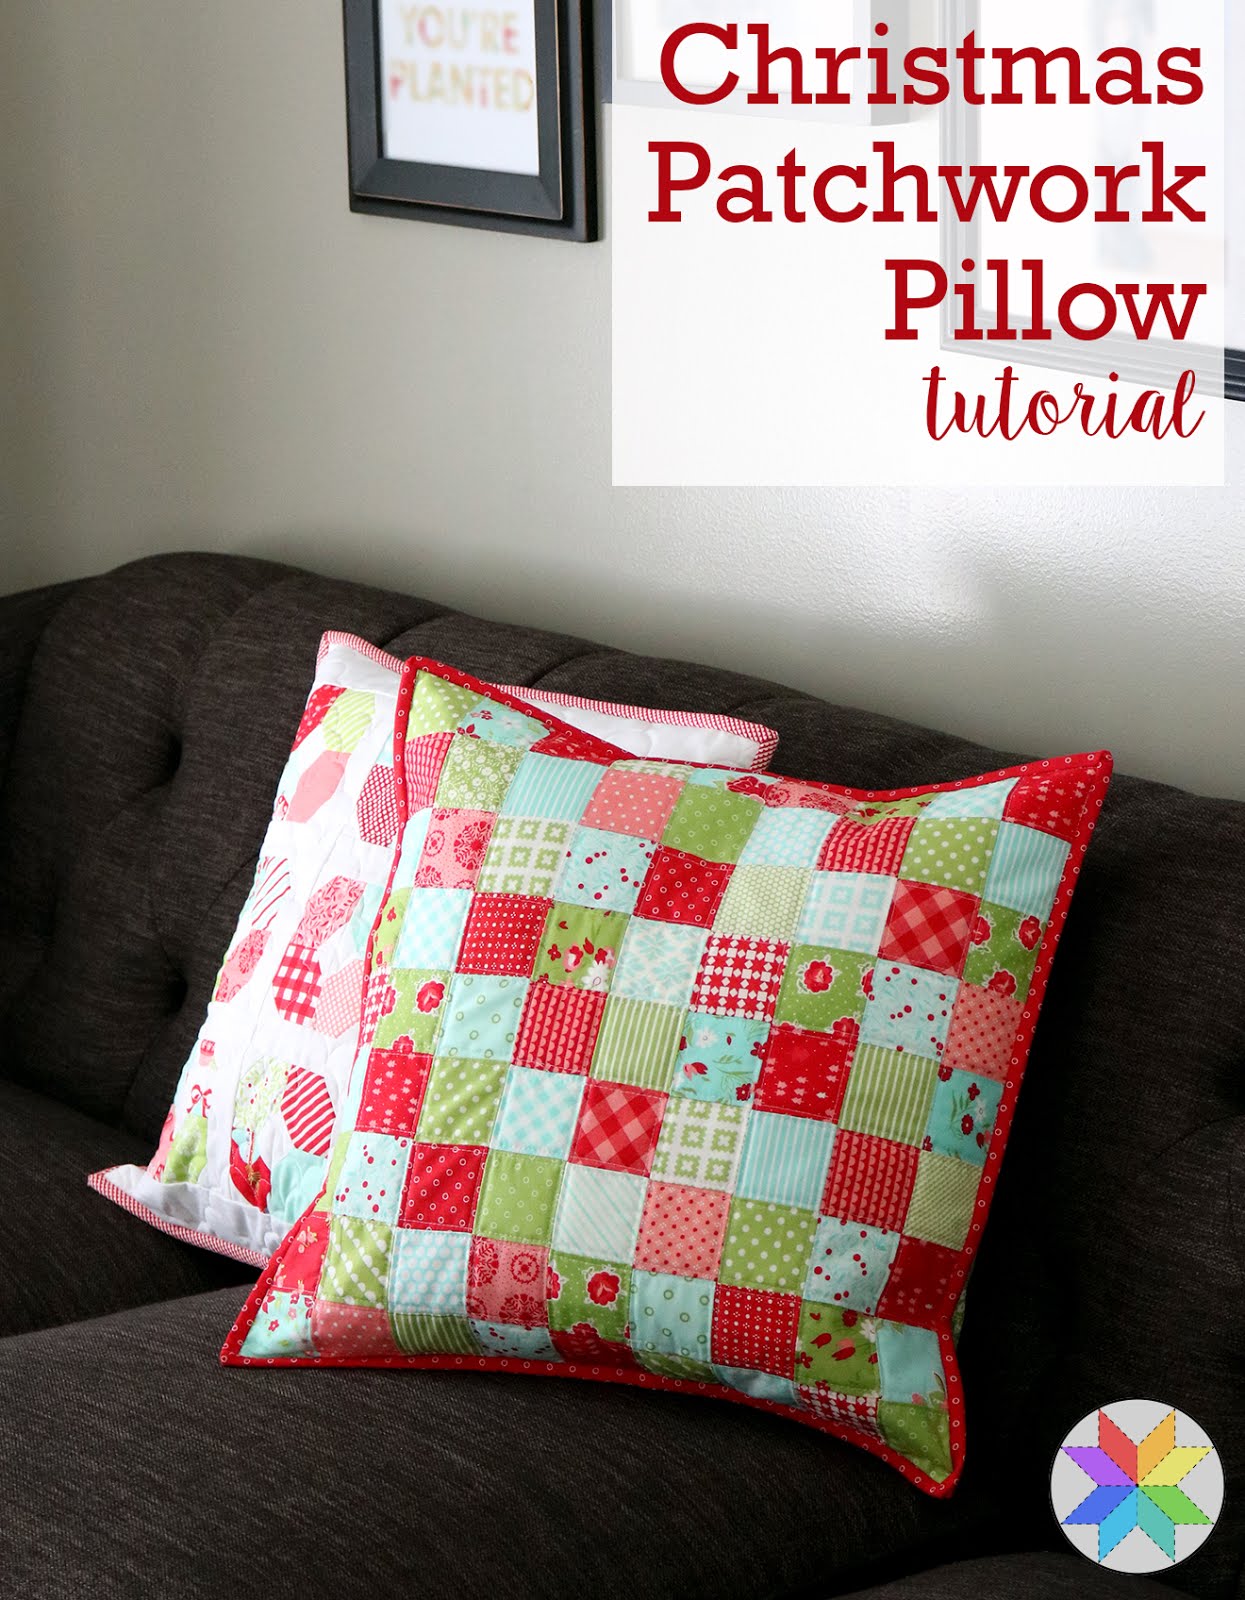
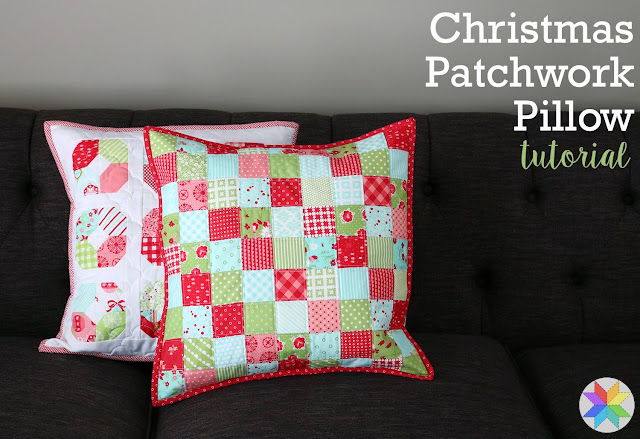
This week I pulled out our Advent Calendar and all of our fun Christmas pillows. I wanted to add a new one this year so I grabbed some favorite Christmas-colored scraps and got to work.
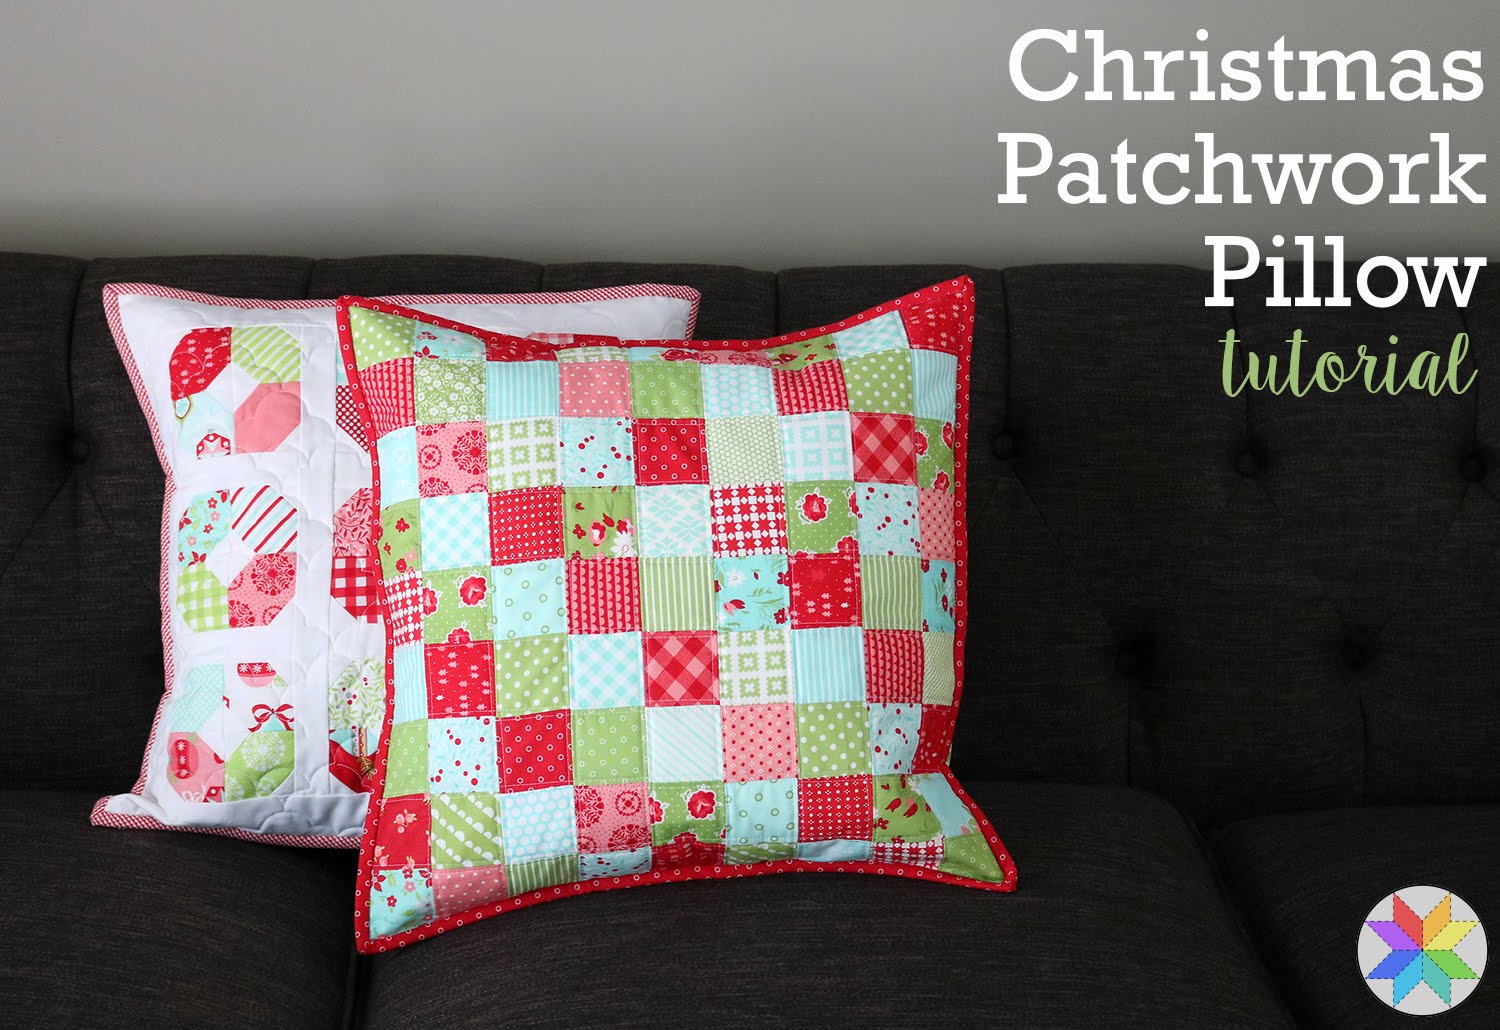
I made a similar pillow to this one a couple of years ago but I wanted to update the colors for this new version. And I thought I'd share how I made it! Here's what you'll need for this 18" pillow:
Supplies
81 (2.5") squares
22" x 22" piece of muslin or solid white fabric
22" x 22" piece of thin batting
at least 6" coordinating print for binding
1/3 yard of coordinating print for backing
18" pillow insert
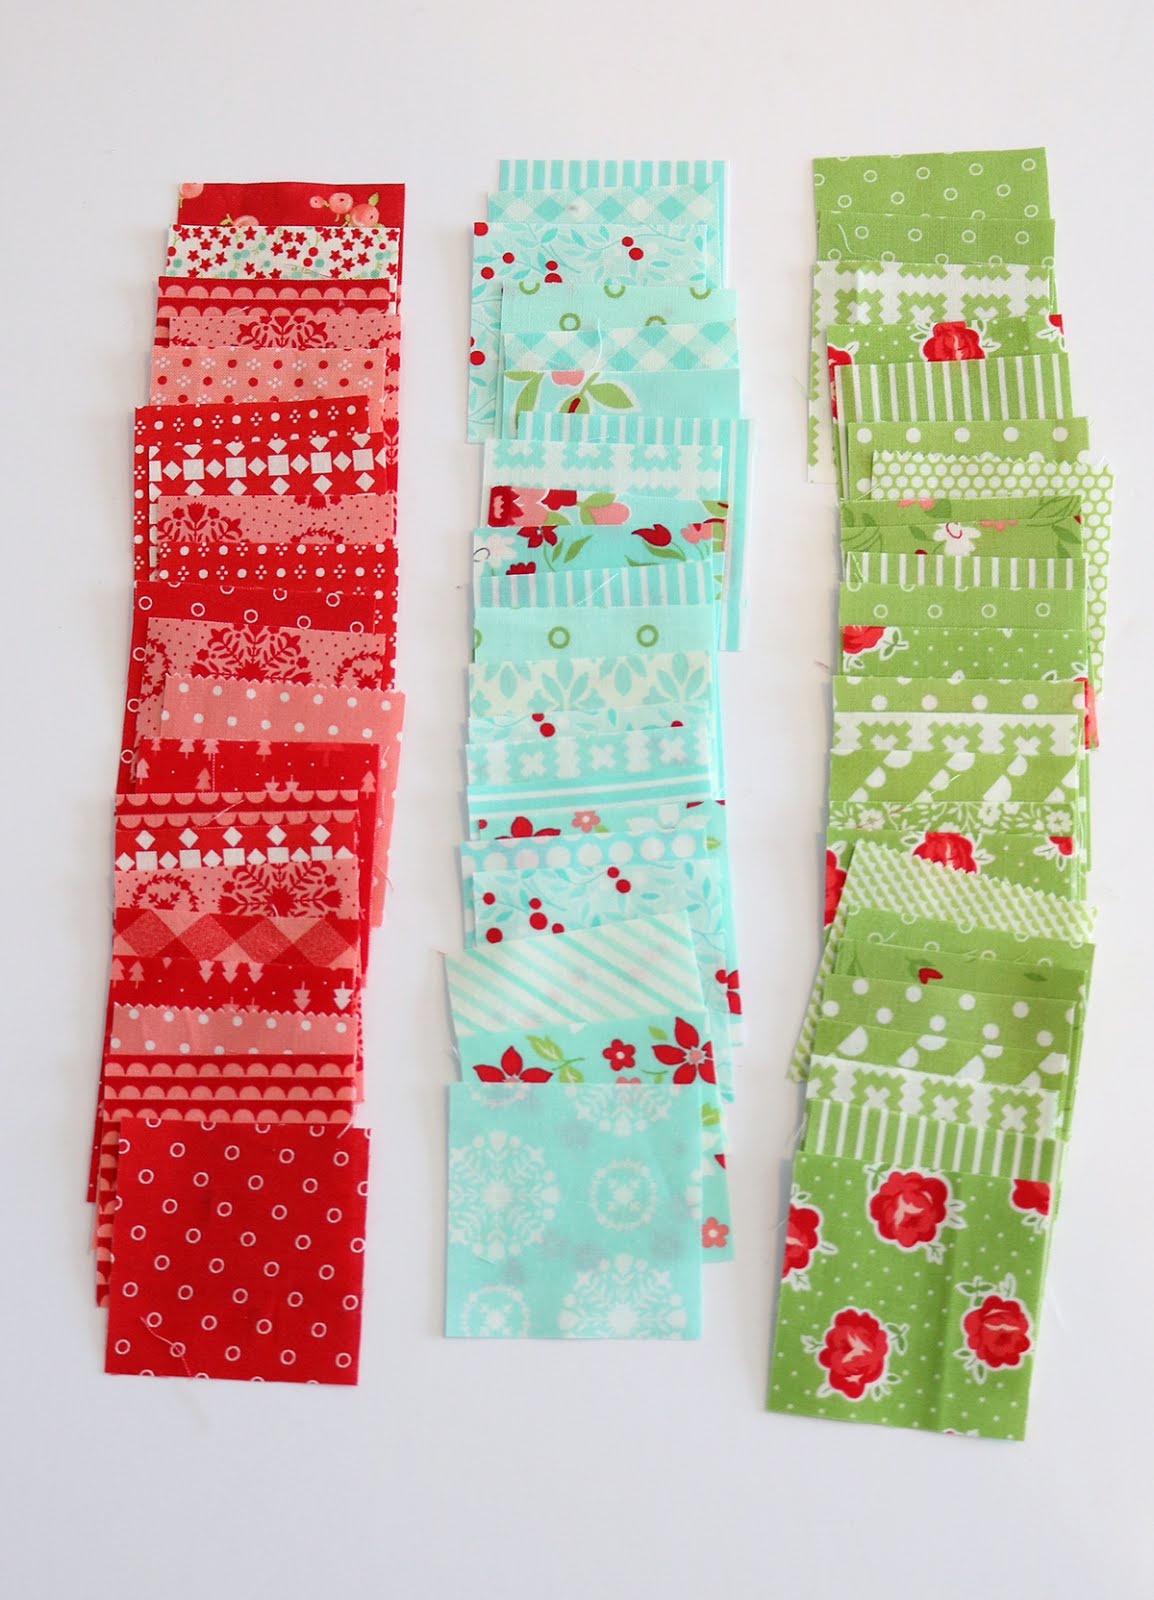
You will need 81 (2.5") squares. I dug through my scrap bin and cut them to size, but an easy way to get these is to cut charm squares into 4 equal pieces, or to cut some squares from left-over jelly roll strips.
Decide on a layout for your squares. You'll need 9 rows with 9 squares in each for an 18" pillow. I did a diagonal pattern alternating between the three colors (red/pink, aqua, green) but a random, scrappy pattern would be great too.
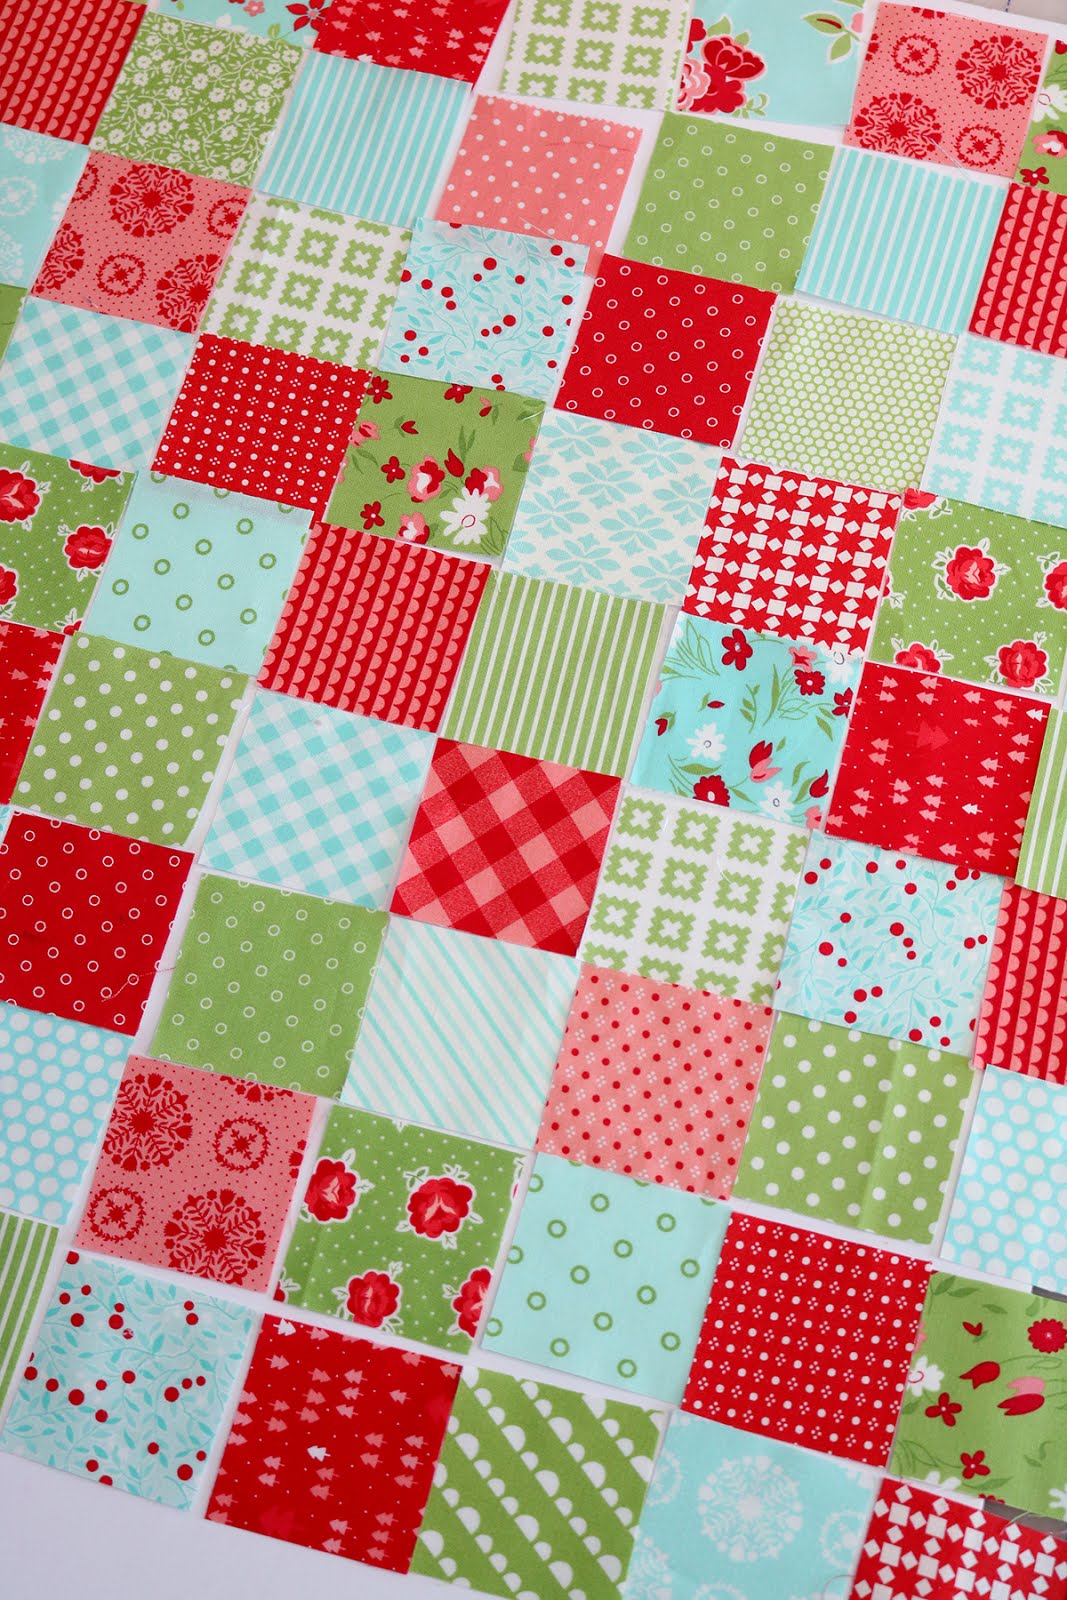
Sew your squares together into rows, then join rows. I like to press all odd numbered rows to the left and even numbered rows to the right. Then when I join the rows, the intersecting seams will nest beautifully.
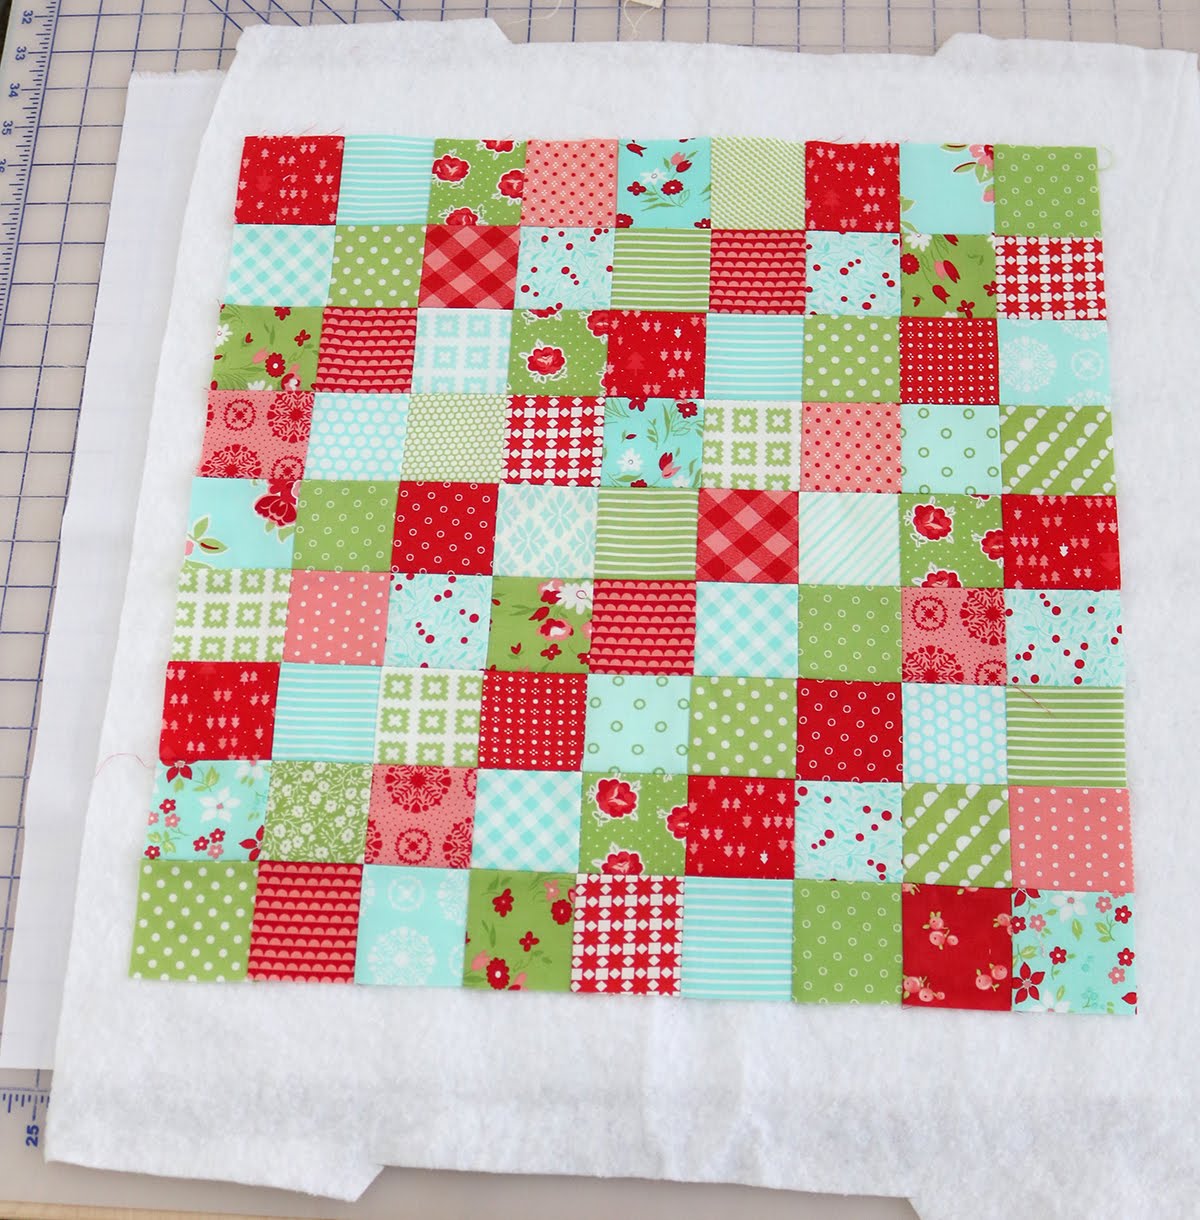
Layer the 22" piece of muslin, the 22" piece of thin batting, and the pillow top. I like to spray baste for this step using some 505 Spray but you could also pin baste.
Then quilt your pillow however you'd like. I used my walking foot and did some straight line quilting using the seams as my guides.
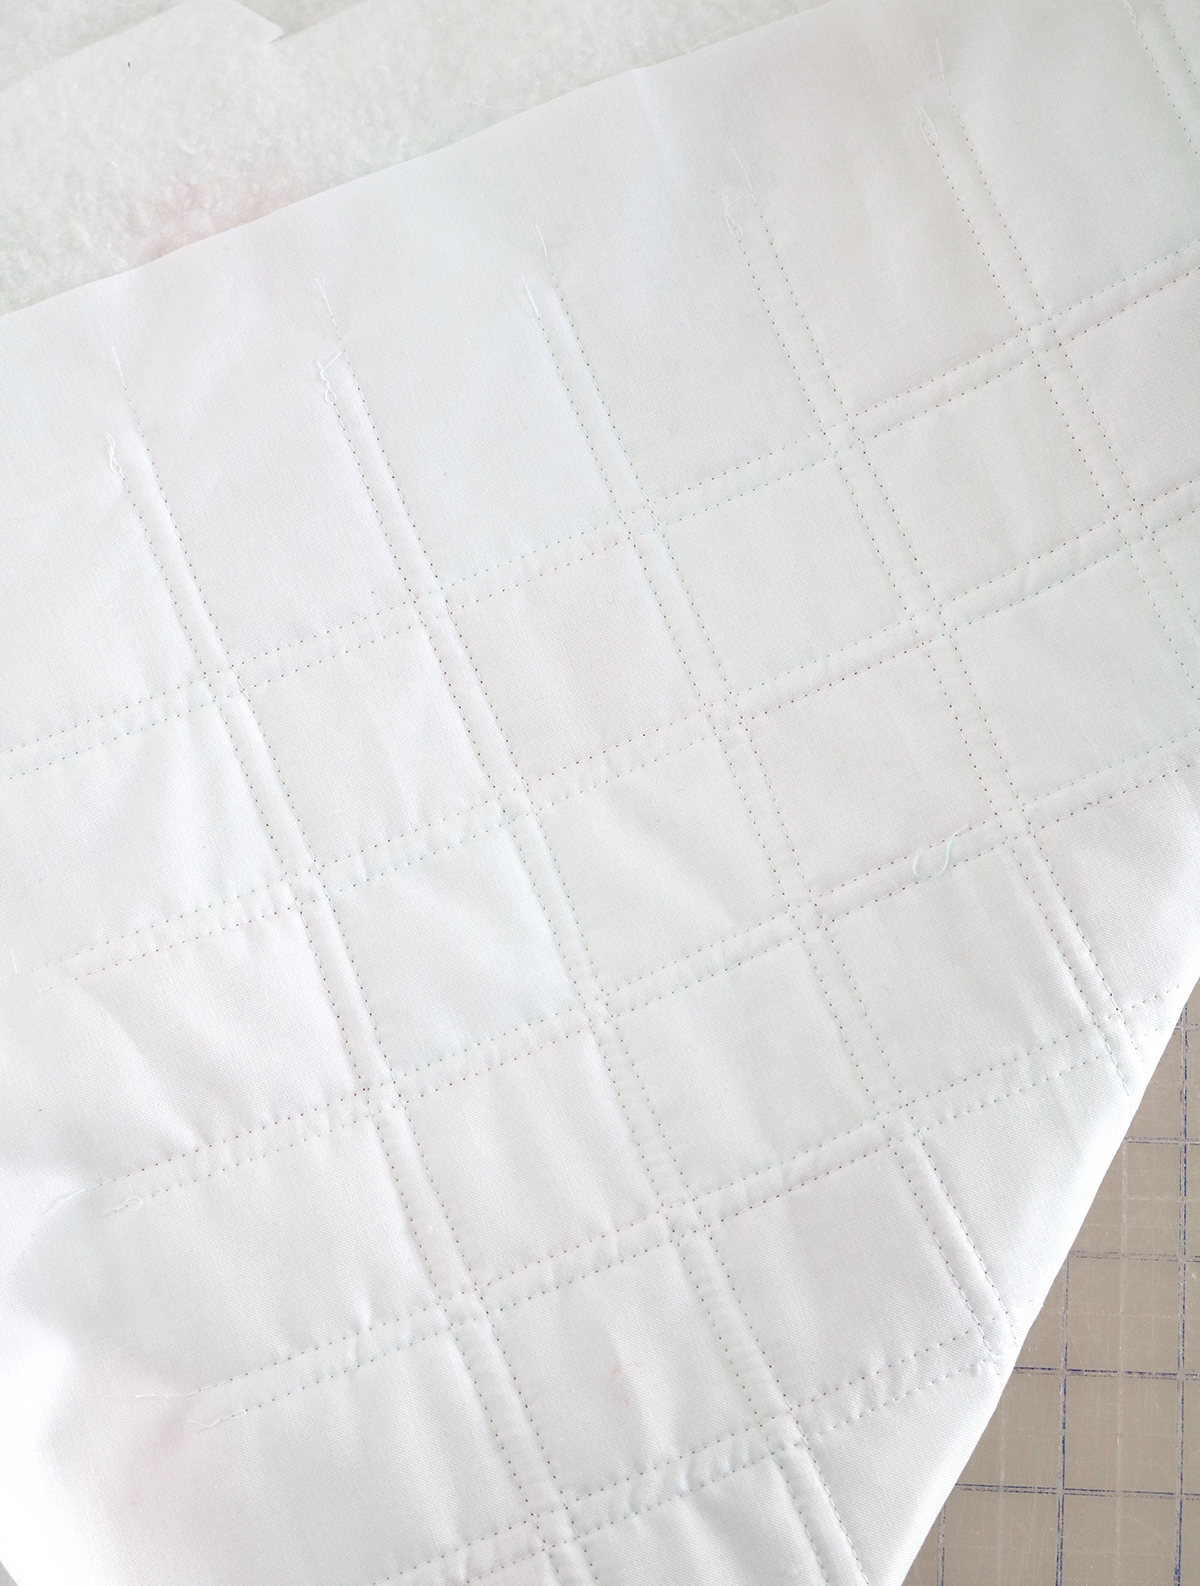
This is what the quilting looks like from the back...
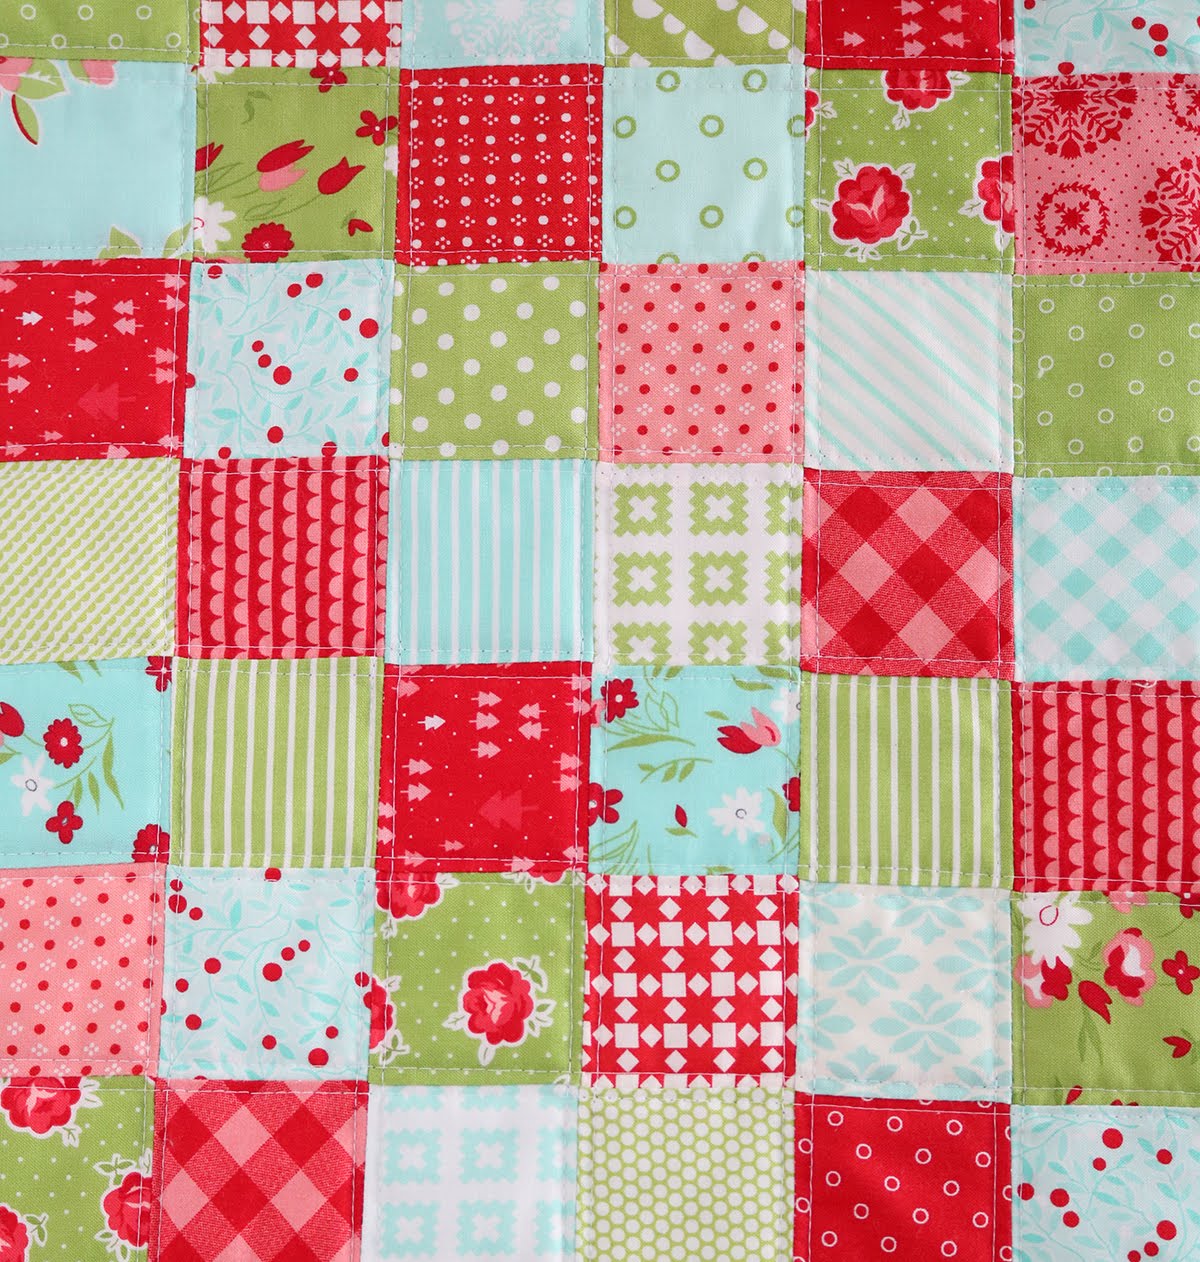
...and from the front. Simple, clean lines helps the fabric really be the star of the show! Trim the extra batting and muslin from the edges of the pillow so that it measures 18.5" x 18.5".
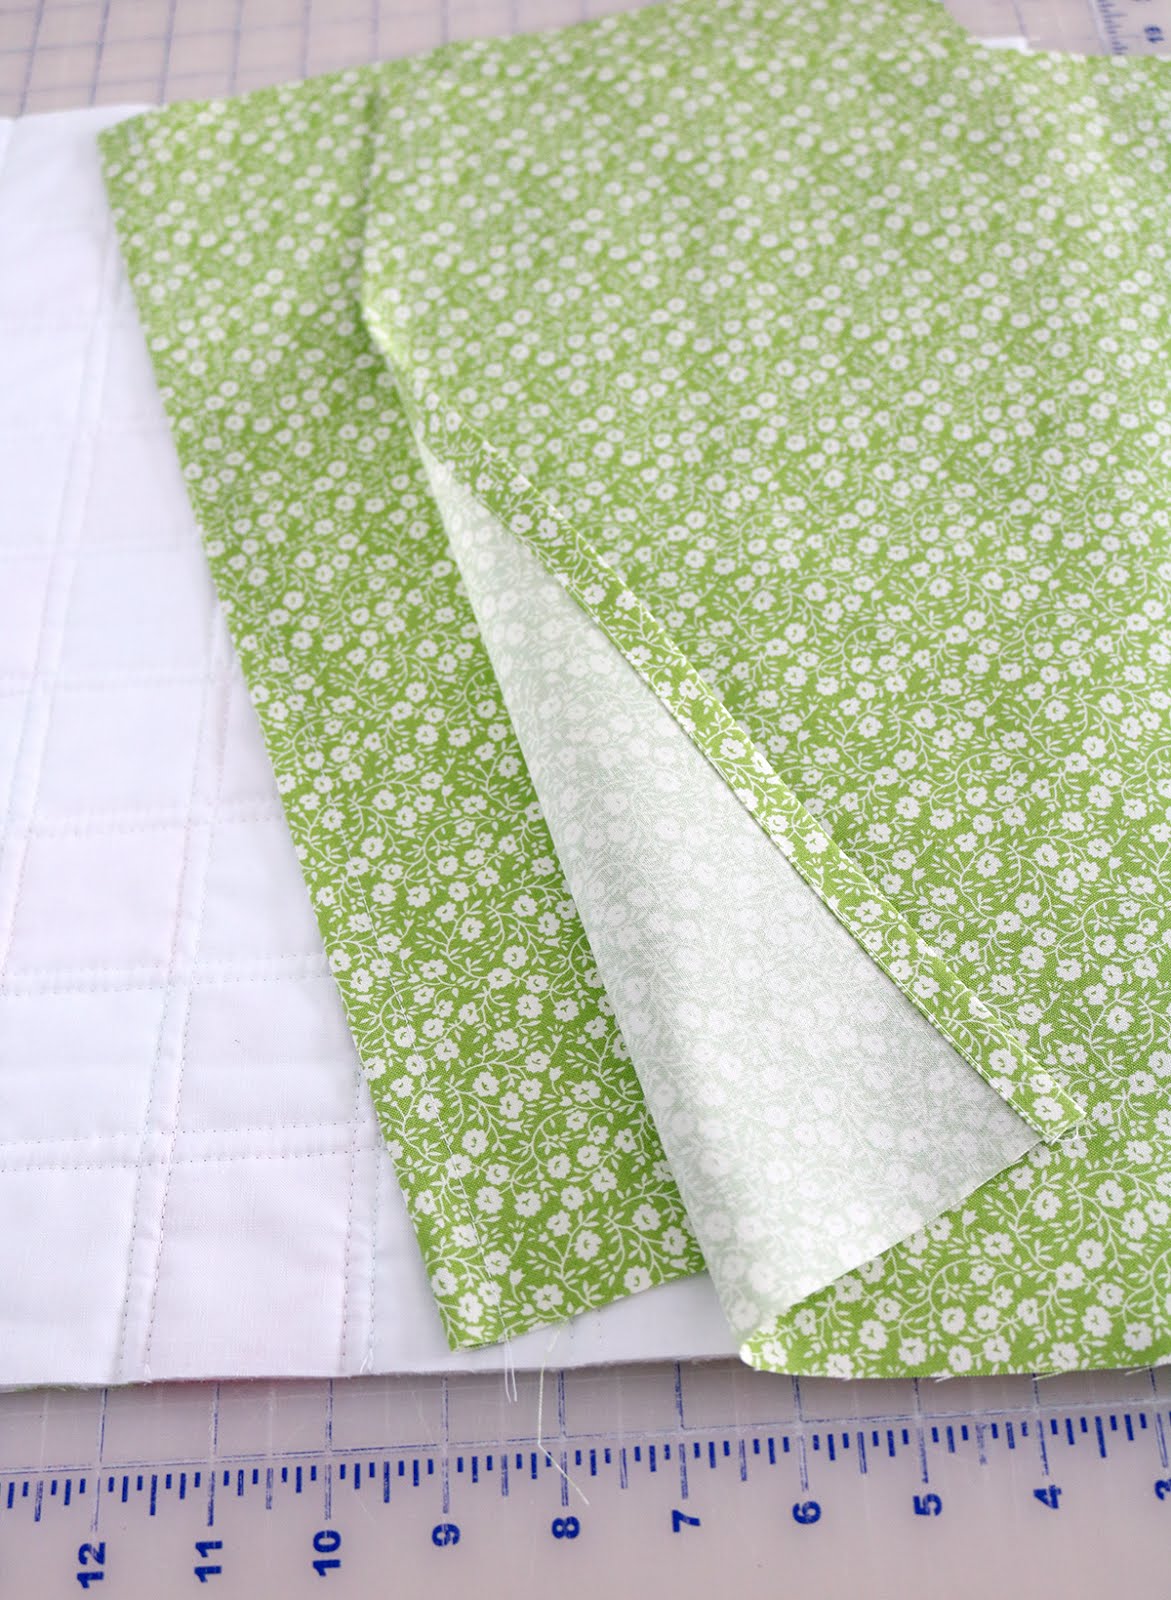
From the backing fabric cut two rectangles that are 12" x 18.5". On one long edge of both backing pieces, fold under 1/2" and press, then fold under again and press. Stitch along the first fold line to hold it in place and create a nice, finished edge.
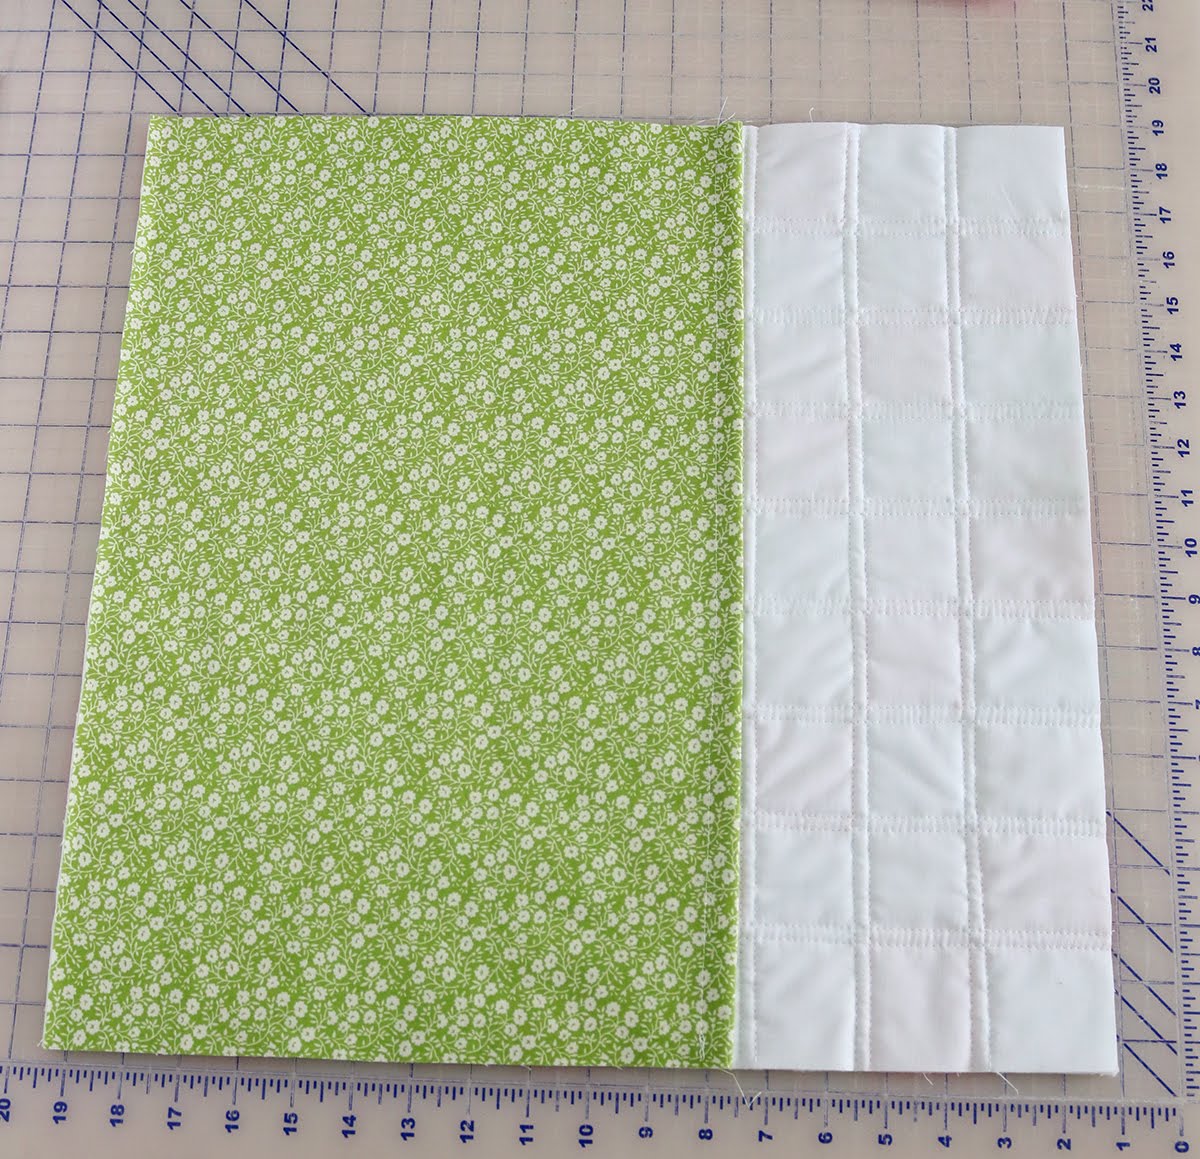
Place the quilted and trimmed pillow front right side down on the table. Then layer the two pillow backing pieces right side up with the finished edges overlapping in the middle of the pillow, and the raw edges lining up with the raw edges of the pillow front.
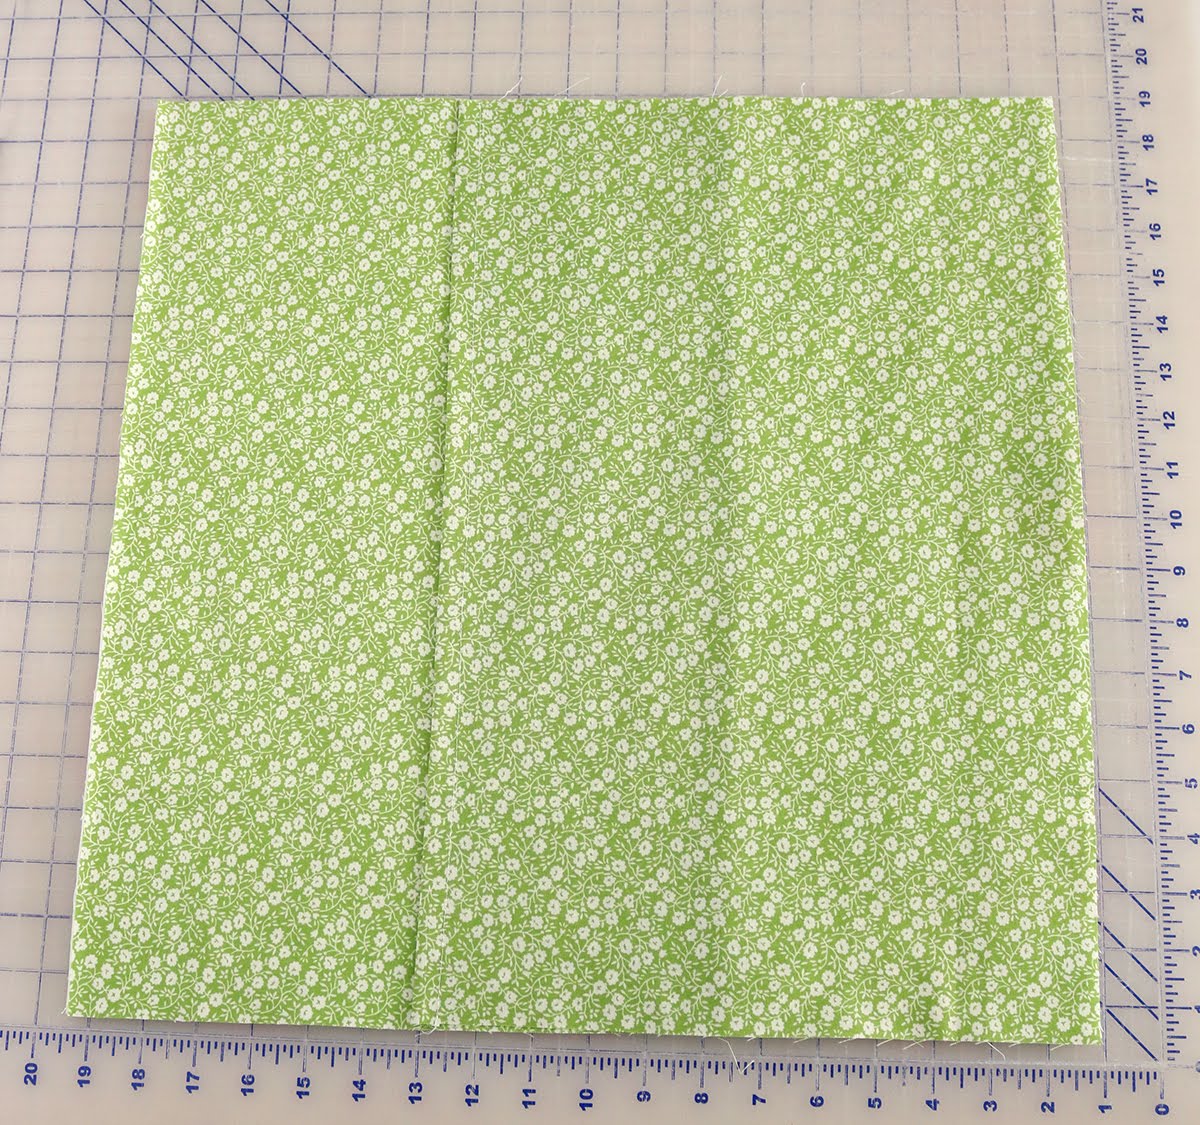
Pin around the outer edges of the entire pillow.
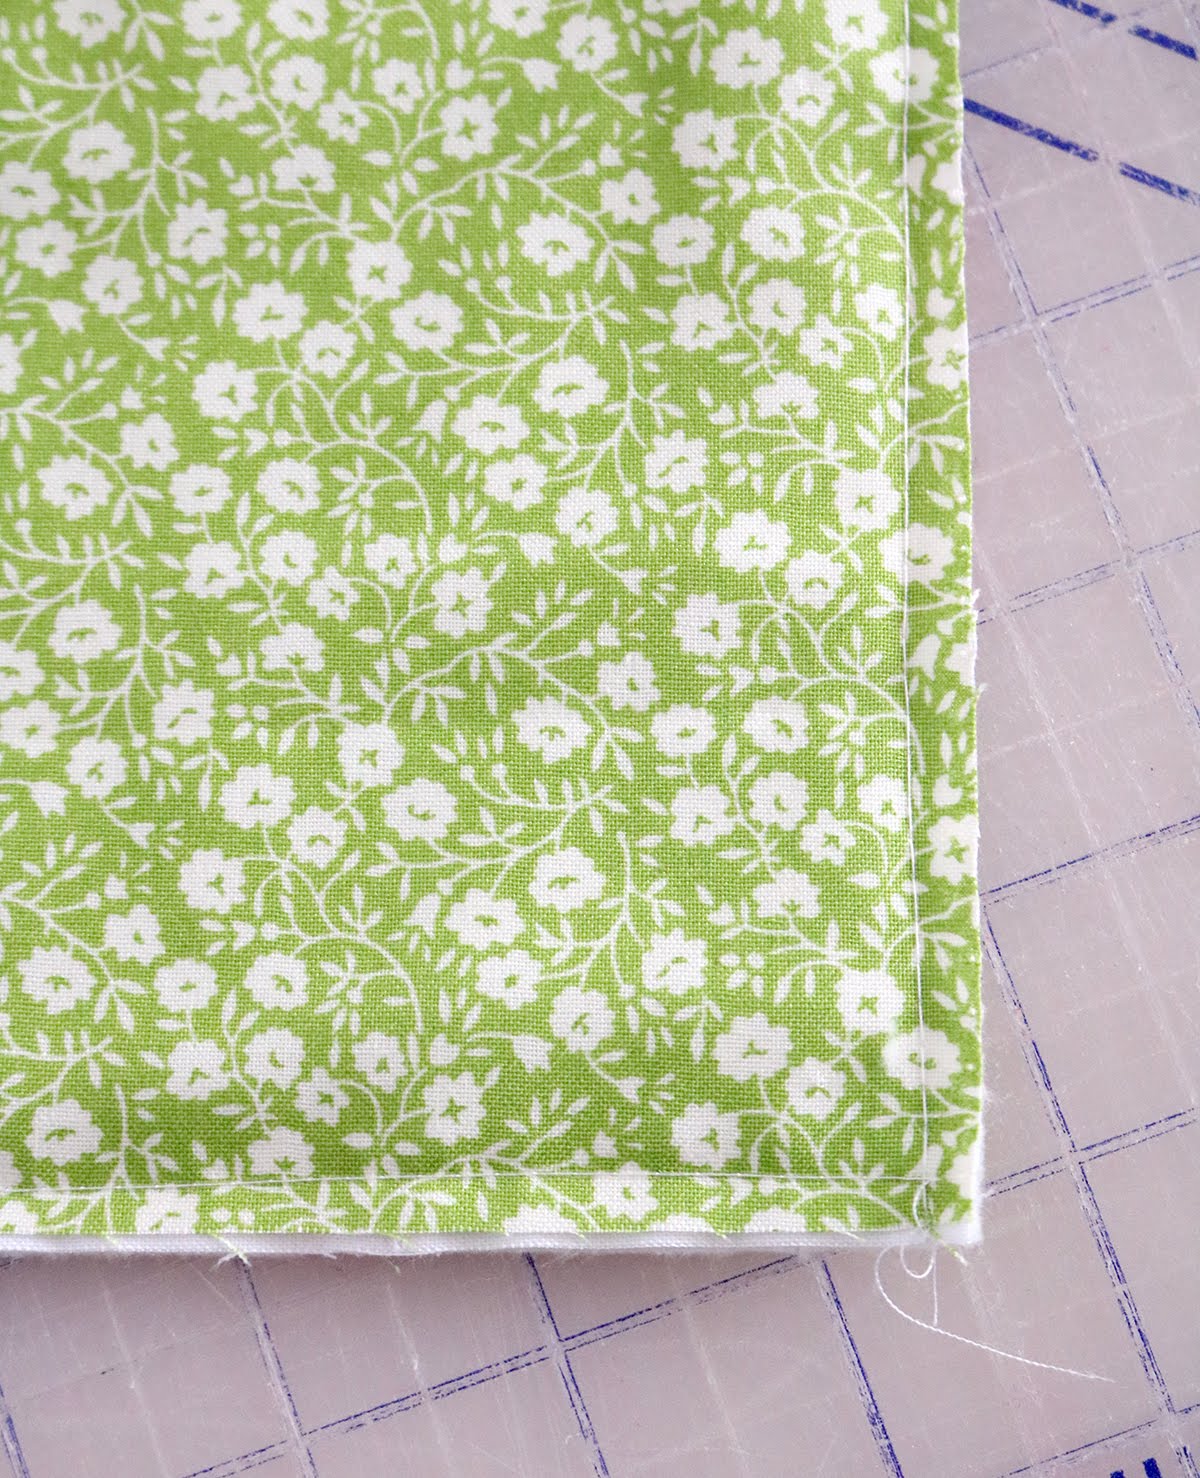
Then using a basting stitch, baste around the entire pillow about 1/8" in from the edge. This will hold all the layers together as you add the binding, and your basting stitches will be hidden under the binding.
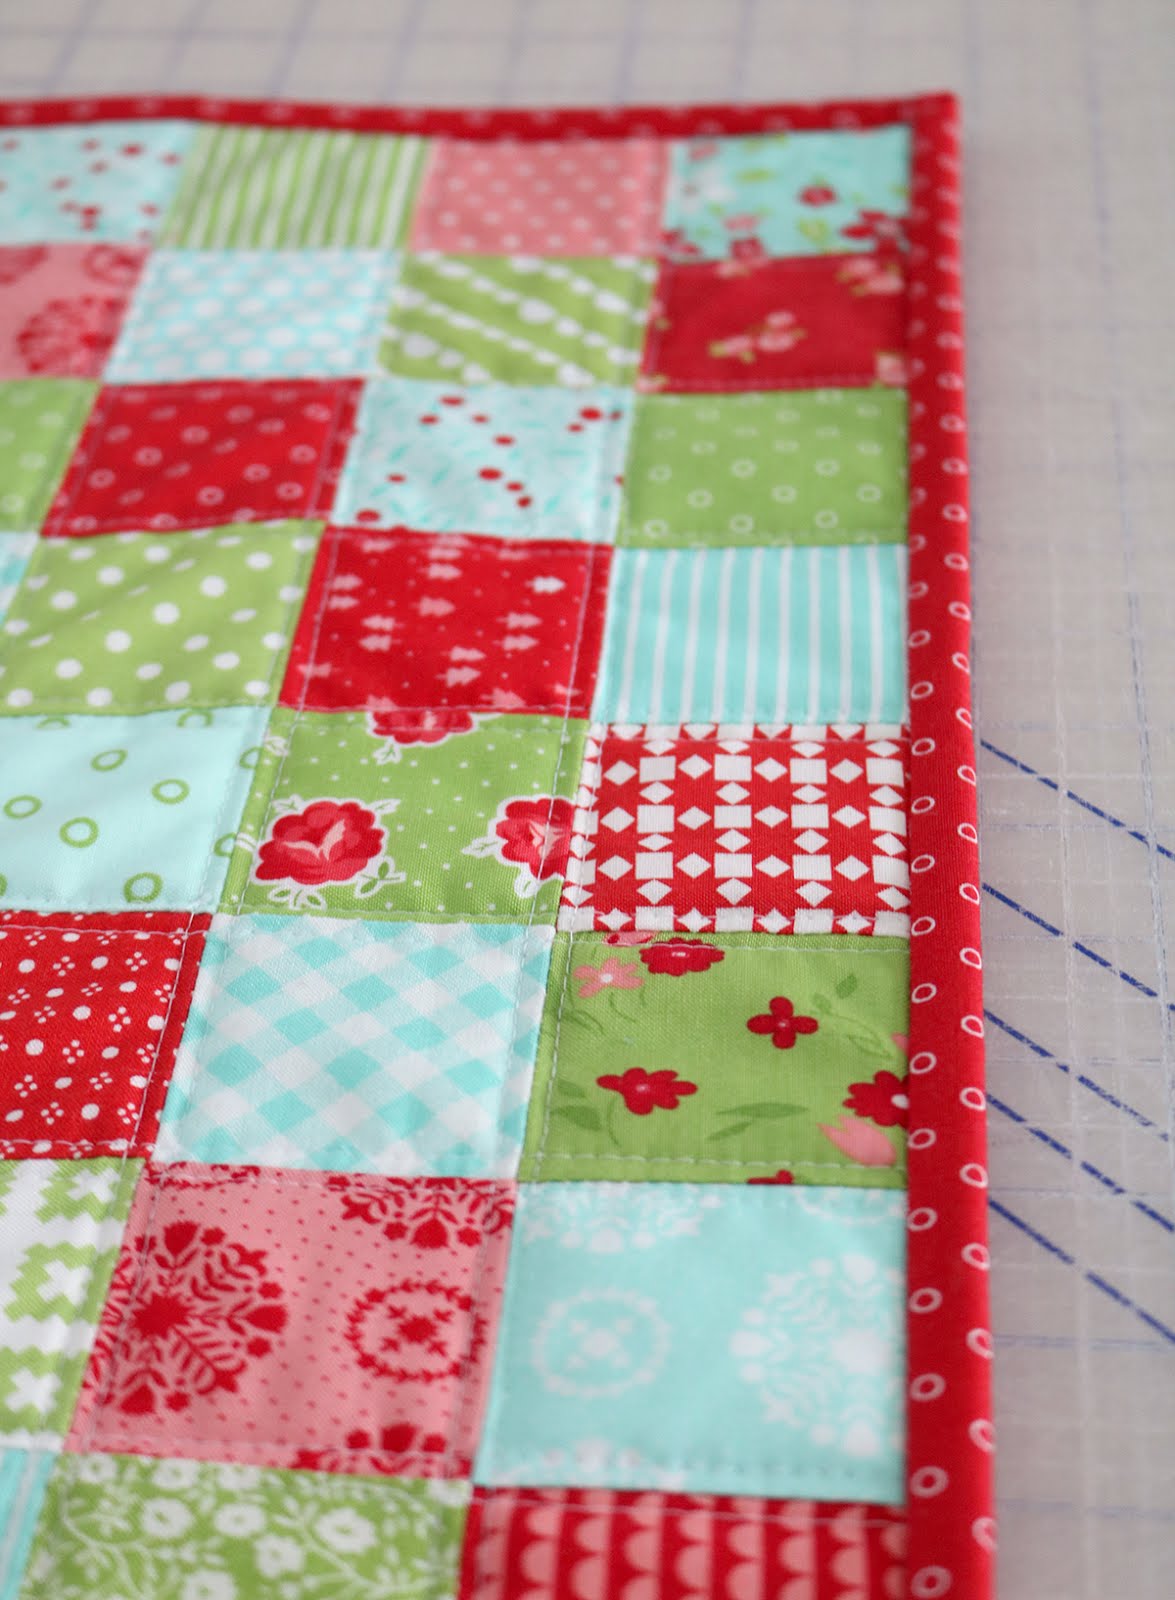
From the binding fabric cut two 2.5" x 42" strips. Sew them together end to end to make a binding and then bind the pillow as you would a quilt. Add the pillow insert and it's ready to use!
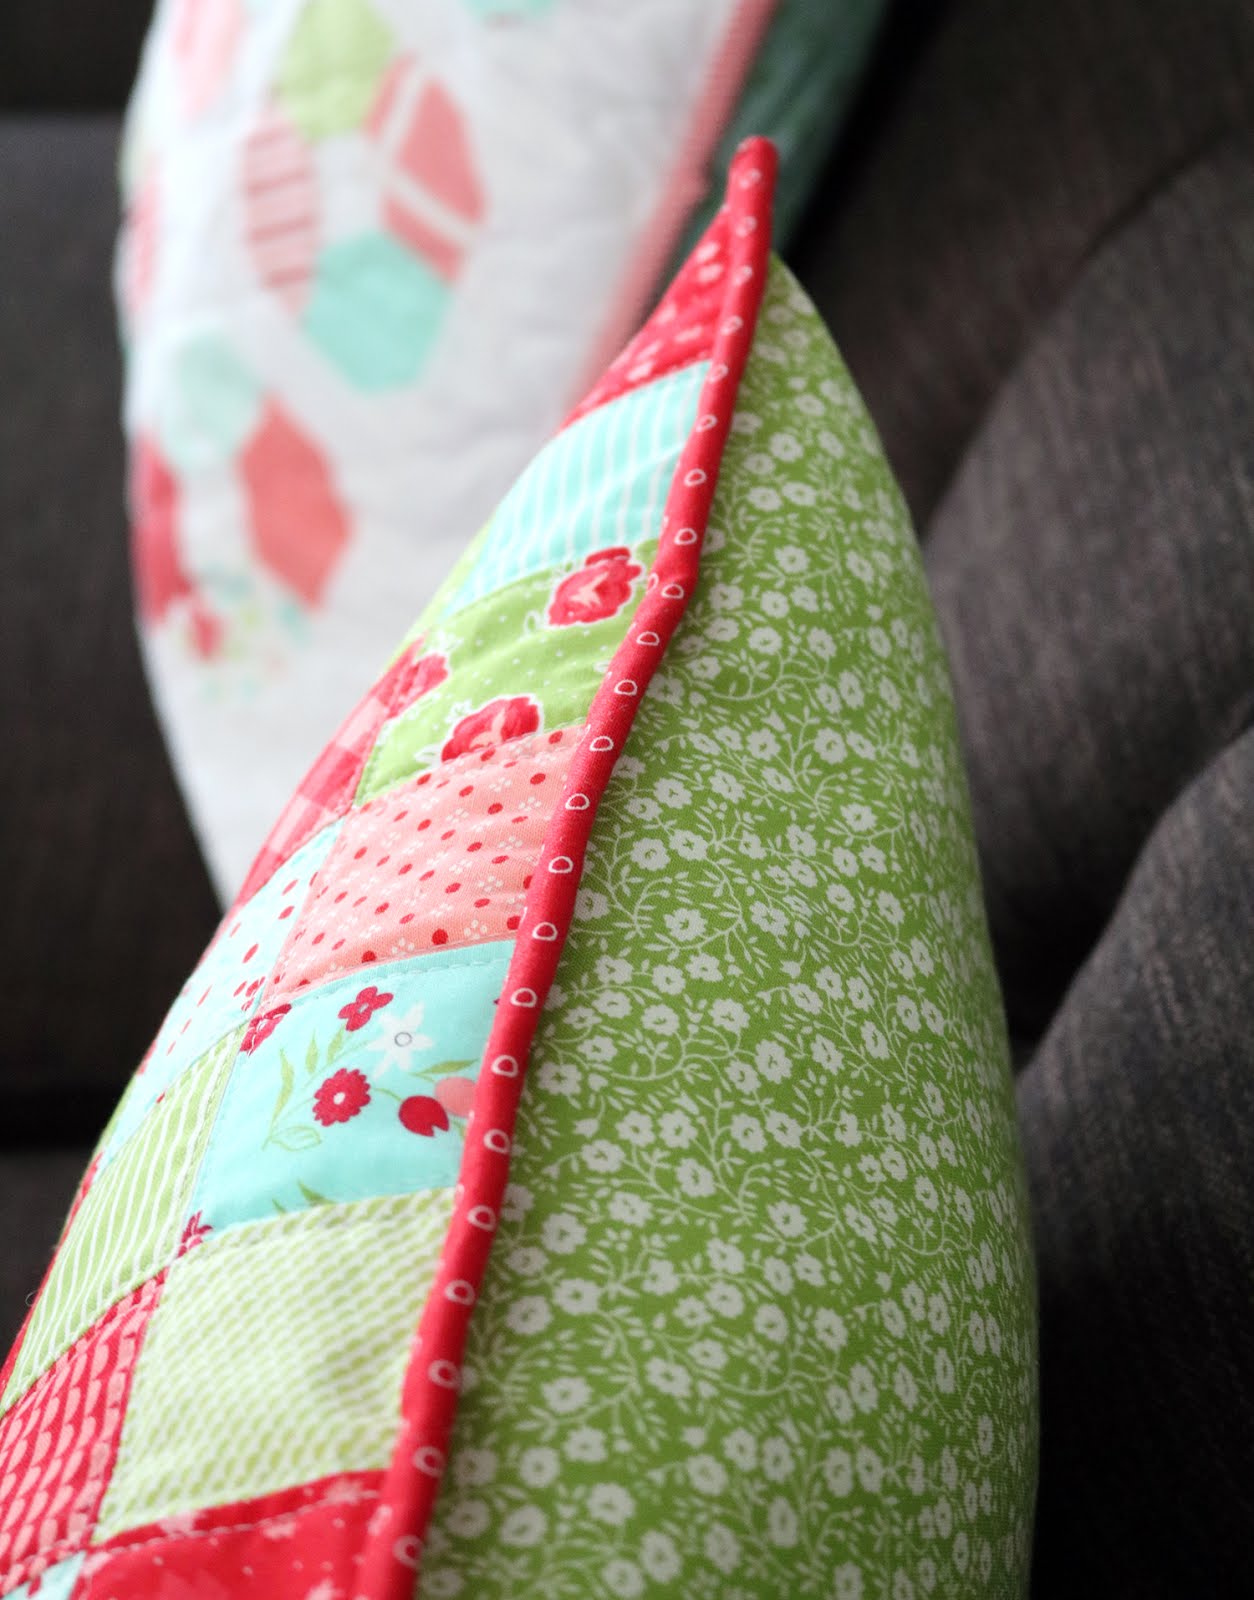
Want to make a pillow that's a different size? I have a guest post over at Diary of a Quilter today sharing my easy trick for making an envelope backing for any size pillow. It's an easy-to-remember formula and I use it every time I'm making a pillow.
#christmaspatchworkpillow #abrightcorner
Thanks for stopping by, and happy sewing everyone!
--Andy
Showing posts with label 2018 Quilts. Show all posts
Friday, December 7, 2018
Saturday, December 1, 2018
Sweet Daisy Baby Quilt + A Stitch in Time Book
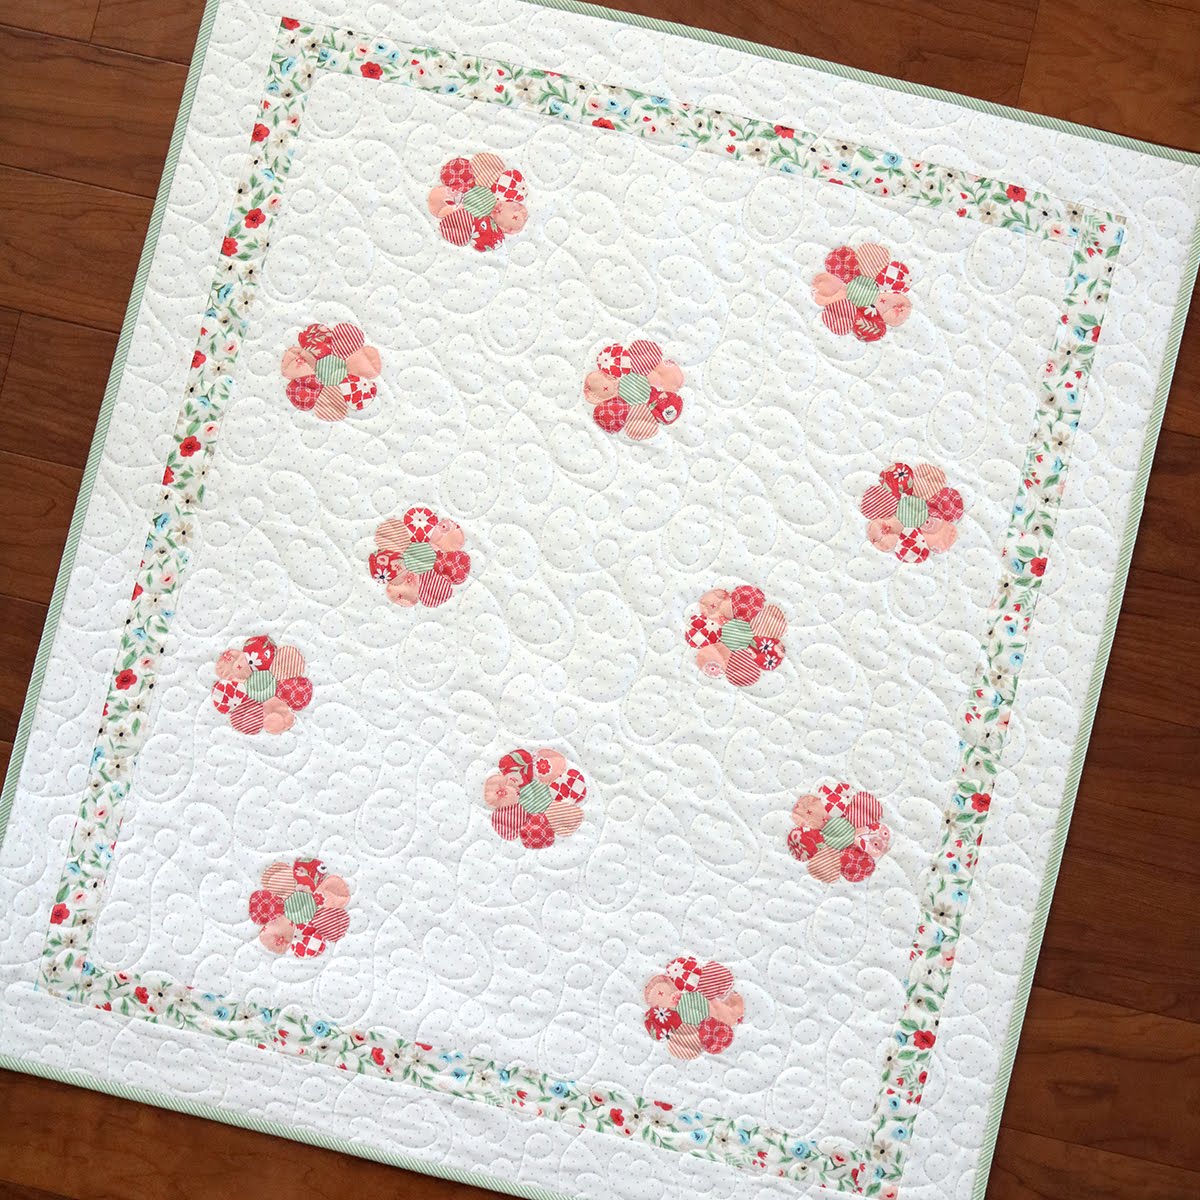
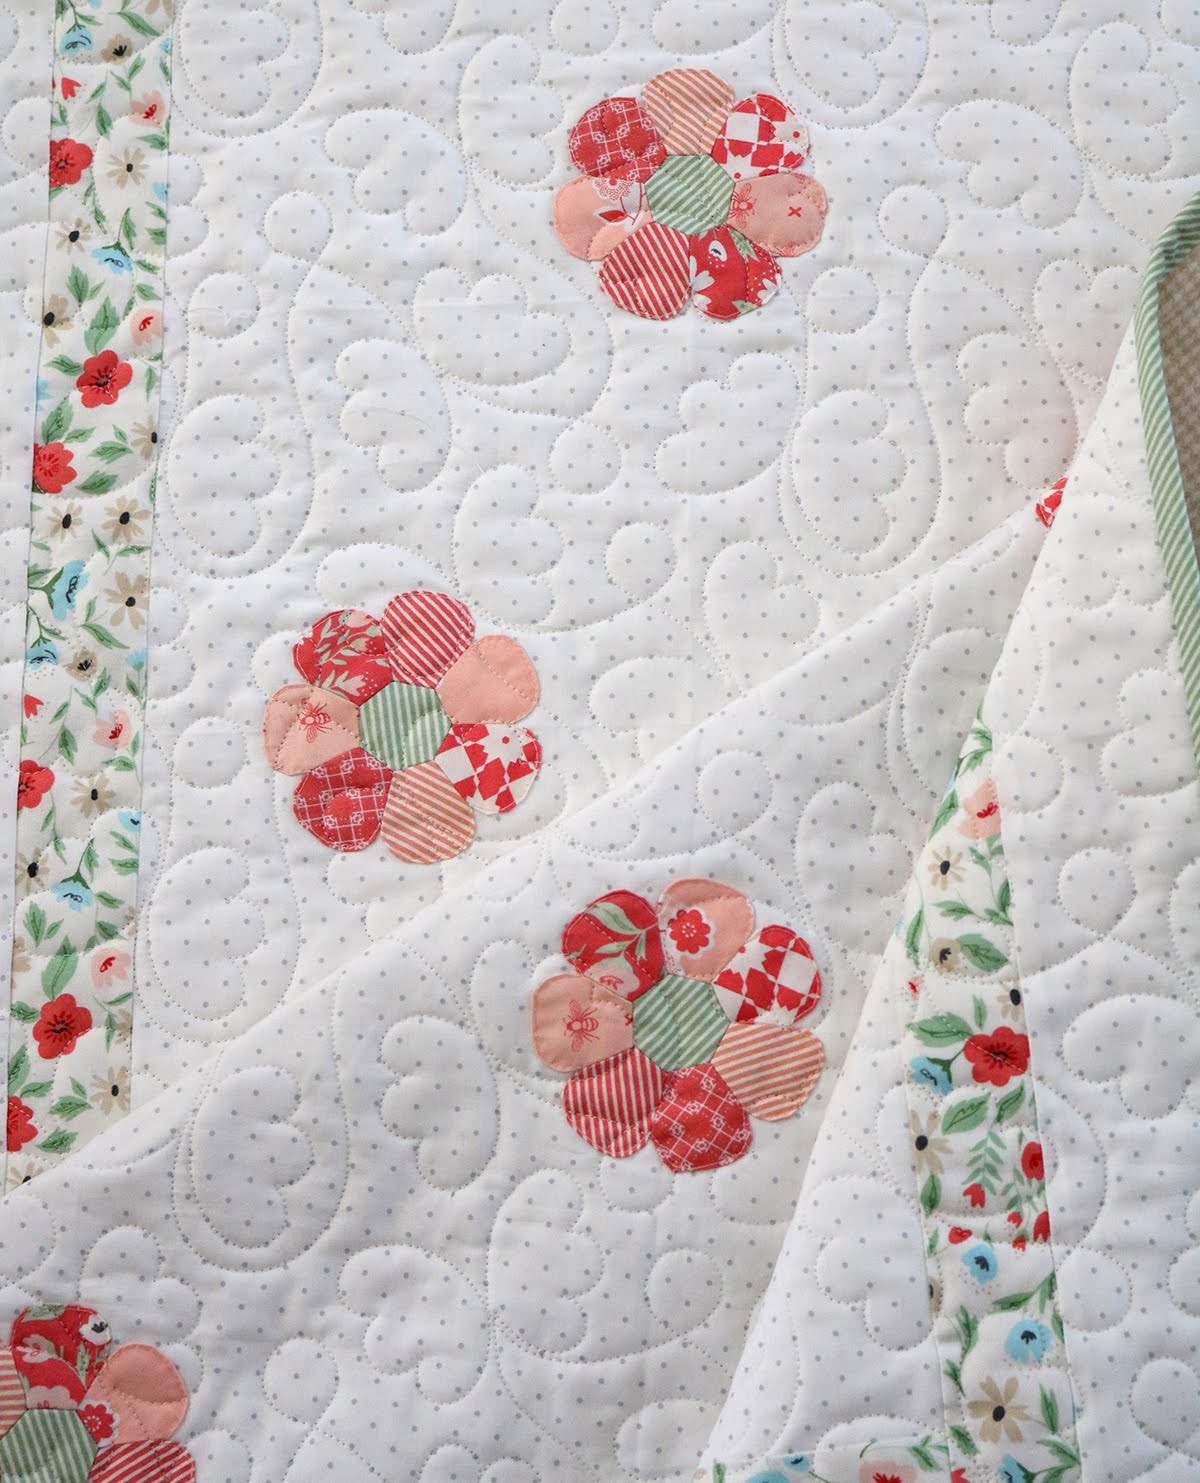
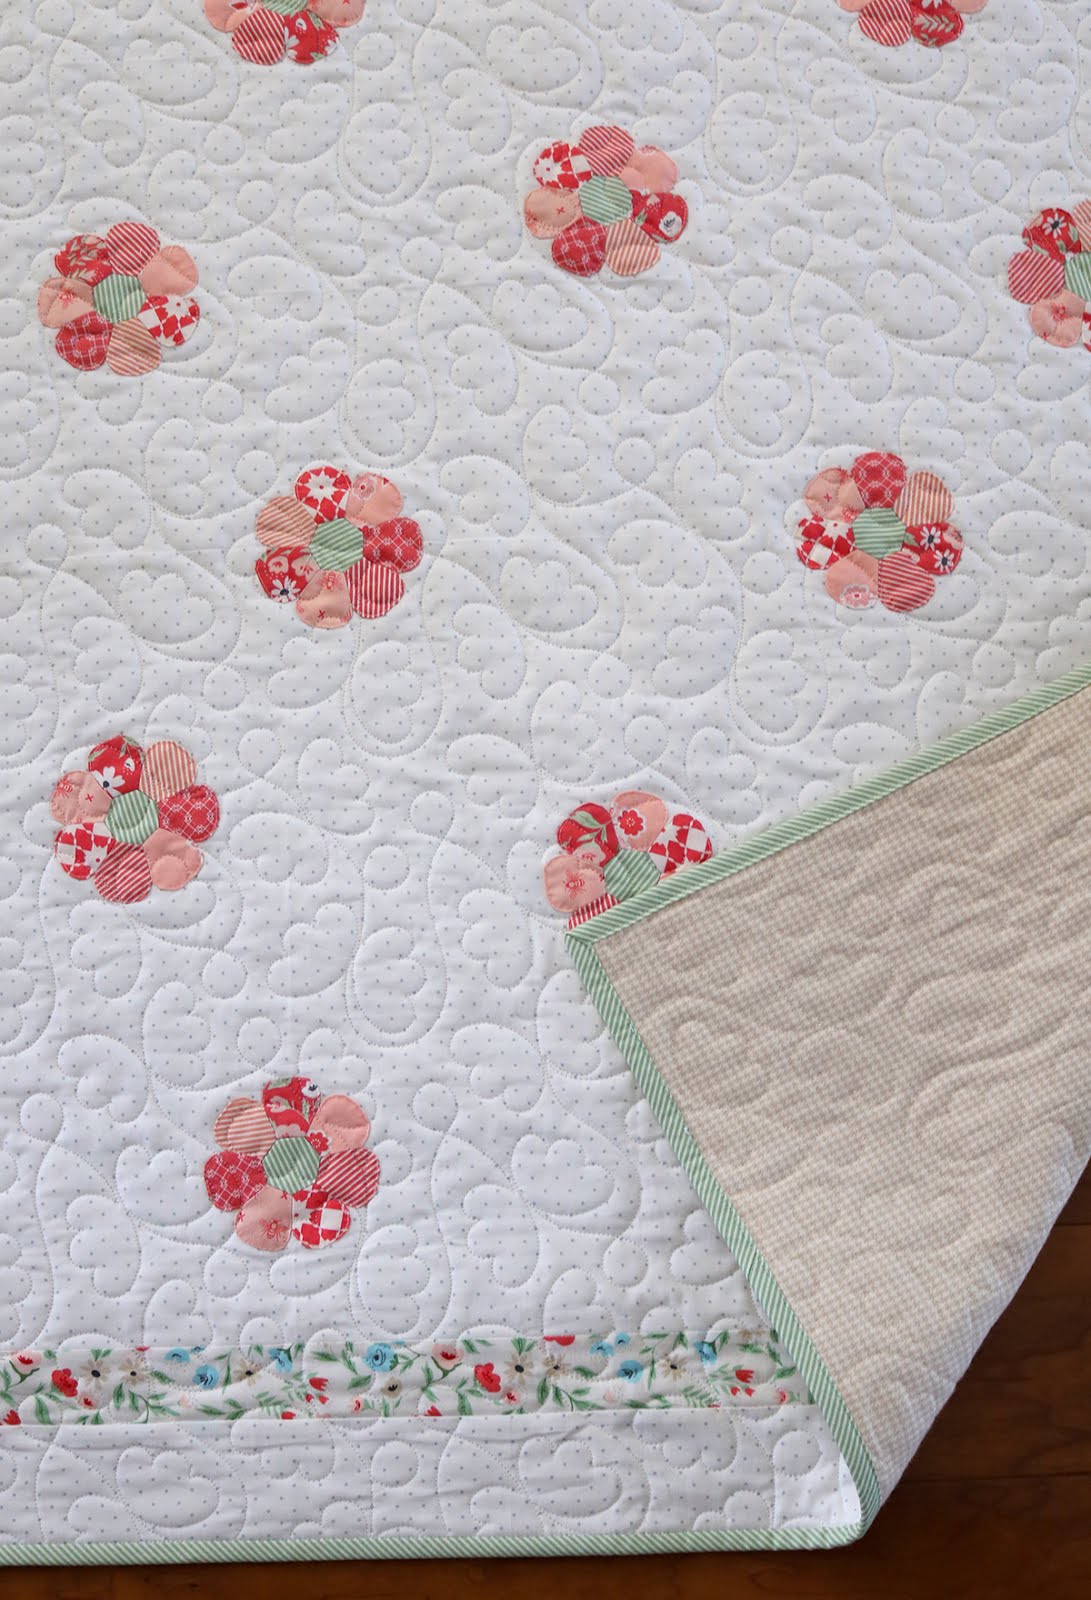
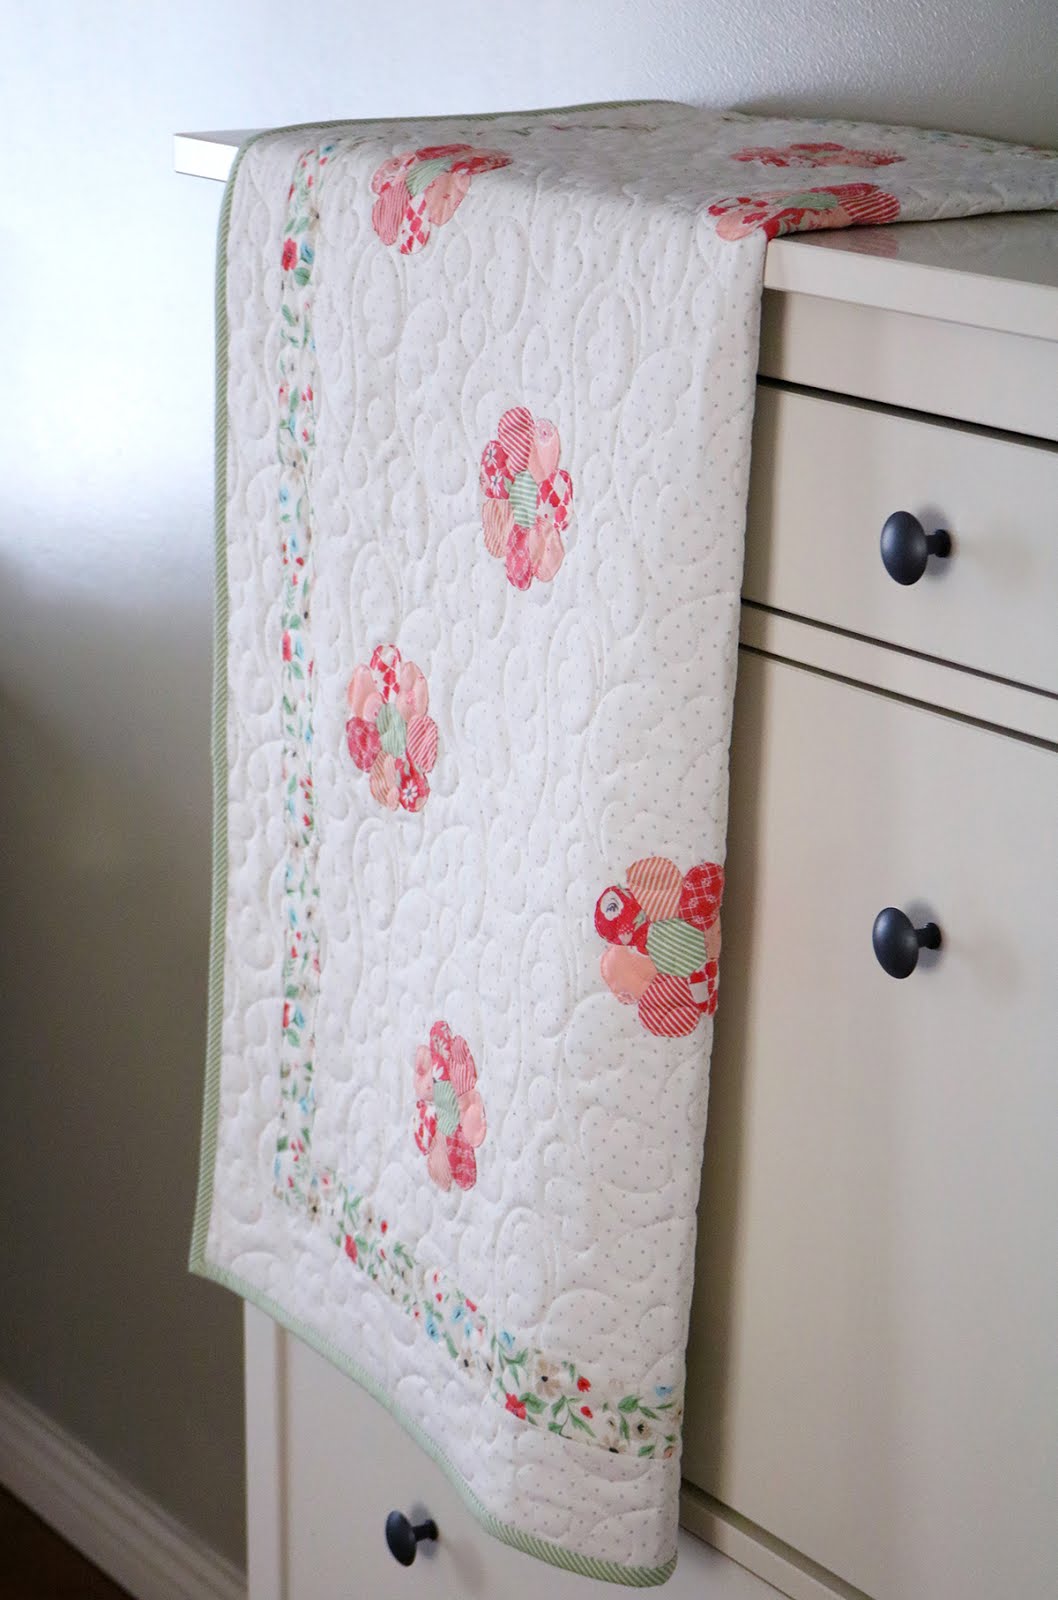
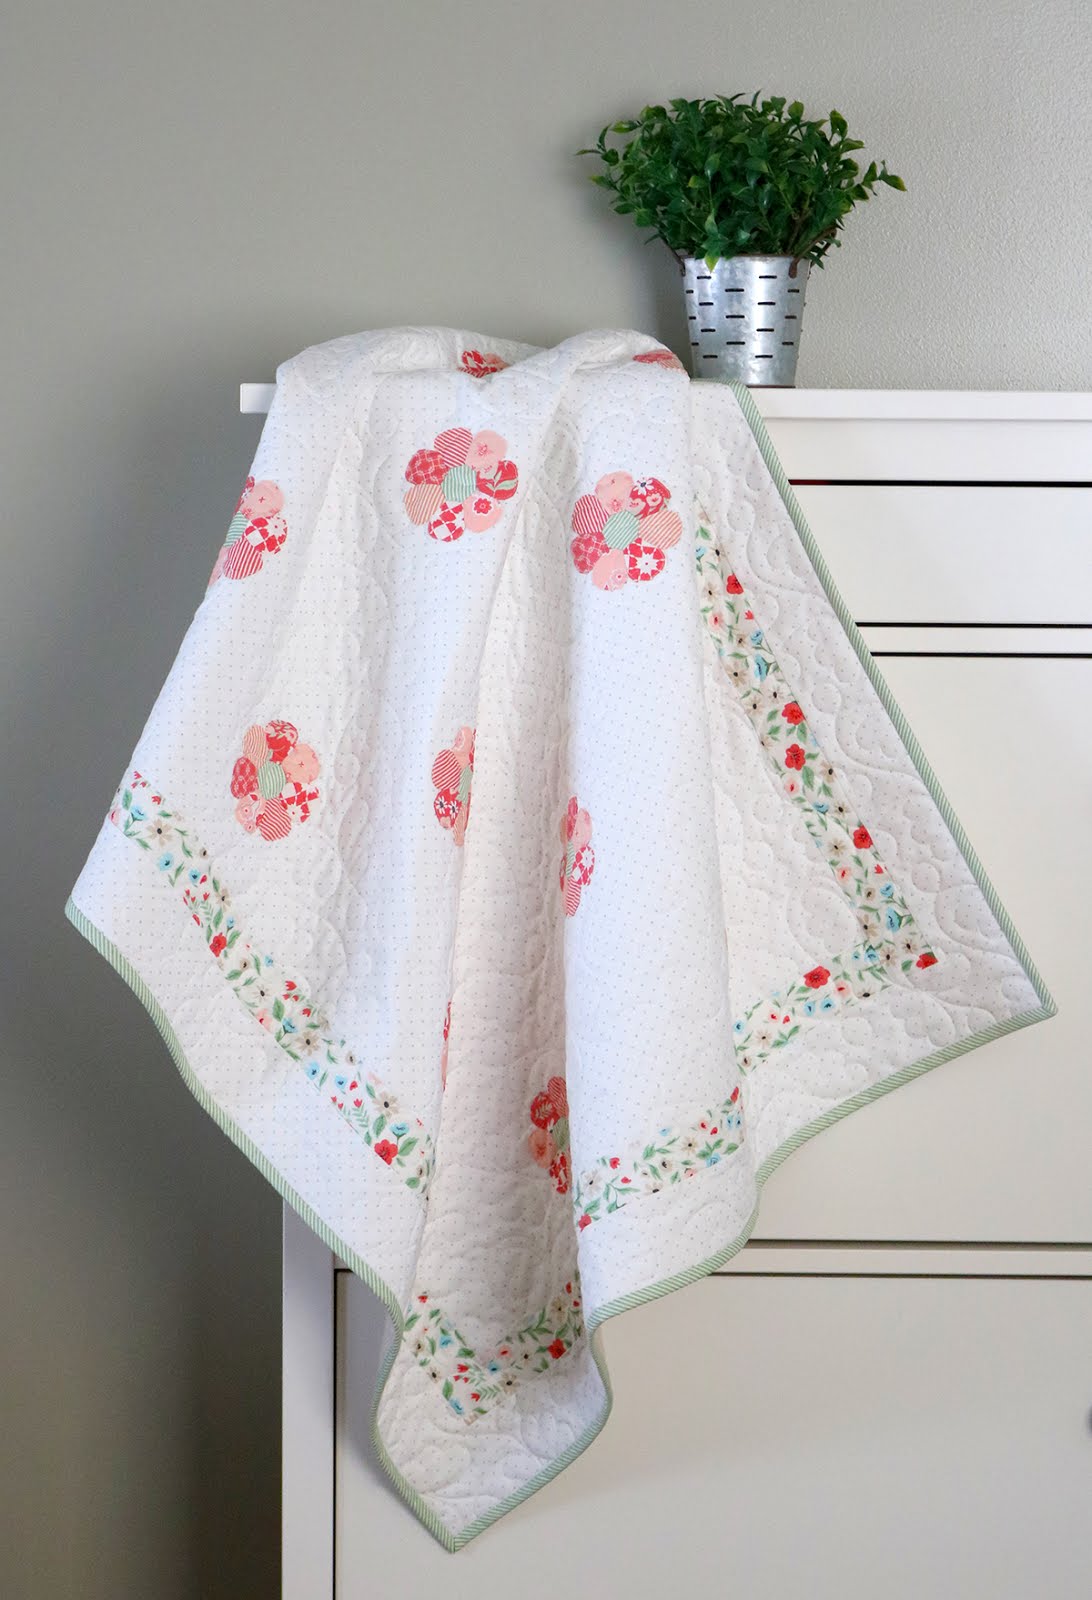
On this snowy Saturday I have a sweet little baby quilt finish to share with you. And this is quite possibly the sweetest little baby quilt I've ever done! It's almost too dainty and feminine to stay too long in my house full of boys :).
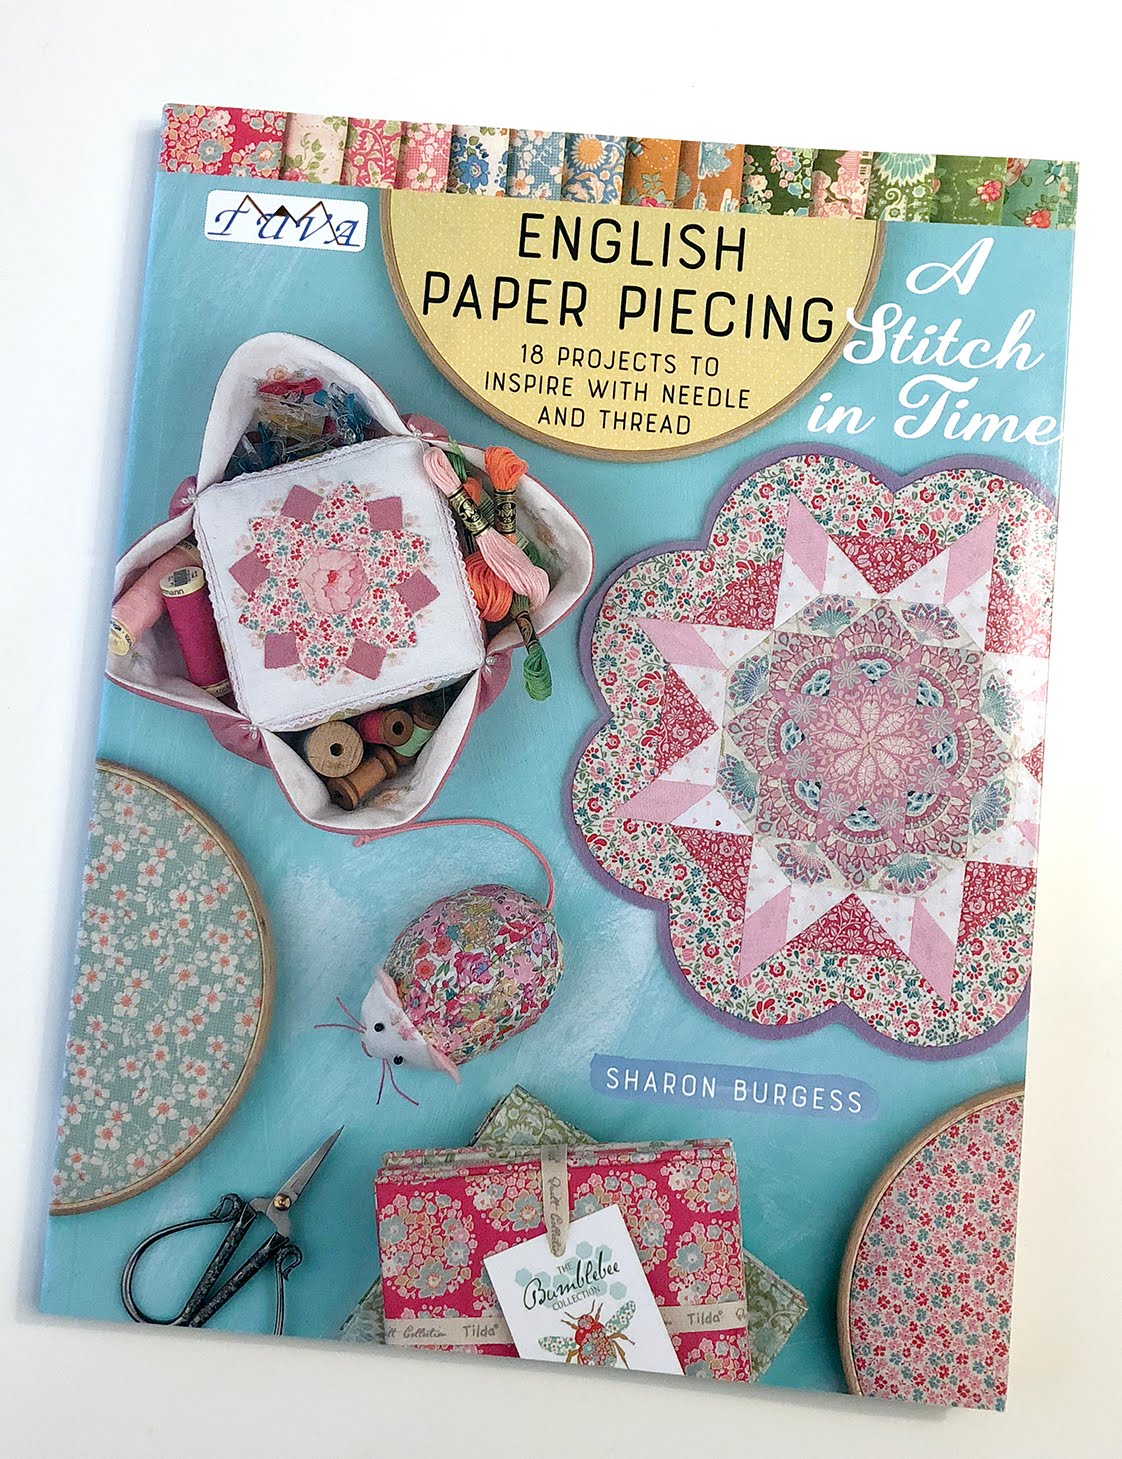
The pattern for this Sweet Daisy baby quilt is from the new book by Sharon Burgess, A Stitch In Time (Tuva Publishing). This book has 18 fun English paper piecing projects ranging from a small pincushion to pillows, bags, placemats, a dolly, and this baby quilt. That's quite a range of projects!
Even though the book is filled with lovely English paper piecing projects, it's not just EPP. Each project does have an EPP element to it, like this quilt-- but if EPP isn't your forte, you could still tackle these projects and have fun doing it!
And Sharon takes you through each step - with plenty of photos and diagrams. She shares her favorite EPP tools, and techniques for making templates, cutting the fabrics and even how to glue baste those curved edges of the flower petals. (It's not as tricky as you'd think. Do a couple of practice petals and you'll get the technique down quickly!)
I feel like this quilt would be a good project for someone that's new to English paper piecing.
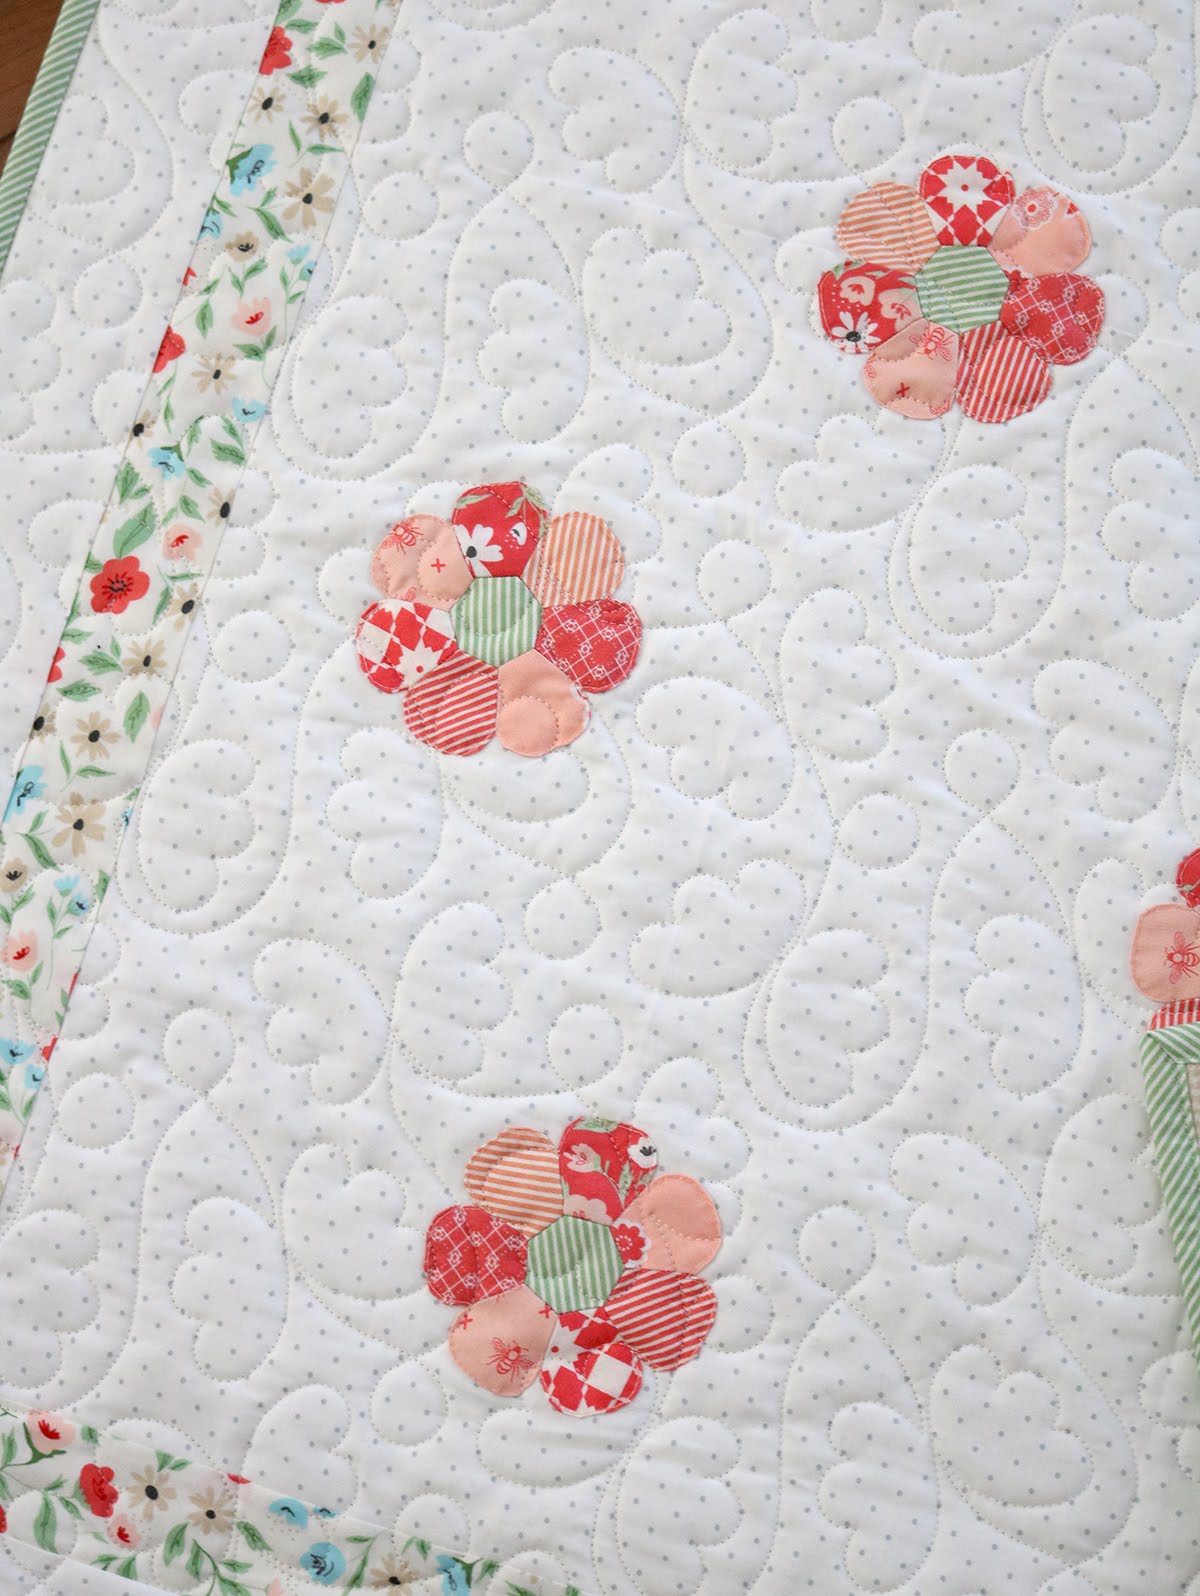
Each flower is made (hand stitched using EPP) and then they're appliqued onto a background fabric.
Then one simple floral border frames everything beautifully! The finished quilt measures 35" x 40".
You can find the A Stitch In Time book here on Amazon, and if you're on Instagram go and check out the other projects from the book under the hashtag: #astitchintimeepp. It's been fun to see what others are making from the book!
The fabrics for this quilt are all from the newest line from Lella Boutique called Garden Variety (Moda) and they should be in your local quilt shop now! But I'm guessing they won't last long. At my local shop several of these bolts were already looking pretty thin.
Quilt Details:
35" x 40"
Pattern: Sweet Daisy baby quilt from A Stitch In Time book
Fabric: Garden Variety by Lella Boutique for Moda
Quilting: Fanciful Flyers computerized edge-to-edge design
Backing: Flannel from Marcus Fabric
The pattern for this Sweet Daisy baby quilt is from the new book by Sharon Burgess, A Stitch In Time (Tuva Publishing). This book has 18 fun English paper piecing projects ranging from a small pincushion to pillows, bags, placemats, a dolly, and this baby quilt. That's quite a range of projects!
Even though the book is filled with lovely English paper piecing projects, it's not just EPP. Each project does have an EPP element to it, like this quilt-- but if EPP isn't your forte, you could still tackle these projects and have fun doing it!
And Sharon takes you through each step - with plenty of photos and diagrams. She shares her favorite EPP tools, and techniques for making templates, cutting the fabrics and even how to glue baste those curved edges of the flower petals. (It's not as tricky as you'd think. Do a couple of practice petals and you'll get the technique down quickly!)
I feel like this quilt would be a good project for someone that's new to English paper piecing.
Each flower is made (hand stitched using EPP) and then they're appliqued onto a background fabric.
Then one simple floral border frames everything beautifully! The finished quilt measures 35" x 40".
You can find the A Stitch In Time book here on Amazon, and if you're on Instagram go and check out the other projects from the book under the hashtag: #astitchintimeepp. It's been fun to see what others are making from the book!
The fabrics for this quilt are all from the newest line from Lella Boutique called Garden Variety (Moda) and they should be in your local quilt shop now! But I'm guessing they won't last long. At my local shop several of these bolts were already looking pretty thin.
Quilt Details:
35" x 40"
Pattern: Sweet Daisy baby quilt from A Stitch In Time book
Fabric: Garden Variety by Lella Boutique for Moda
Quilting: Fanciful Flyers computerized edge-to-edge design
Backing: Flannel from Marcus Fabric
**This post may contain affiliate links, which means I may receive a small commission (at no additional cost to you) when purchases are made through links found in this post.
Wednesday, November 14, 2018
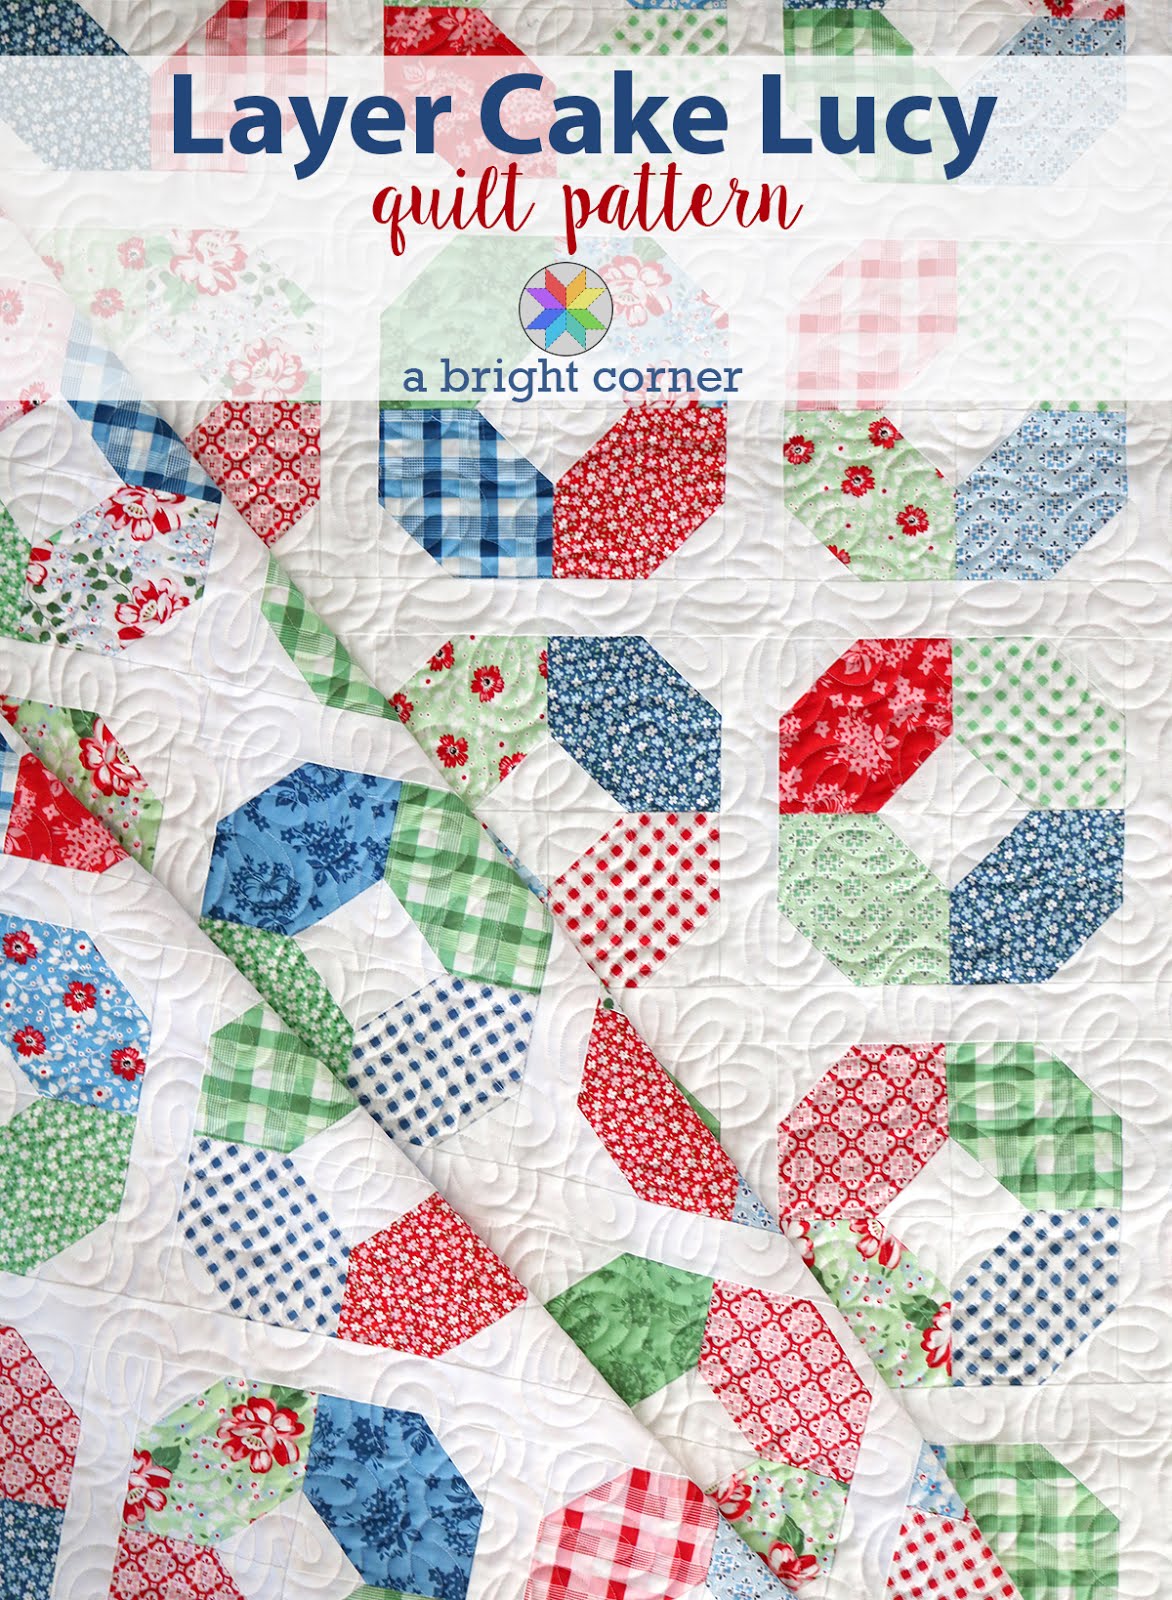
A New Quilt Pattern in The Shop - Layer Cake Lucy
Hey there- I'm just stopping in for a minute to let you know that I've added a new quilt pattern to my shop!
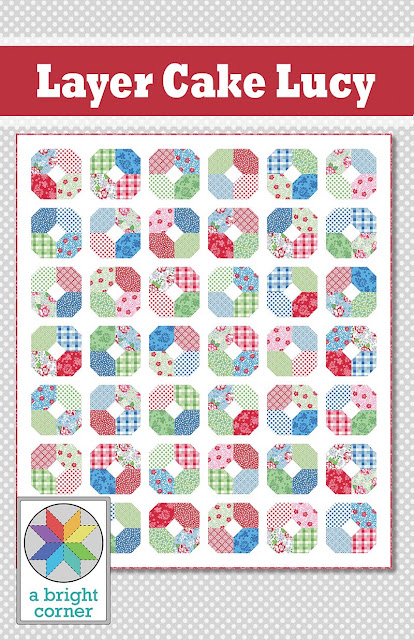
This is Layer Cake Lucy, and if you've read my last post then you know all about this fun quilt.
If you have a favorite Layer Cake you've beenhoarding saving, this is the pattern for you. Layer Cake Lucy uses the entire Layer Cake with no waste!
The finished quilt measures 67" x 77.5" which is a generous throw size but would also work as a twin size quilt.
For a short time the PDF pattern is just $5 and you can find it here in my shop.
The quilt on the cover is made with May Belle (buy it here) but would you like to see the quilt done up in some other fabrics?
How about Walkabout by Sherri & Chelsi (Moda Fabrics)
Or Nova by Basic Grey (Moda Fabrics) - I love the colors in this line!
and this one is my favorite, Orchard by April Rosenthal (Moda Fabrics)
Grab your copy of Layer Cake Lucy pattern here and get stitching!
If you make a Layer Cake Lucy quilt I'd love to see it! Tag me on Instagram (@abrightcorner) and use the hashtags #abrightcorner and #layercakelucy so we can all see what you've created!
Happy sewing -
--Andy
This is Layer Cake Lucy, and if you've read my last post then you know all about this fun quilt.
If you have a favorite Layer Cake you've been
The finished quilt measures 67" x 77.5" which is a generous throw size but would also work as a twin size quilt.
For a short time the PDF pattern is just $5 and you can find it here in my shop.
The quilt on the cover is made with May Belle (buy it here) but would you like to see the quilt done up in some other fabrics?
How about Walkabout by Sherri & Chelsi (Moda Fabrics)
Or Nova by Basic Grey (Moda Fabrics) - I love the colors in this line!
and this one is my favorite, Orchard by April Rosenthal (Moda Fabrics)
Grab your copy of Layer Cake Lucy pattern here and get stitching!
If you make a Layer Cake Lucy quilt I'd love to see it! Tag me on Instagram (@abrightcorner) and use the hashtags #abrightcorner and #layercakelucy so we can all see what you've created!
Happy sewing -
--Andy
**This post may contain affiliate links, which means I may receive a small commission (at no additional cost to you) when purchases are made through links found in this post.
Monday, November 12, 2018
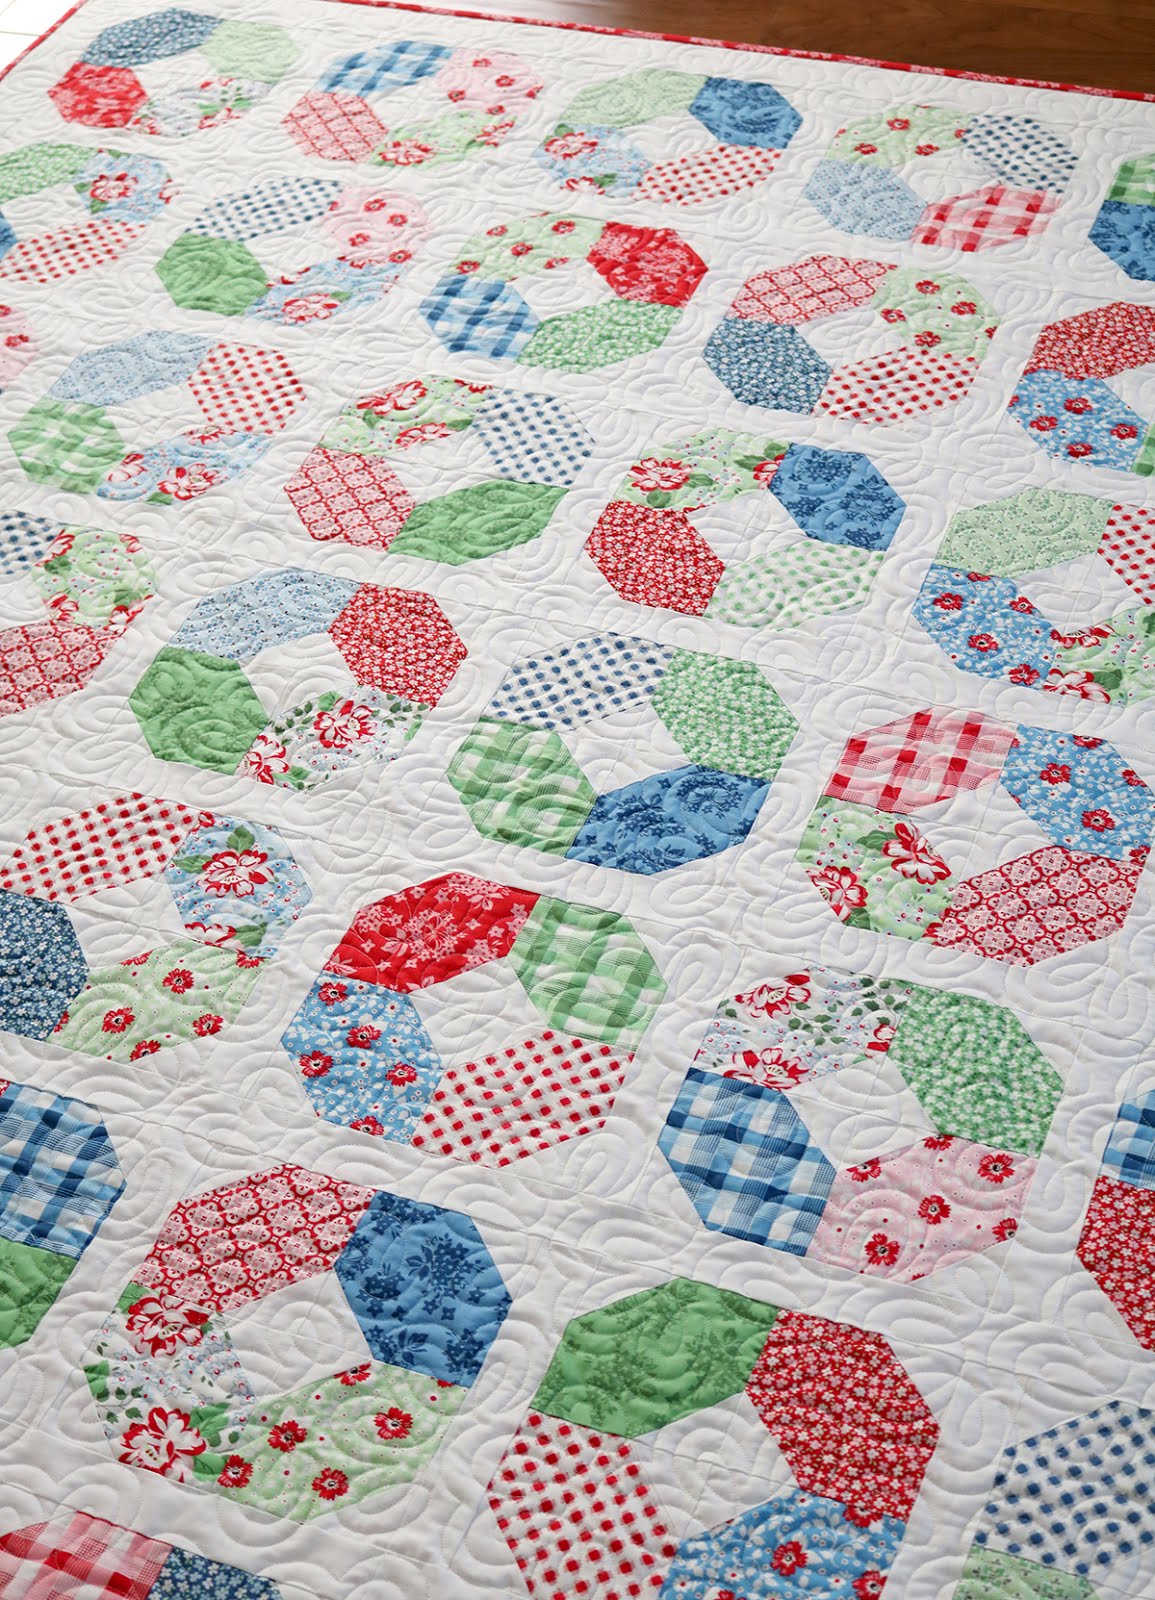
A Pretty Quilt Finish + May Belle Fabric
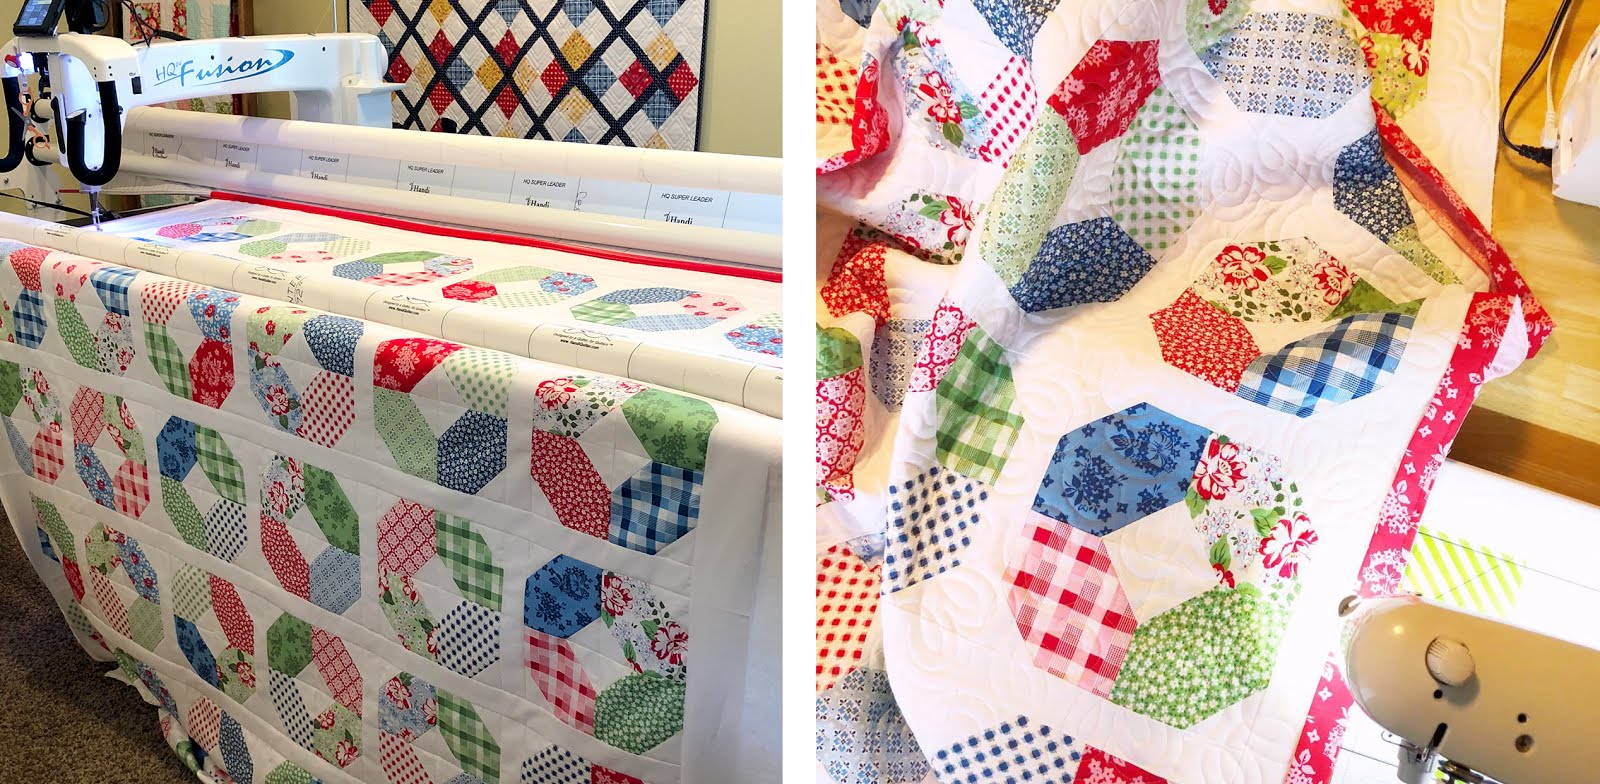
If you follow me on Instagram you've had the chance to see some sneak peeks as I shared my progress on this quilt over the past week or so, both in my posts and in my stories.
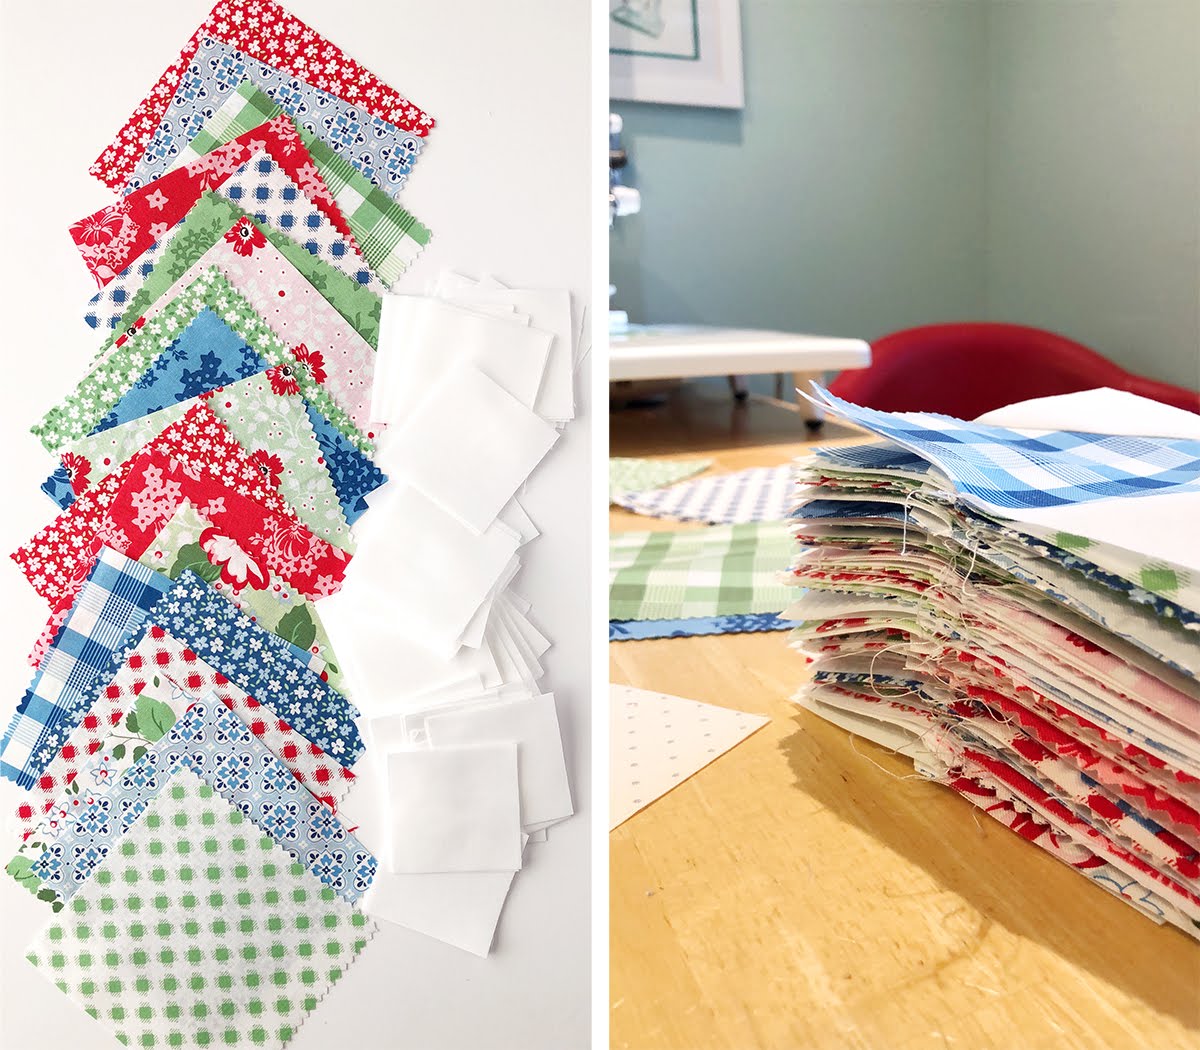
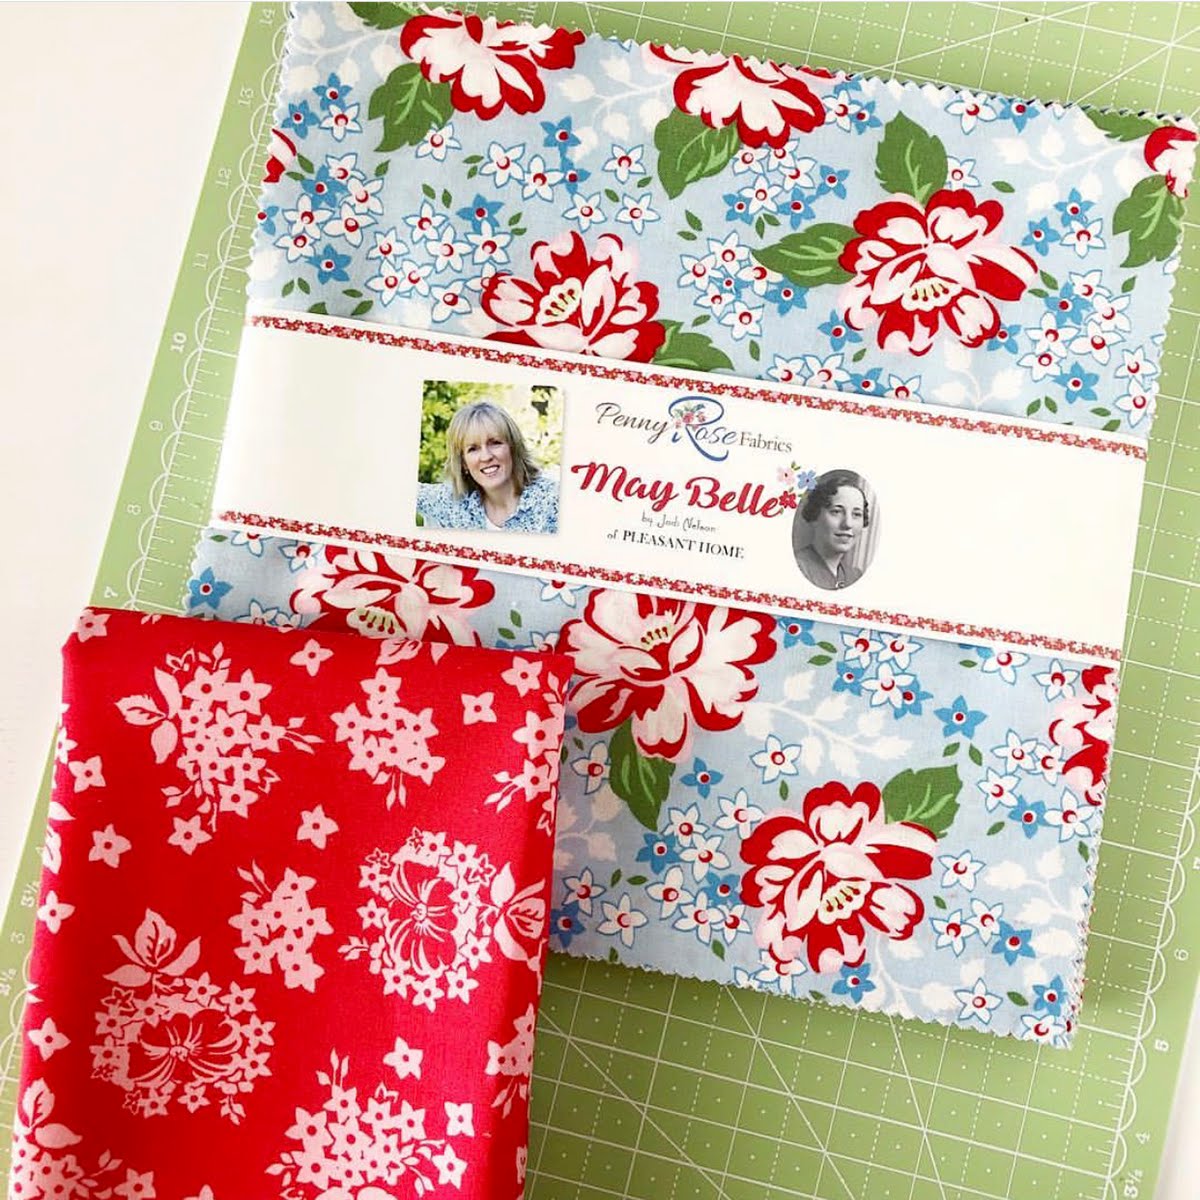
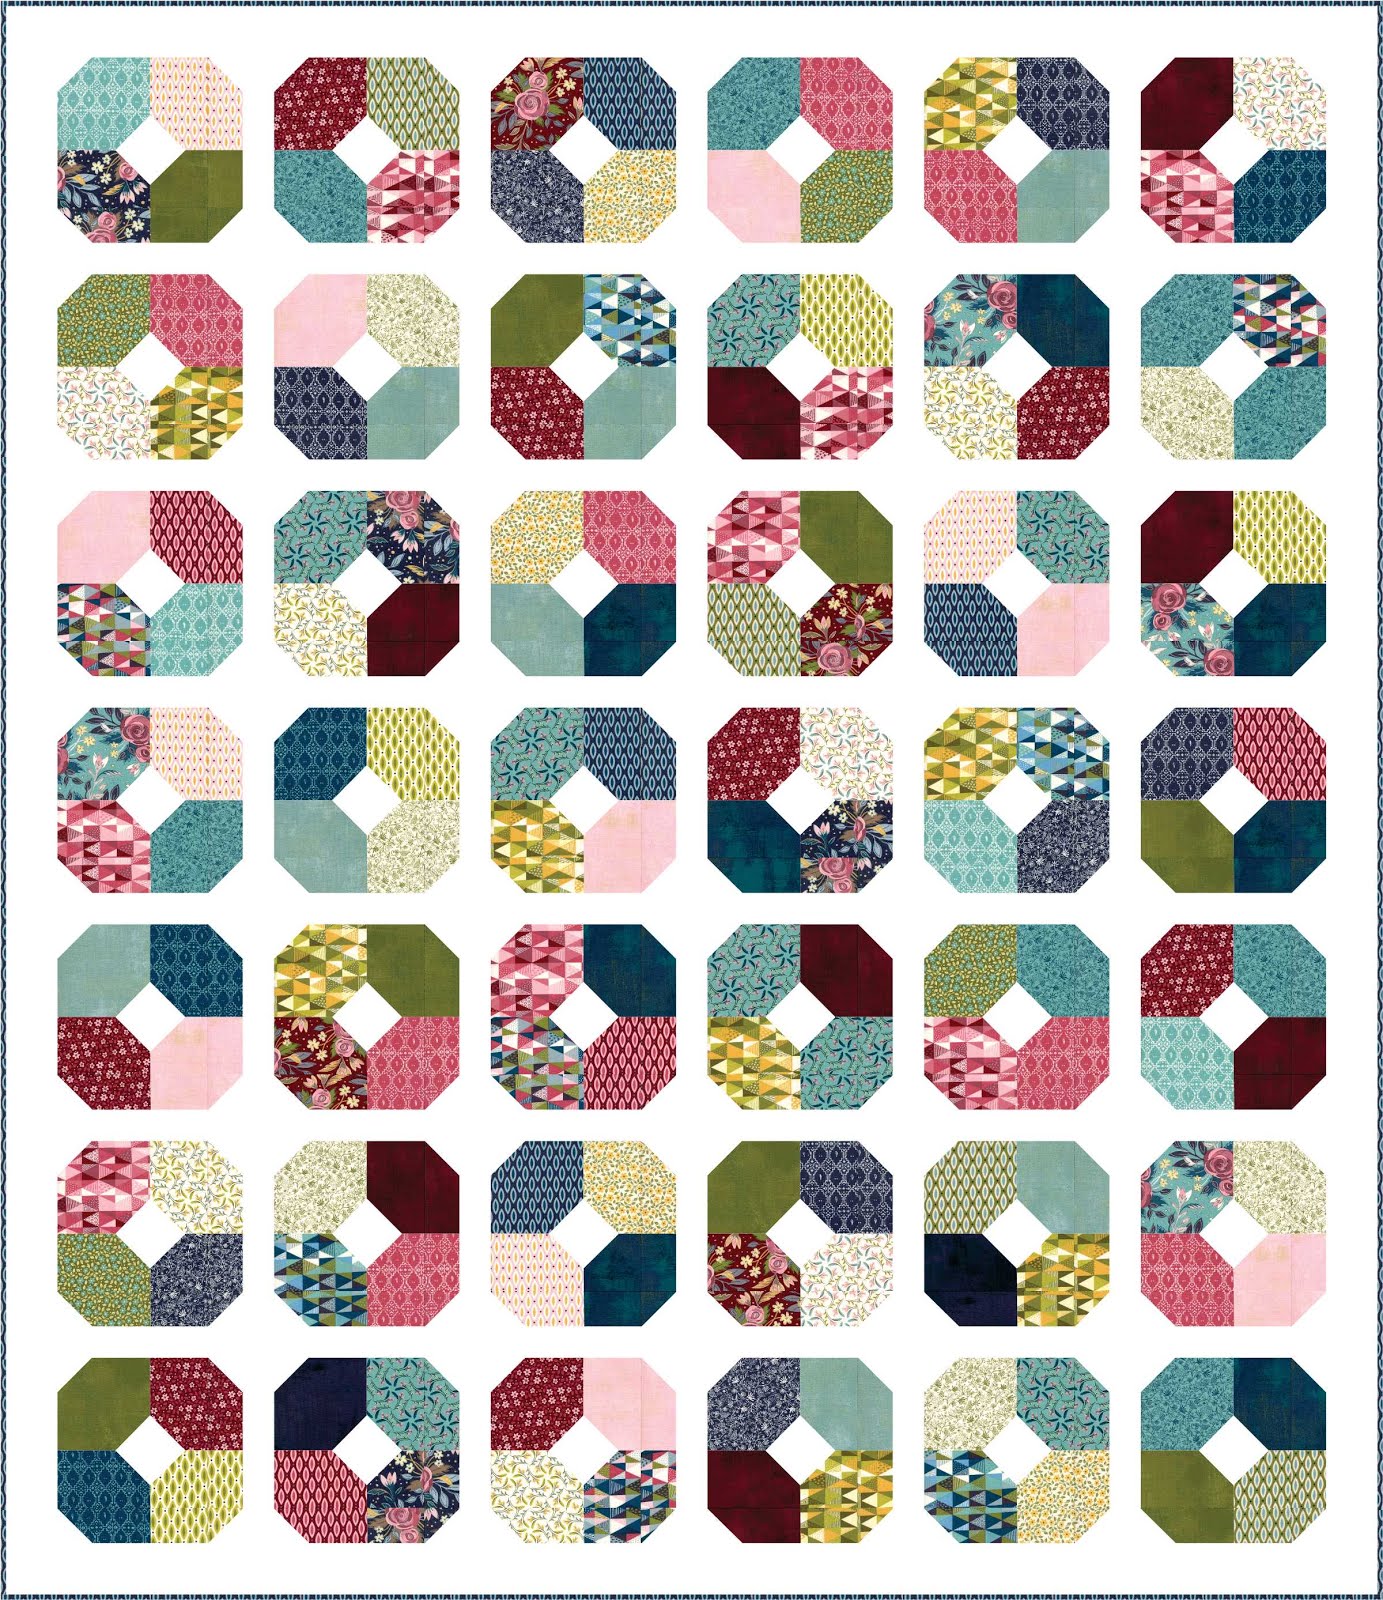
The idea for this quilt all started with a 10" stacker (42 pre-cut 10" squares) of May Belle. This is a fabric line designed by my friend, Jodi Nelson. You may know her because of her fun pinbowls, and this is her first fabric line with Penny Rose fabrics.
I fell in love with the colors of this line first (you know I'm a big fan of red florals, right?) And then the more I sewed with these prints the more I loved them all.
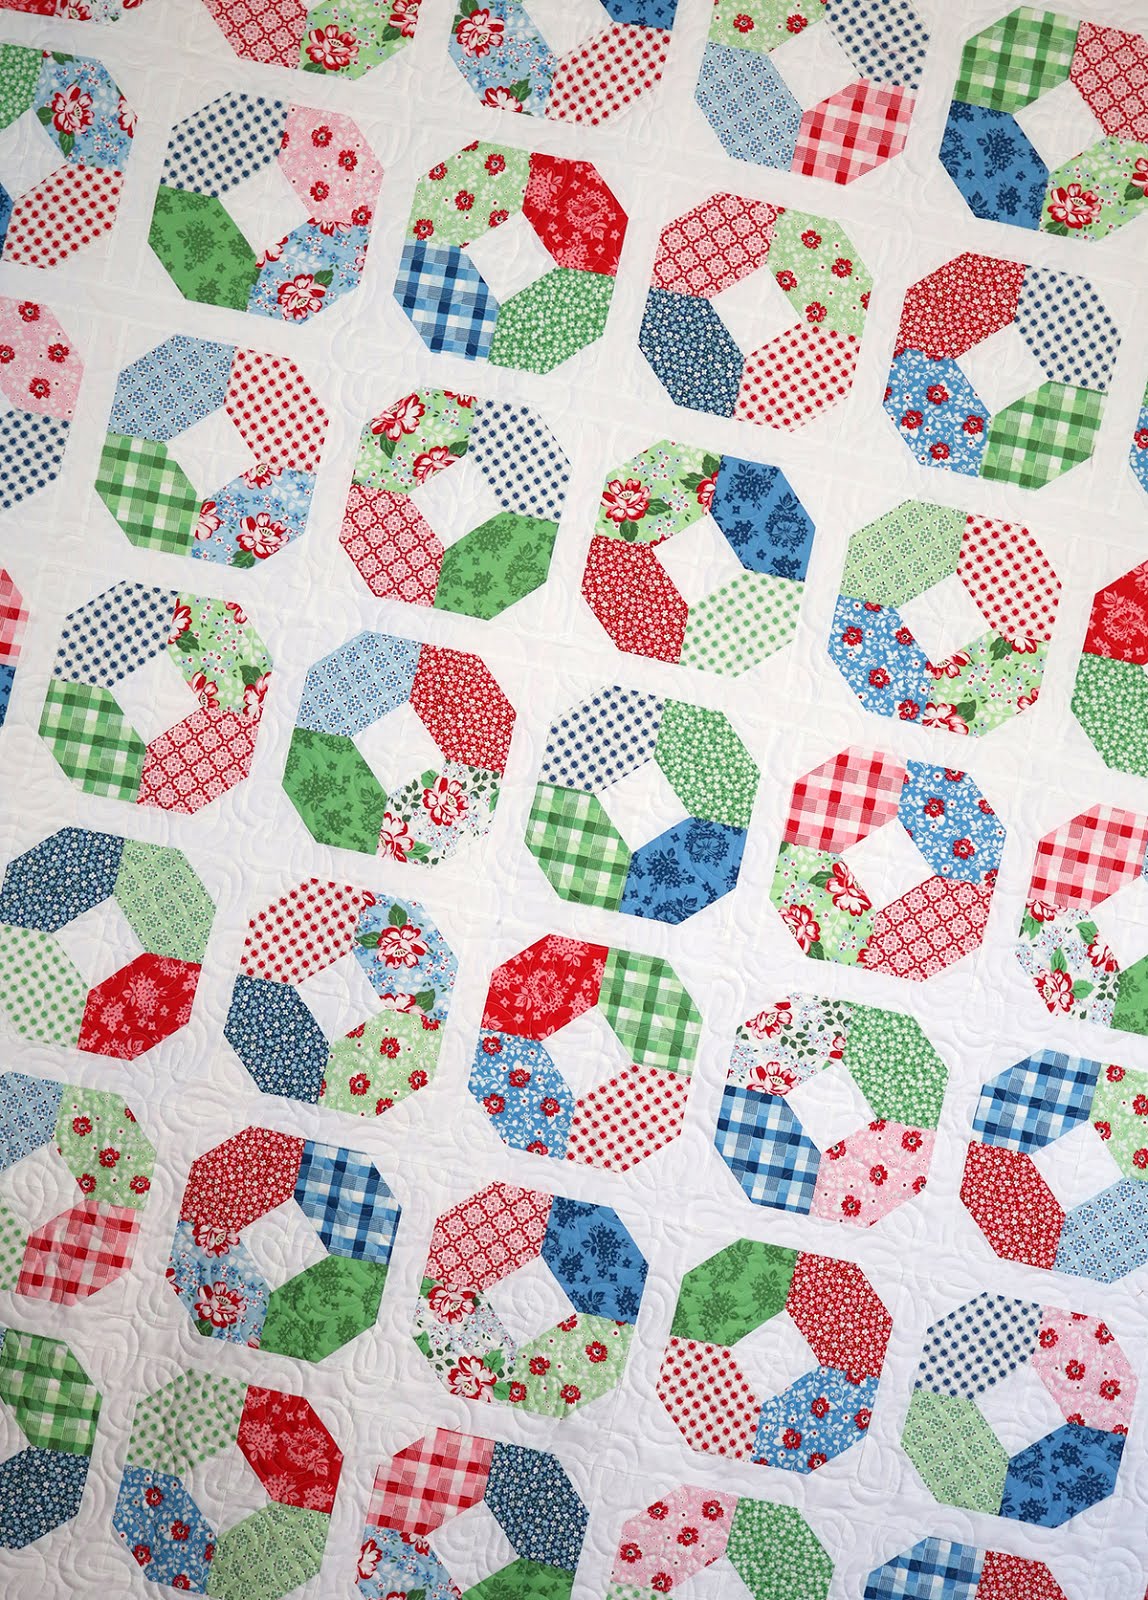
The variety of different florals in this line give it such a soft, pretty feel. And the scale of the plaid is just right. I do love a good plaid!
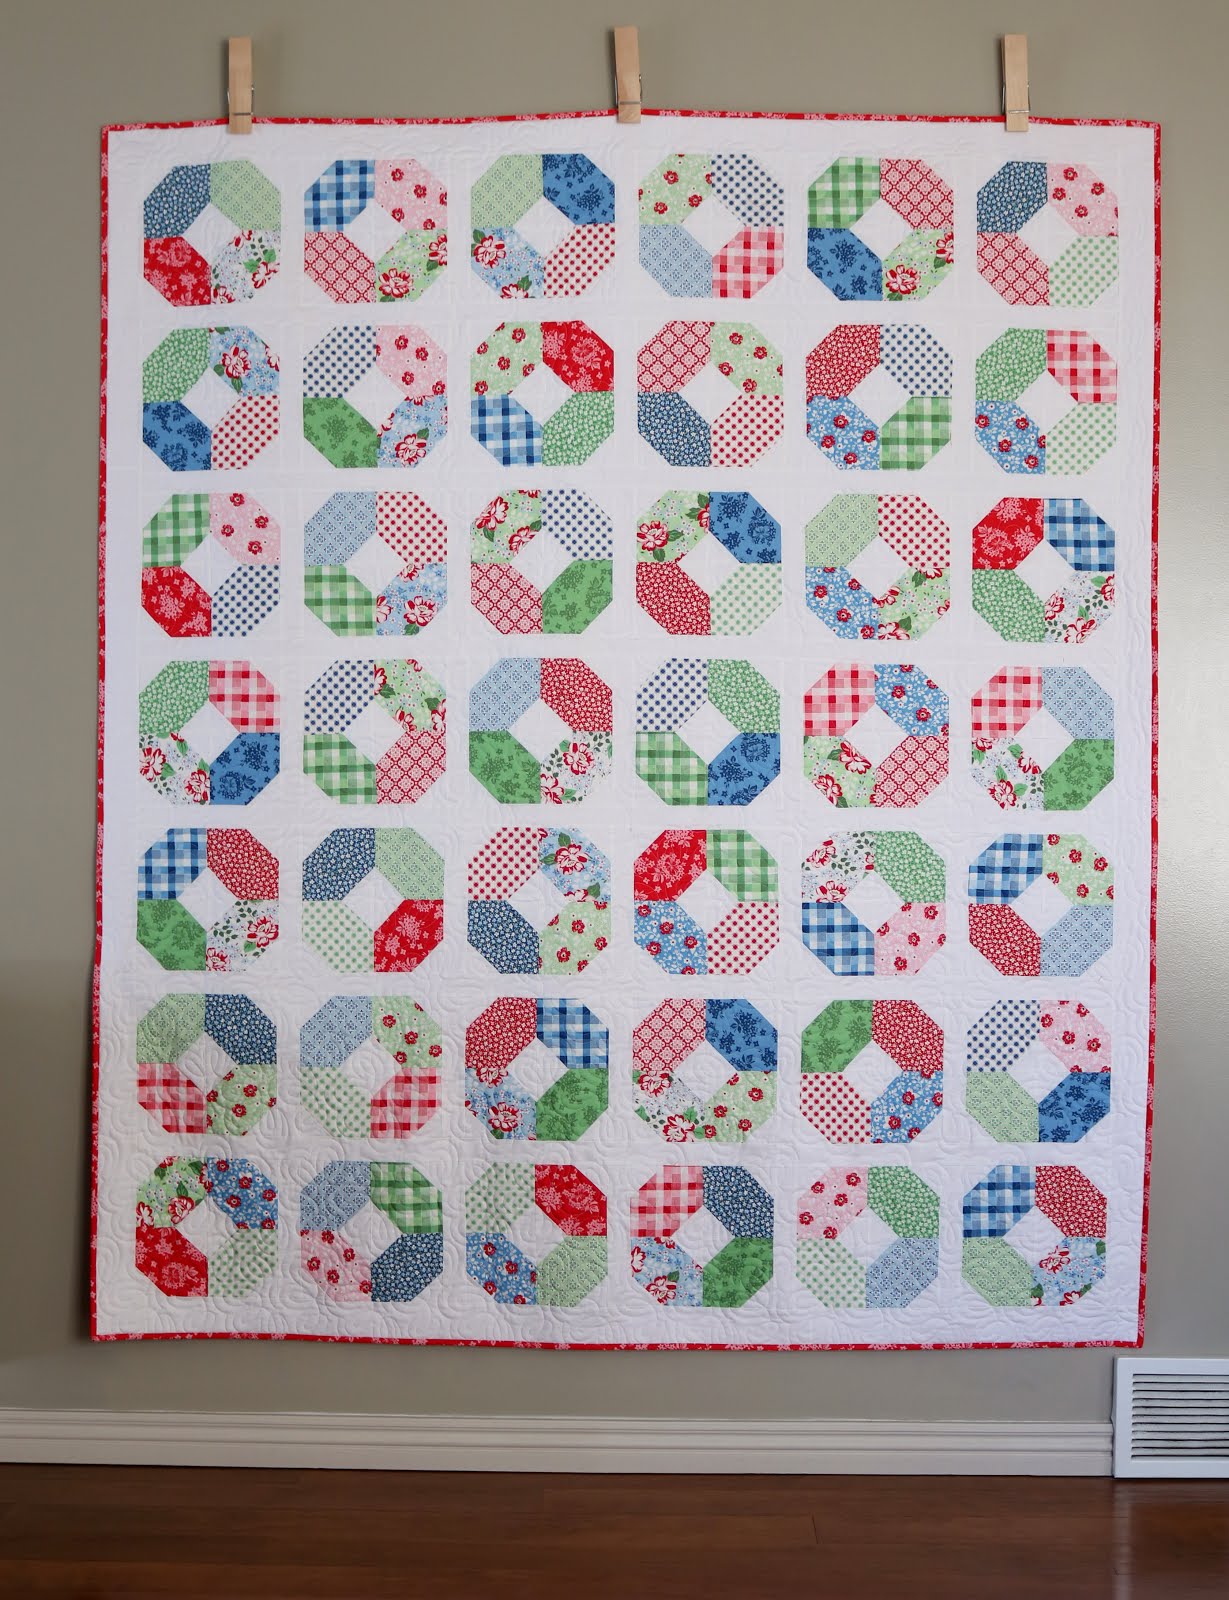
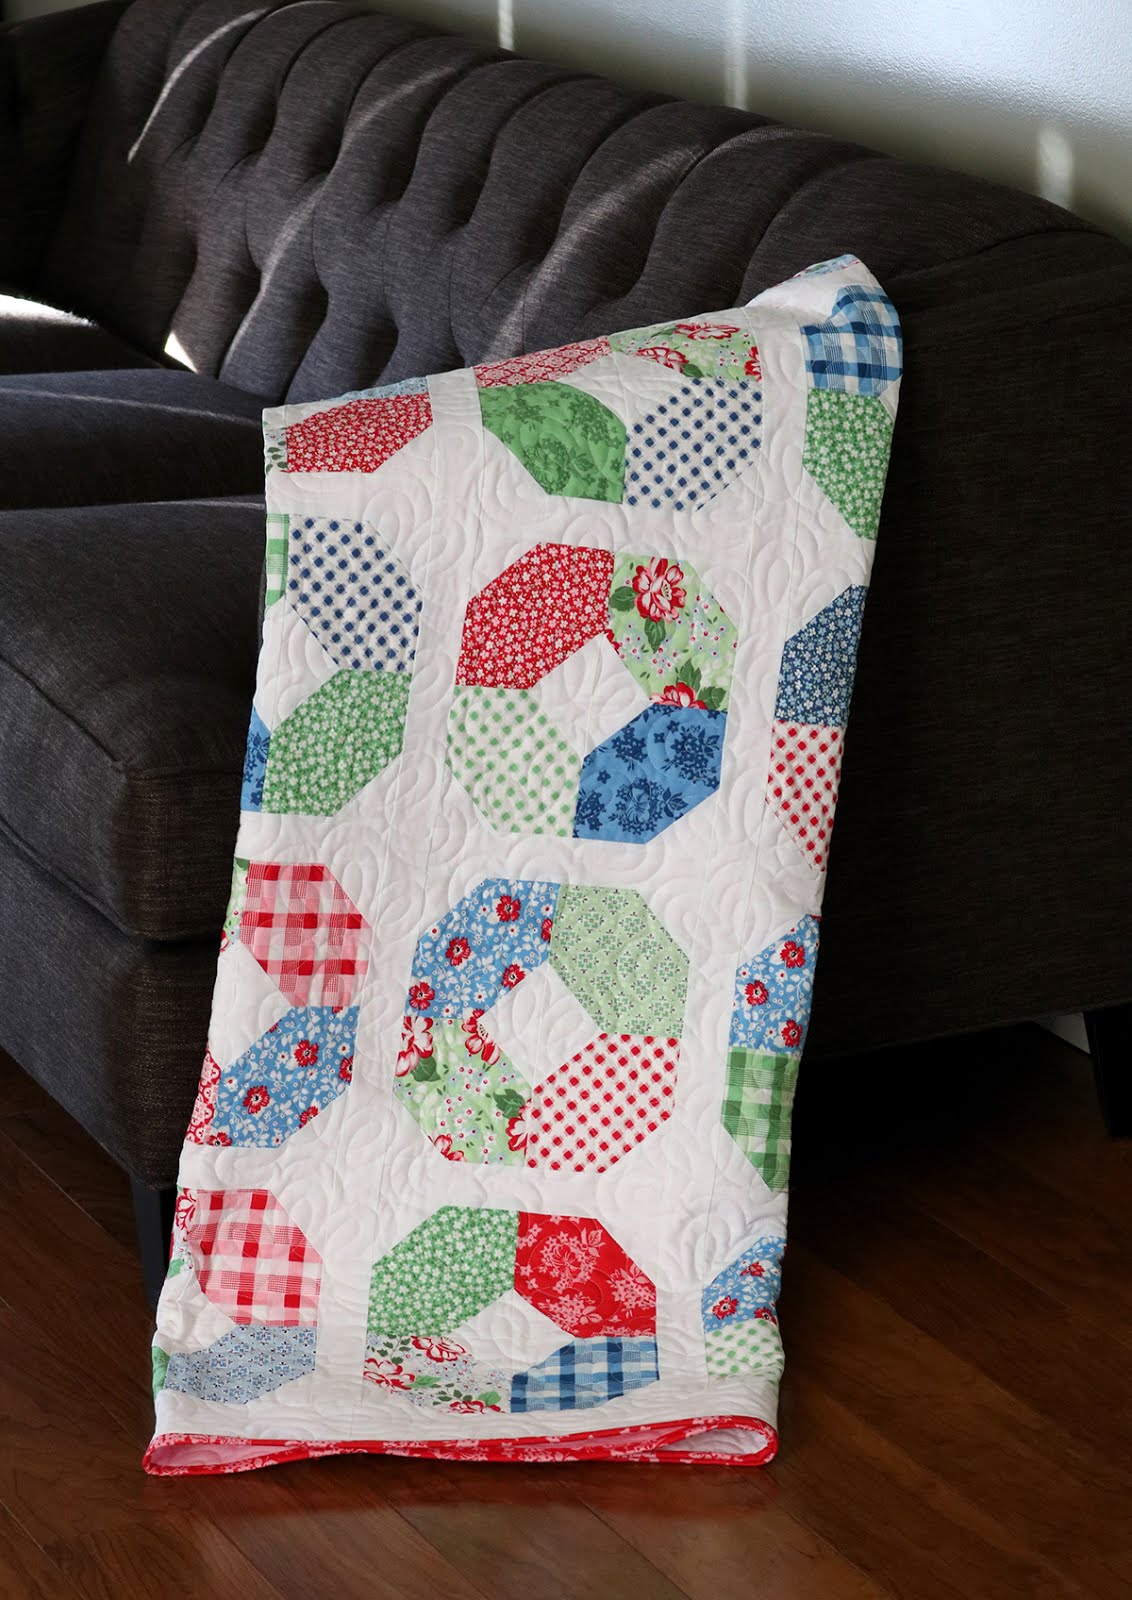
As I considered what to create with this 10" stacker, I knew I wanted to come up with a design that used every bit of it --with no waste, and no leftover. And I'm really happy with the results!
I'm writing up the quilt pattern to share and I'll have it ready on Wednesday - to be sure to check back (or better yet, subscribe to my newsletter so you can be notified when the pattern is ready!)
**updated to add: The pattern is called Layer Cake Lucy and is available in my shop here!**
You can find May Belle fabrics at the Fat Quarter Shop here. They should also be in your local quilt shop as well.
Quilt Details:
67" x 77.5"
Pattern: Layer Cake Lucy (find it here)
Fabric: May Belle by Jodi Nelson for Penny Rose fabrics
Quilting: Knit 1 Purl 2 computerized edge-to-edge design
Backing: Confetti Cottons Petal Pink, Riley Blake Designs
Happy sewing everyone!
--Andy
Friday, October 26, 2018
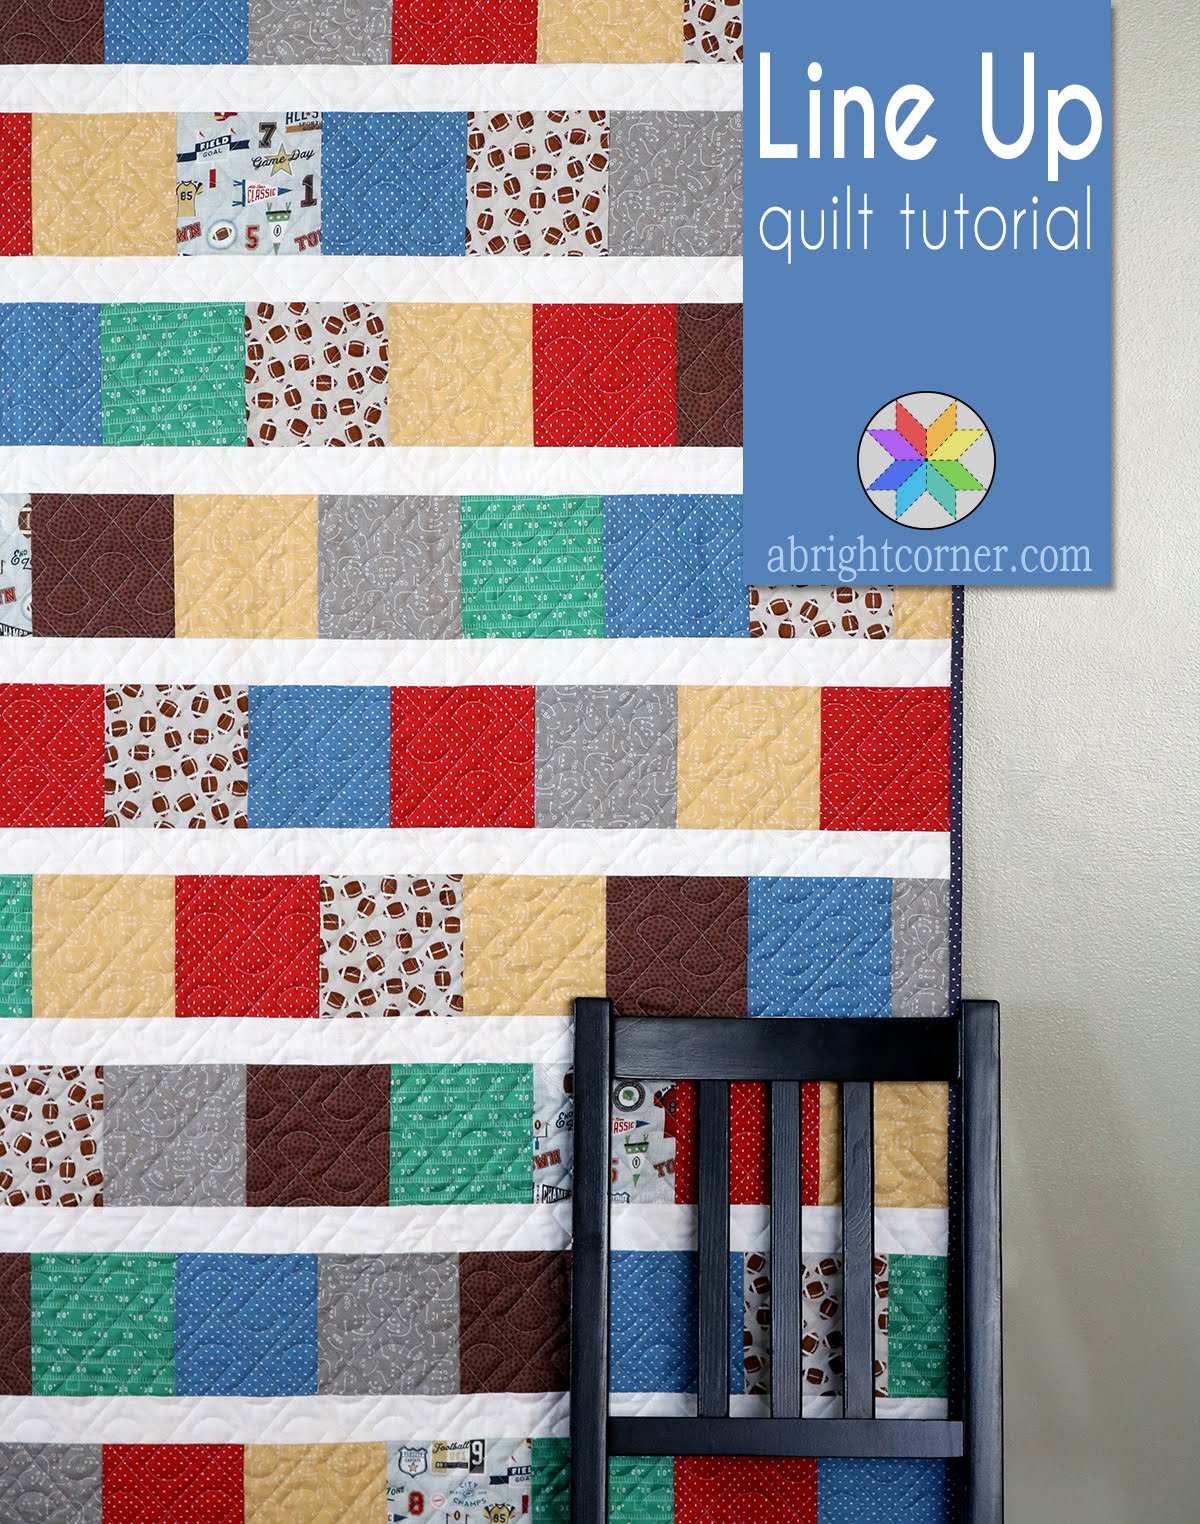
Varsity Fabrics + Line Up Quilt Tutorial
Happy Friday! We've been enjoying some beautifully warm weather all week and the sunshine has been doing my soul some good! I admit that it's fun to pull out favorite boots and sweaters each fall, but I'm NOT a fan of cold weather at all.
In our house not only does fall mean colder weather, but it also means it's football season and more importantly, marching band season! Our high school football team has finished their regular season games already but we've still got plenty of college games to watch in the next month or so.
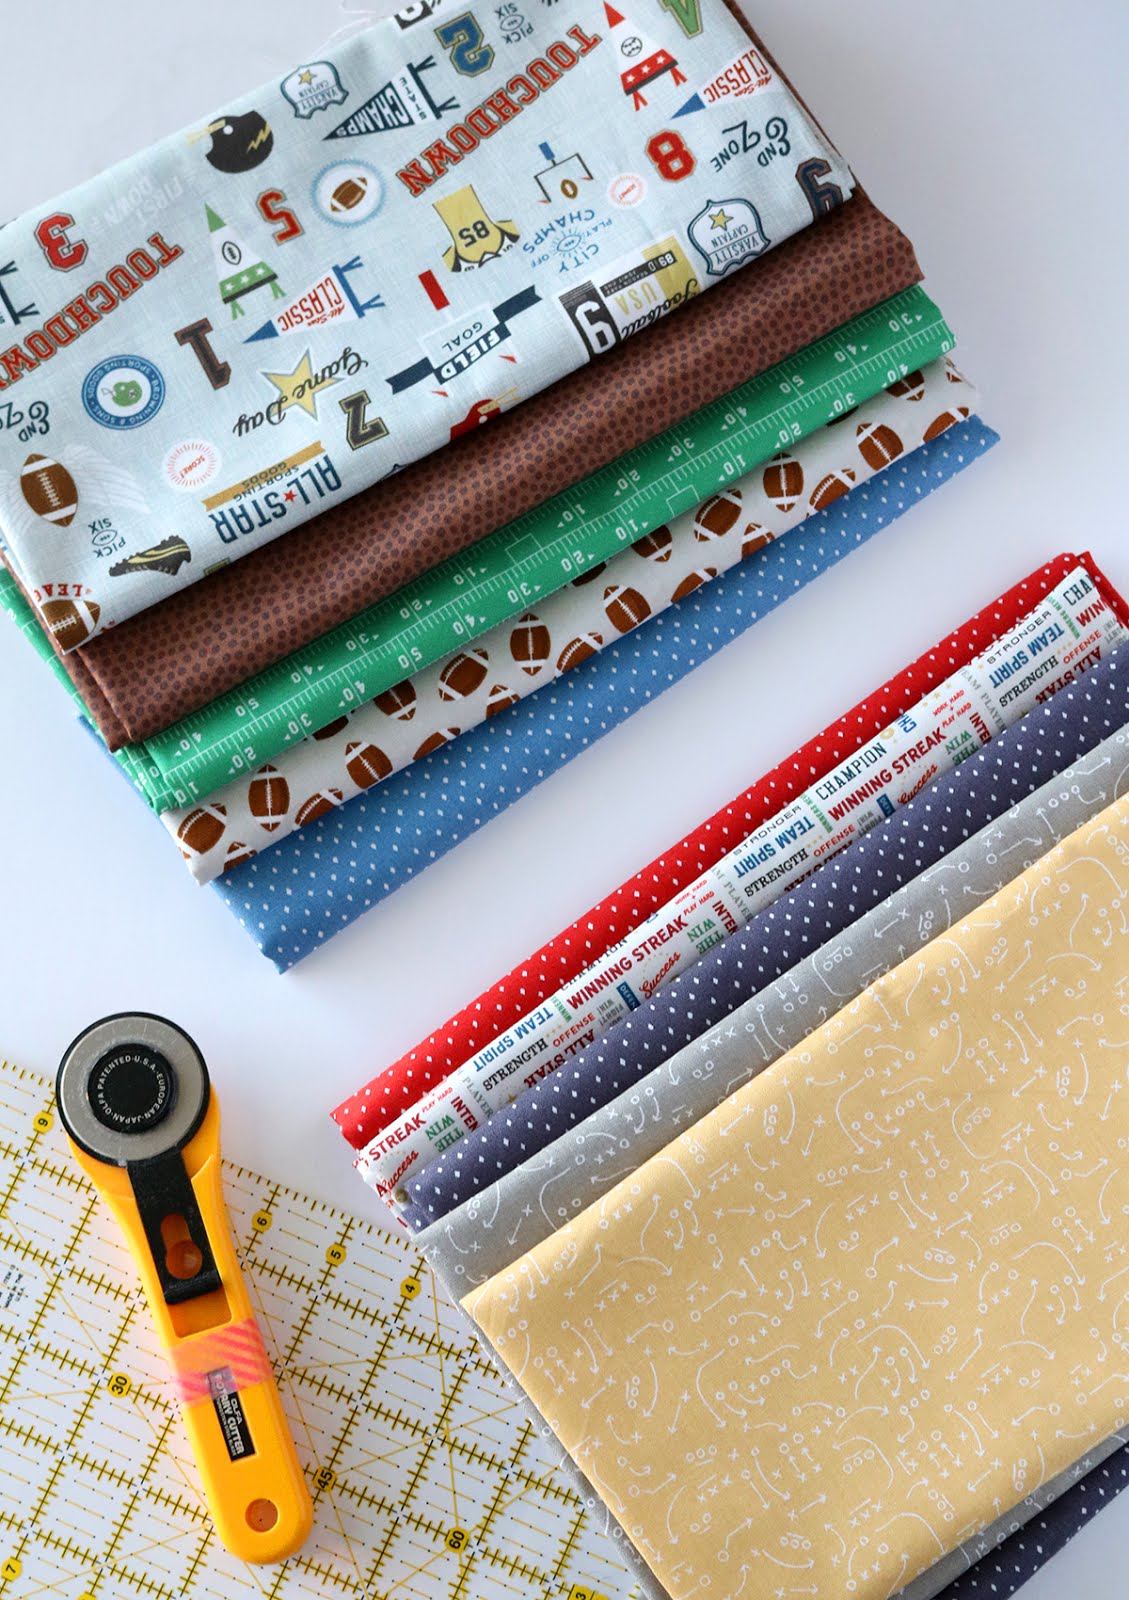
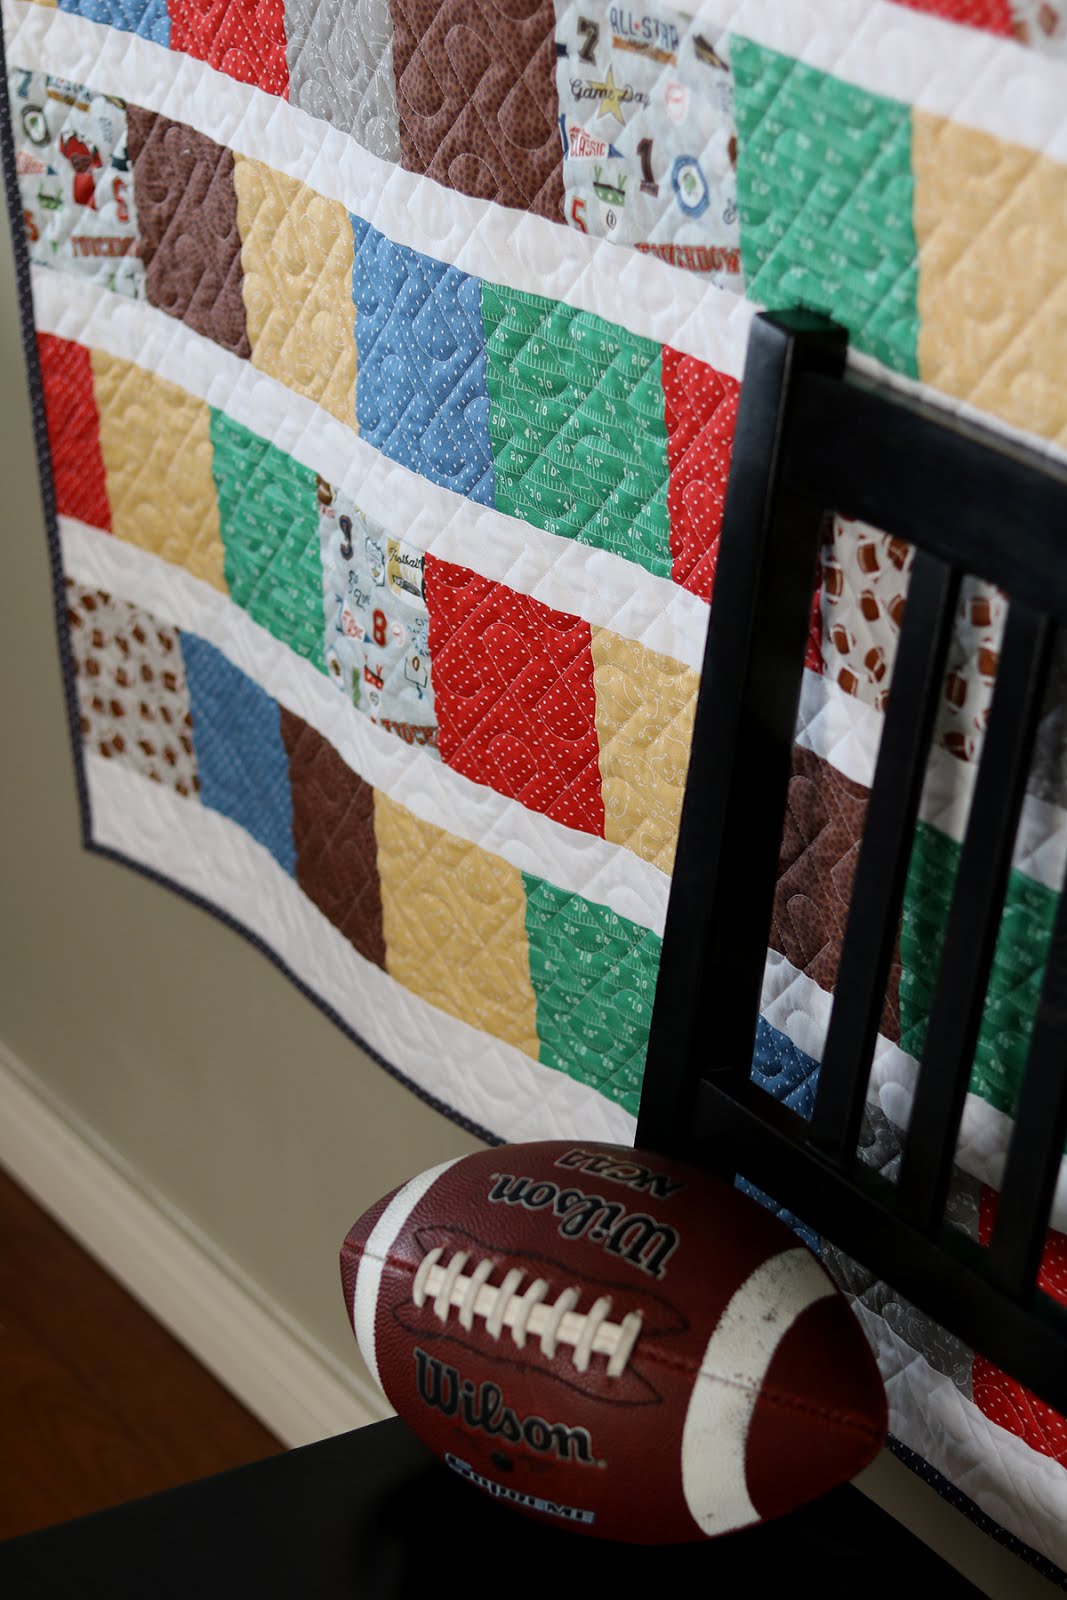
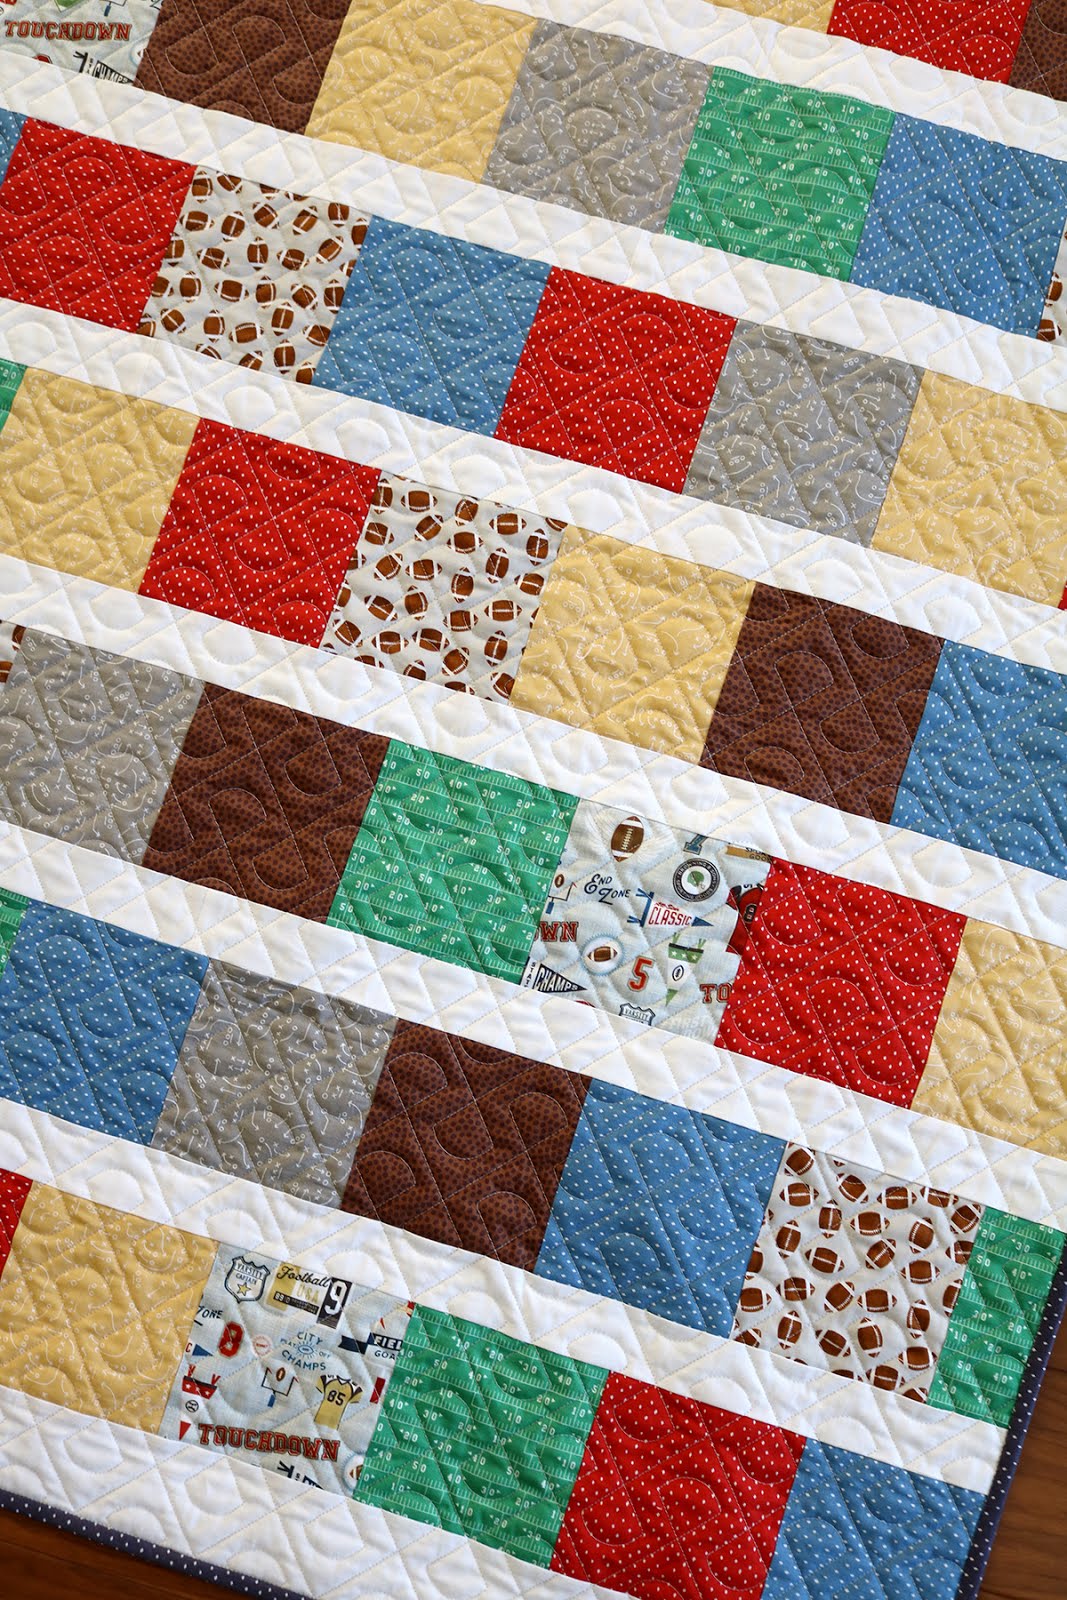
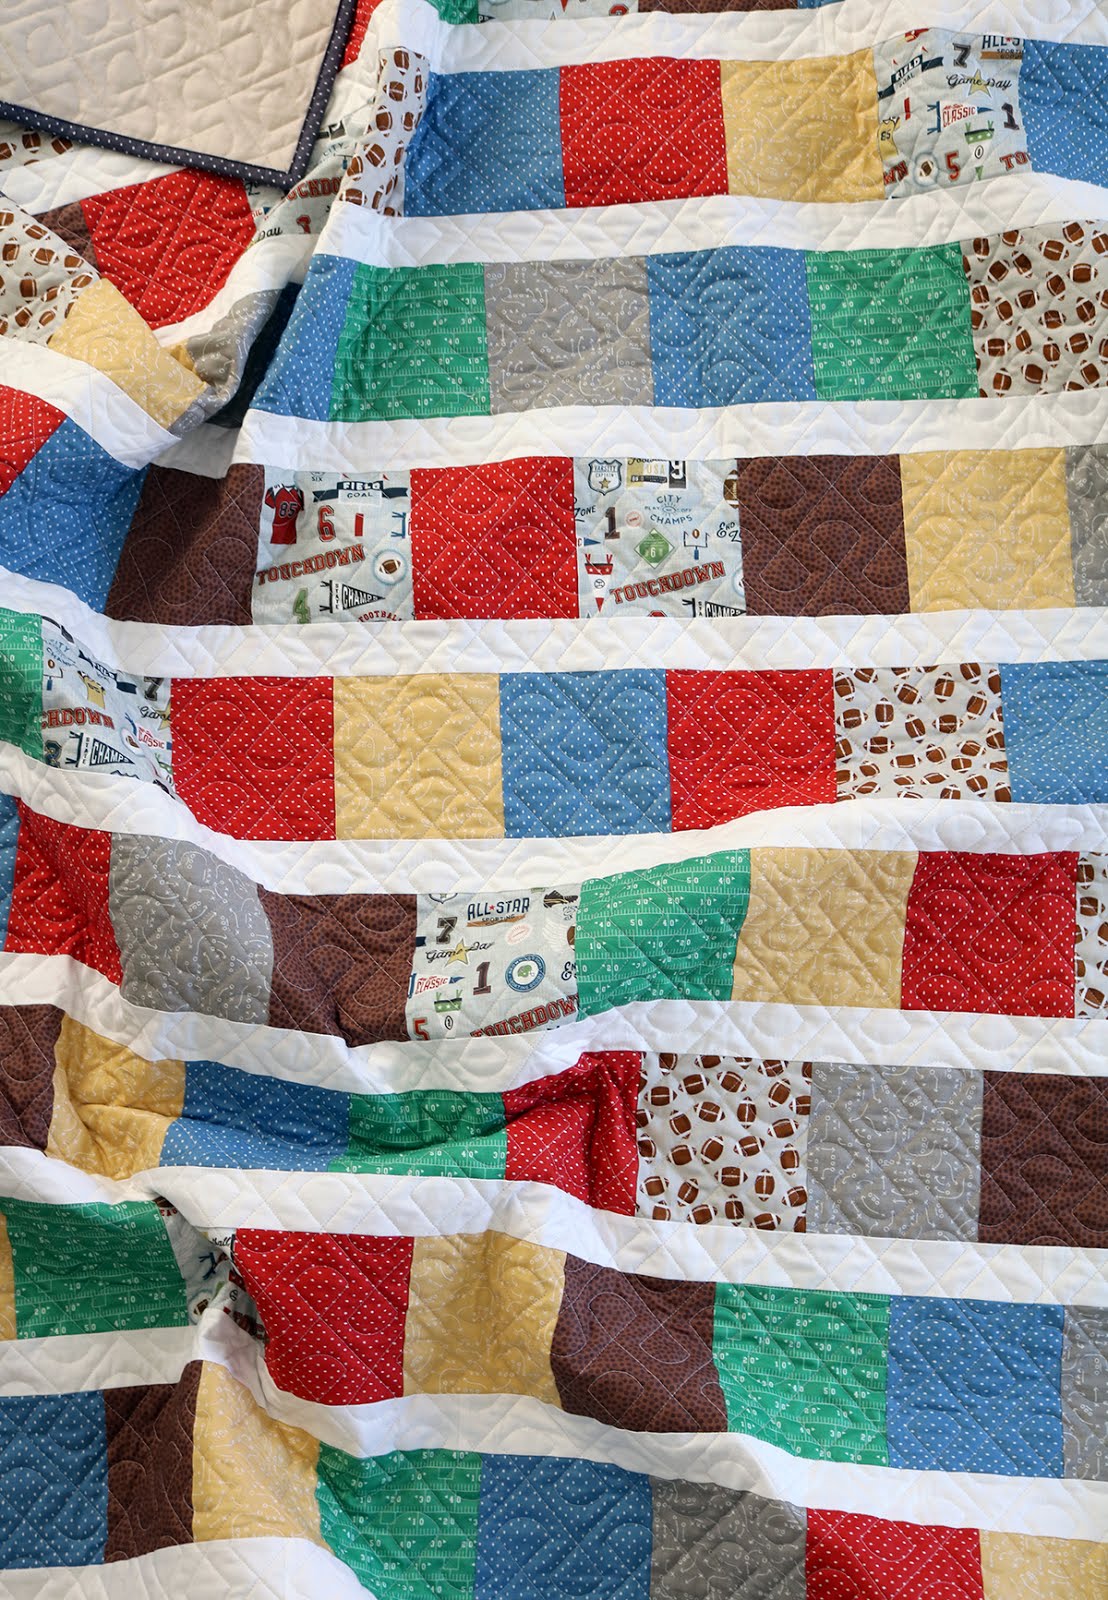
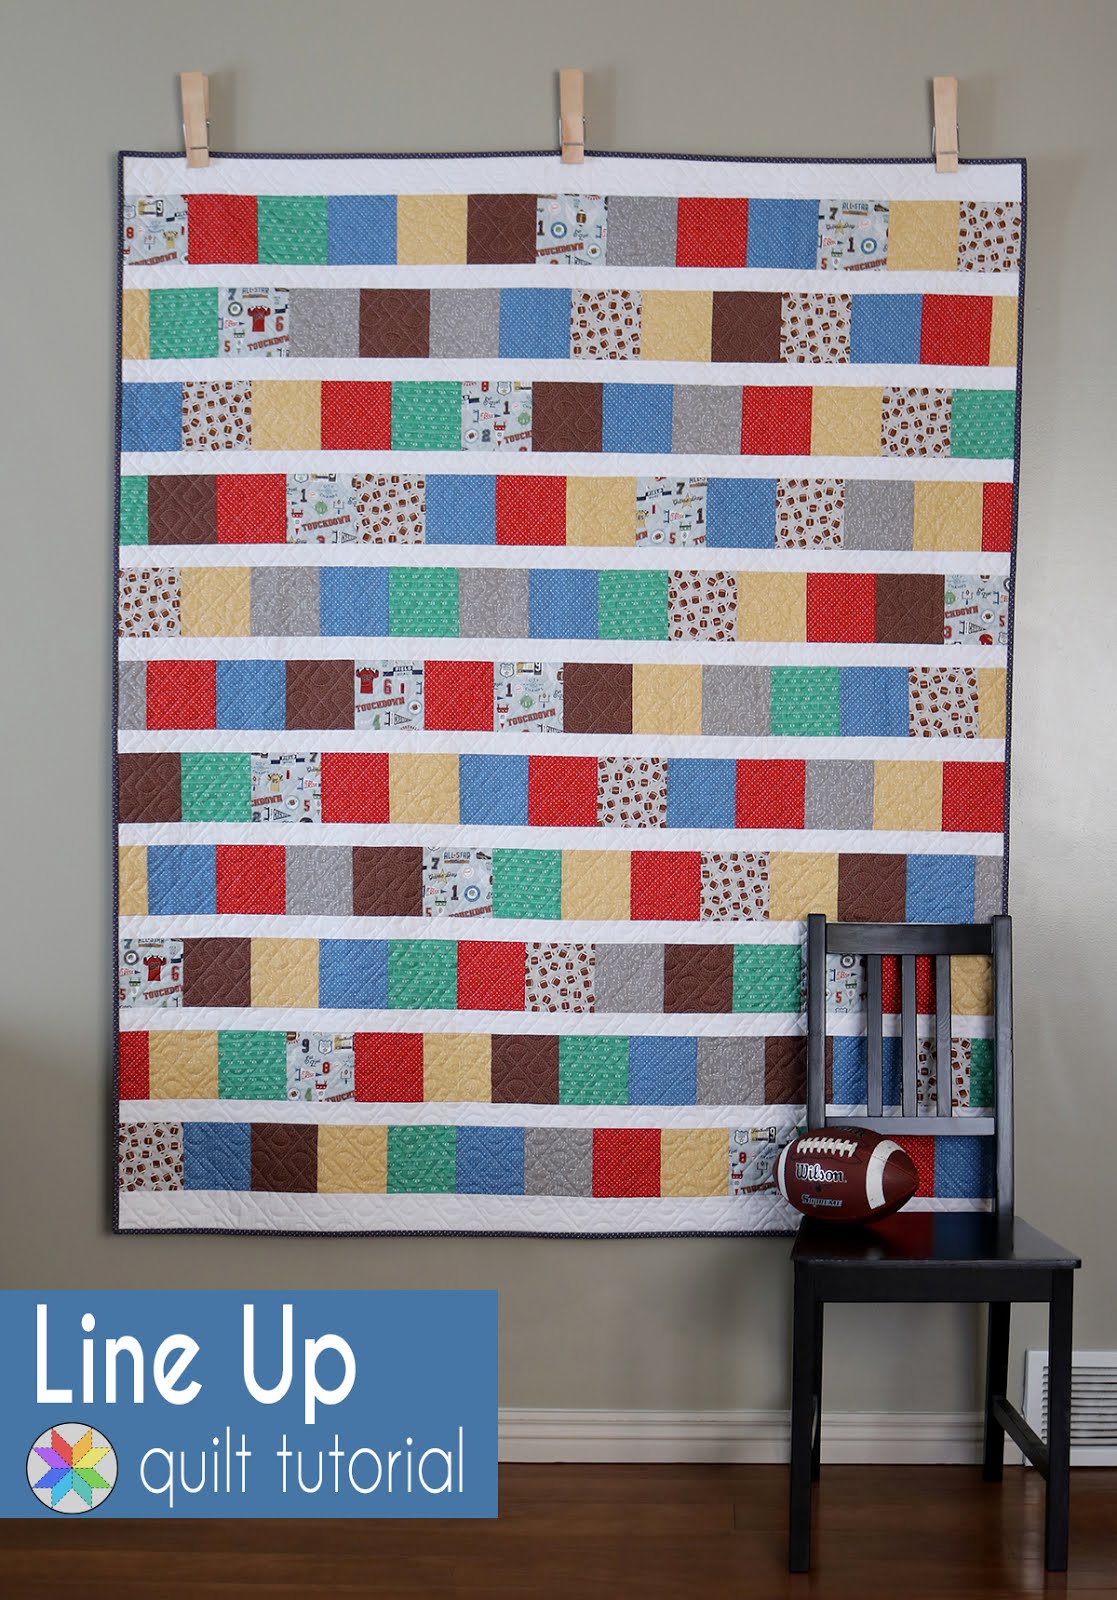
Over the past week I've been sewing with these fun football prints from a new fabric line called Varsity. It was designed by one of my favorite designers, Deena Rutter for Riley Blake Designs. The brown texture print and the green yardline prints are so fun!
I'm always on the lookout for a great way to use pre-cut squares so I designed this quilt for either 5" squares or 10" squares, but you can totally also use fat quarters, or even just yardage like I did!
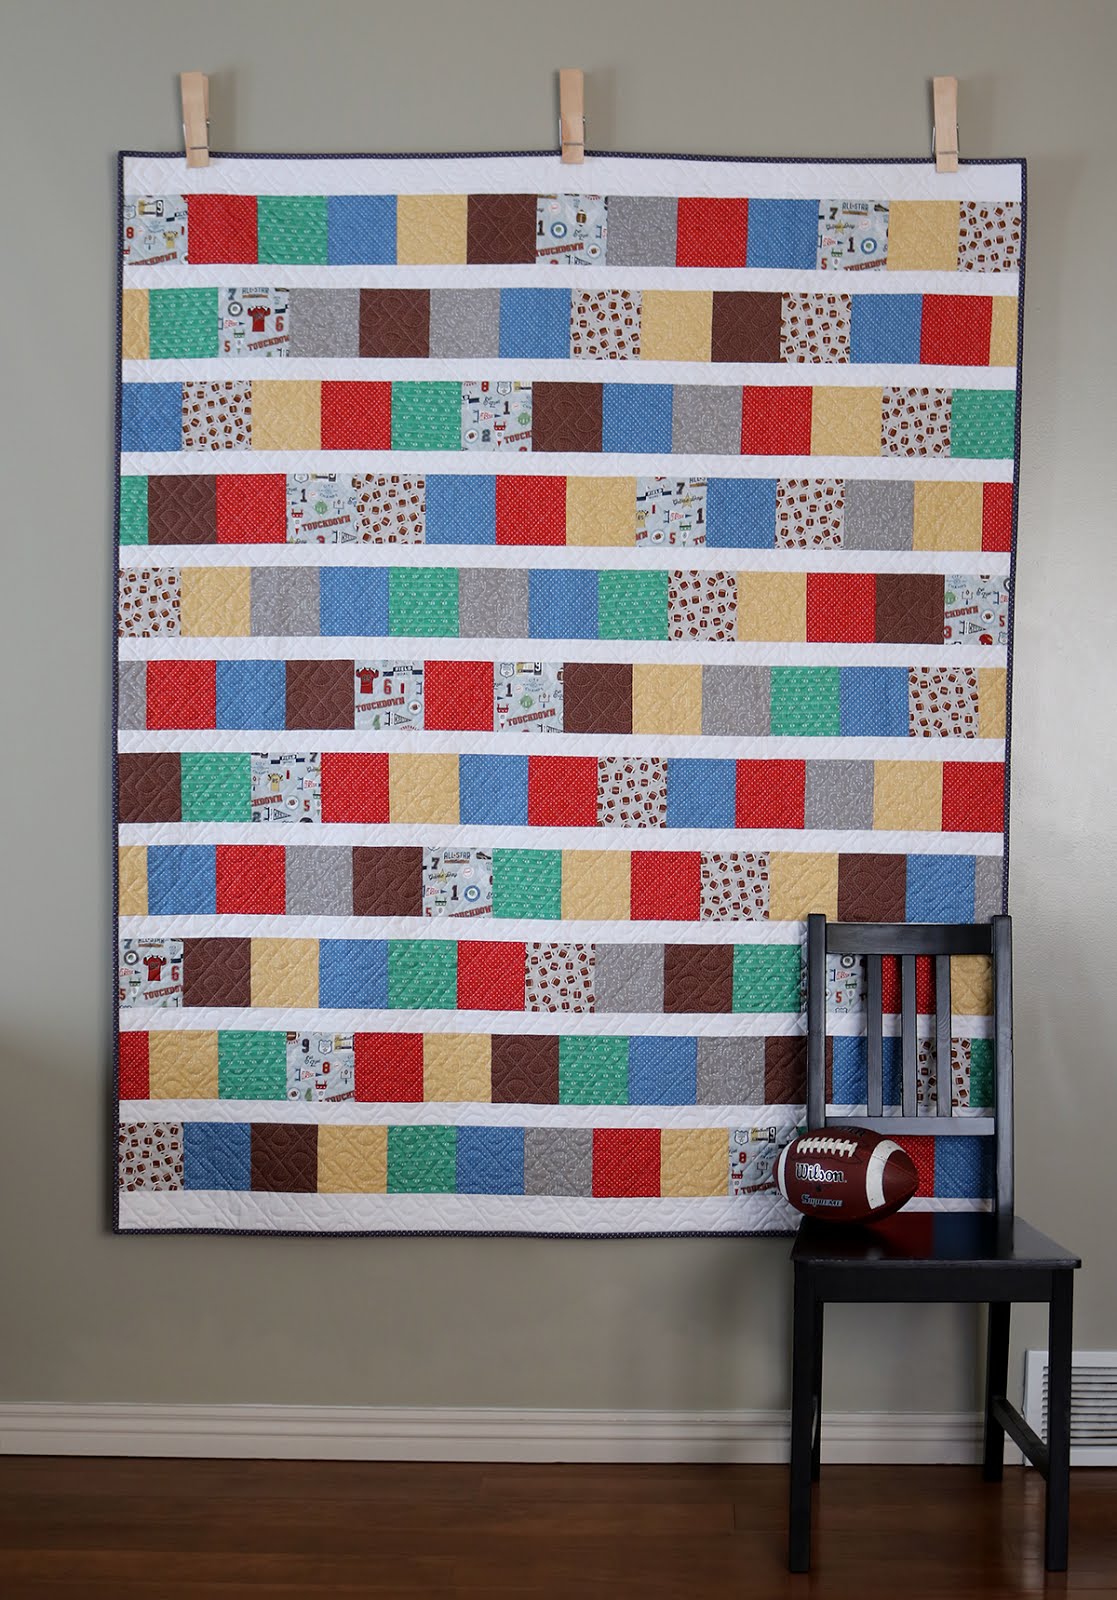
Here's how to make your own Line Up quilt (finished quilt measures 58.5" x 70"):
You'll need-
143 total 5" print squares
- 1 layer cake / 10" stacker
- or 4 charm packs / 5" stackers
- or 12 fat quarters
- or 9 prints, 1/3 yard of each
1 1/4 yards white solid fabric
1/2 yard binding fabric
3 3/4 yards backing fabric
Cutting:
Cut all print fabrics into 5" squares. You'll need 143 total.
From the white solid fabric cut:
15 strips, 2" x width of fabric
3 strips, 3" x width of fabric
From the binding fabric cut:
7 strips, 2.5" x width of fabric
Quilt Construction:
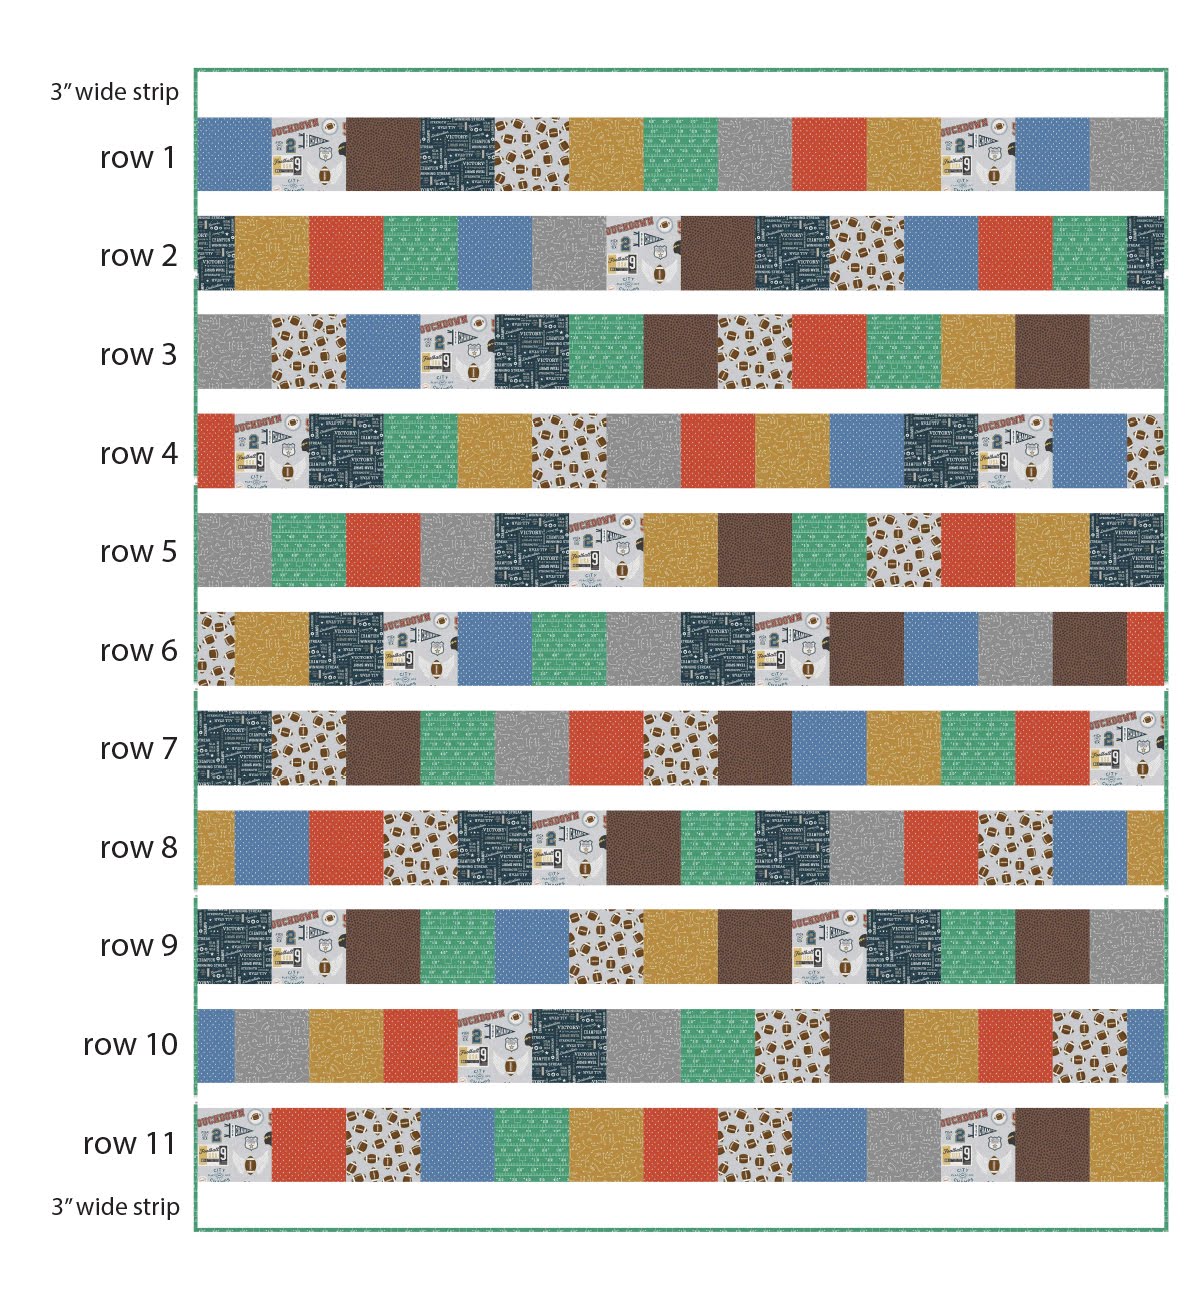
1. Divide squares into 11 rows of 13 blocks each. Arrange into rows.
2. For all odd numbered rows (1, 3, 5, 7, 11) sew squares together into one long row. Cut 1/4" from just the two squares on both ends of the rows. Rows should measure 58.5" long.
3. For all even numbered rows, cut one square in half and place the halves on each end of the row. Sew squares together into rows. Rows should measure 58.5" long.
4. Sew the 2"-wide white strips together end to end to make one long strip. Cut into ten, 58.5"-long strips.
5. Sew the 3"-wide white strips together end to end to make one long strip. Cut into two, 58.5"-long strips.
6. Sew the pieced rows and white strips together as shown in the diagram. The first and last white strips will be the 3"-wide ones.
To keep the rows from shifting as you sew them together, find the center point of each row and mark with a pin. When you sew two rows together, match up the center points and then pin along the length of the row.
Quilt top should measure 58.5" x 70"
If you make a Line Up quilt I'd love to see it! Tag me on Instagram (@abrightcorner) and use the hashtags #lineupquilt and #abrightcorner so we can all see what you've created!
Have a fantastic weekend, and I hope you're able to squeeze in some sewing!
Quilt details:
58.5" x 70"
Pattern: Line Up quilt tutorial
Fabric: Varsity by Deena Rutter for Riley Blake Designs
Quilting: Two Scoops (edge to edge computerized design)
Backing: Riley Blake Confetti Cottons solid
Tuesday, October 23, 2018
Diamond Patchwork Quilt Tutorial
Updated: Want to make a crib size version of this quilt? Scroll to the bottom of the post for details!
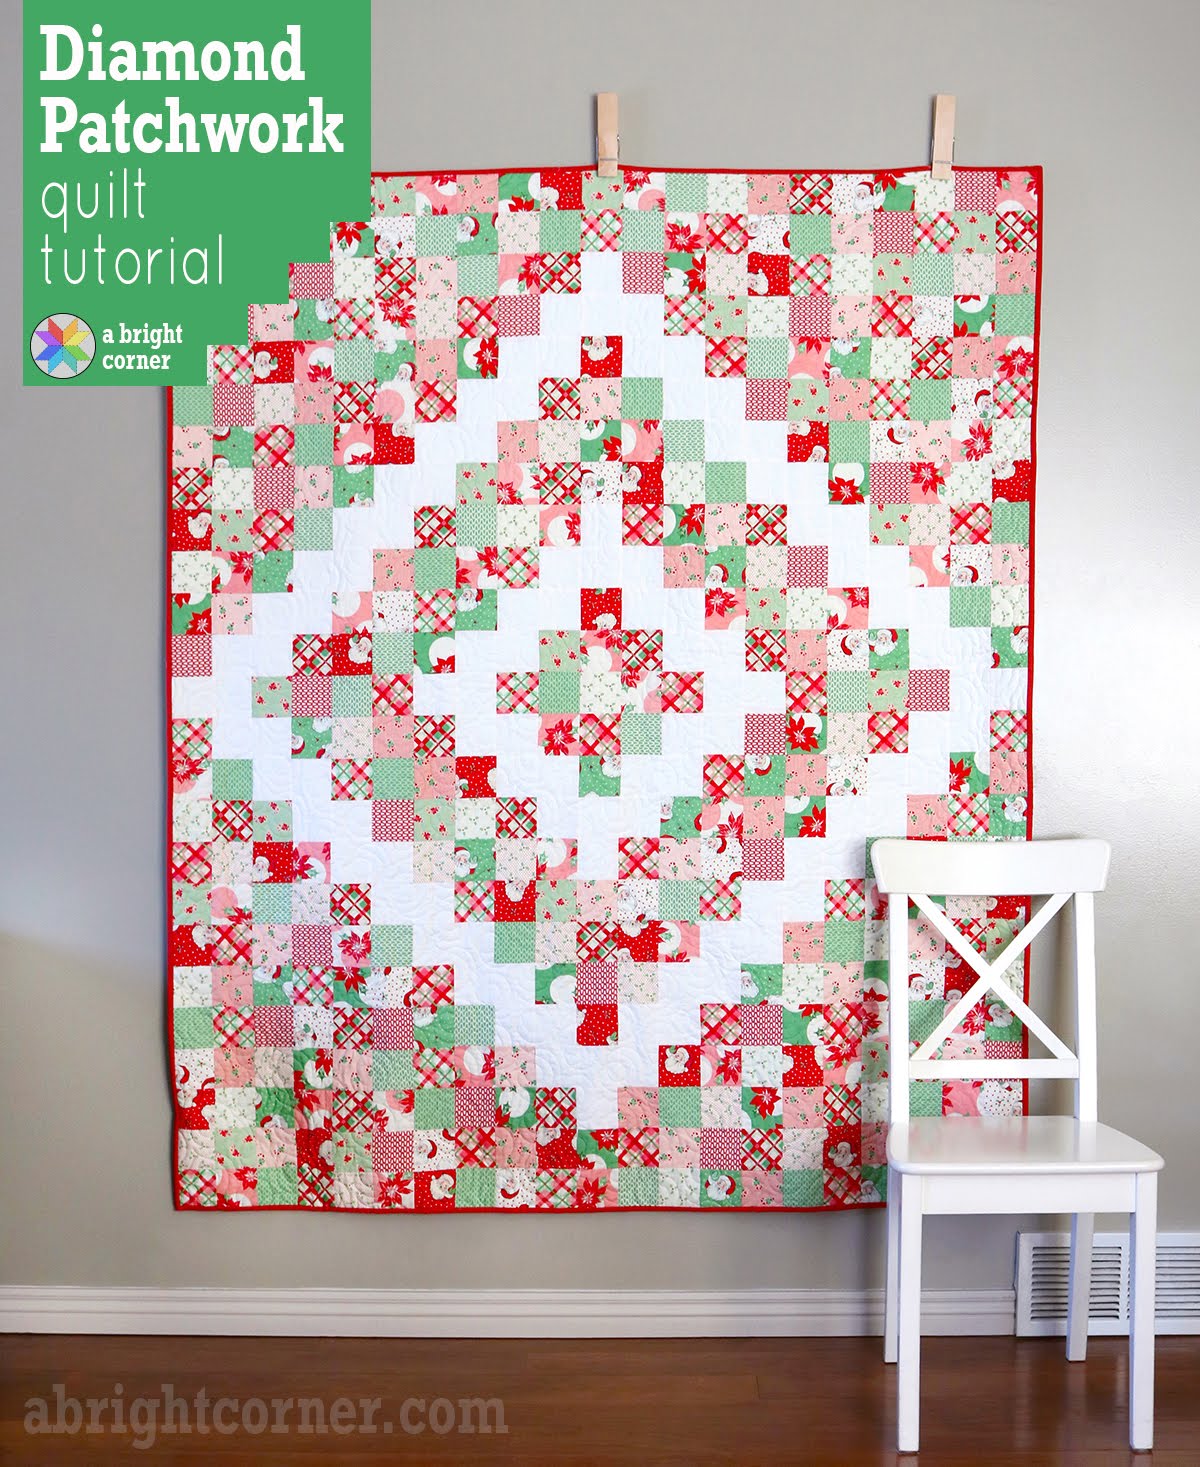
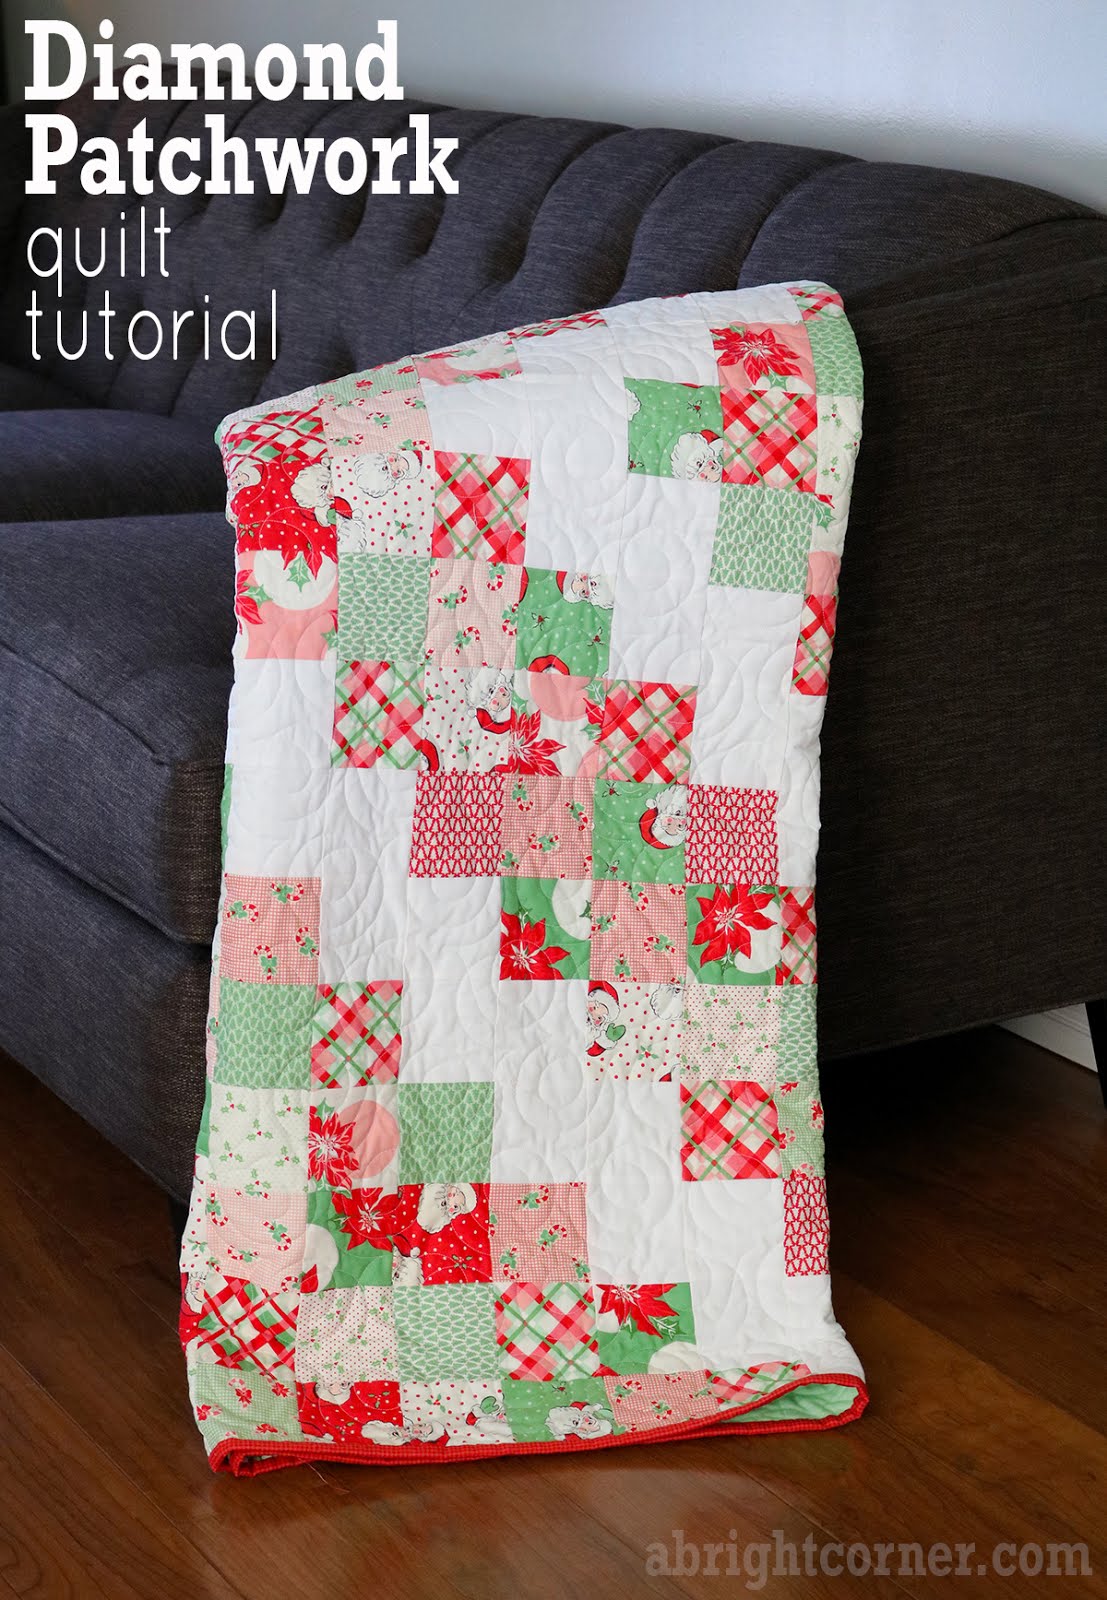
Hello everyone! I have a new quilt to share with you and since I've been getting a lot of questions about it over on Instagram I thought I'd also share a tutorial for how I made it.
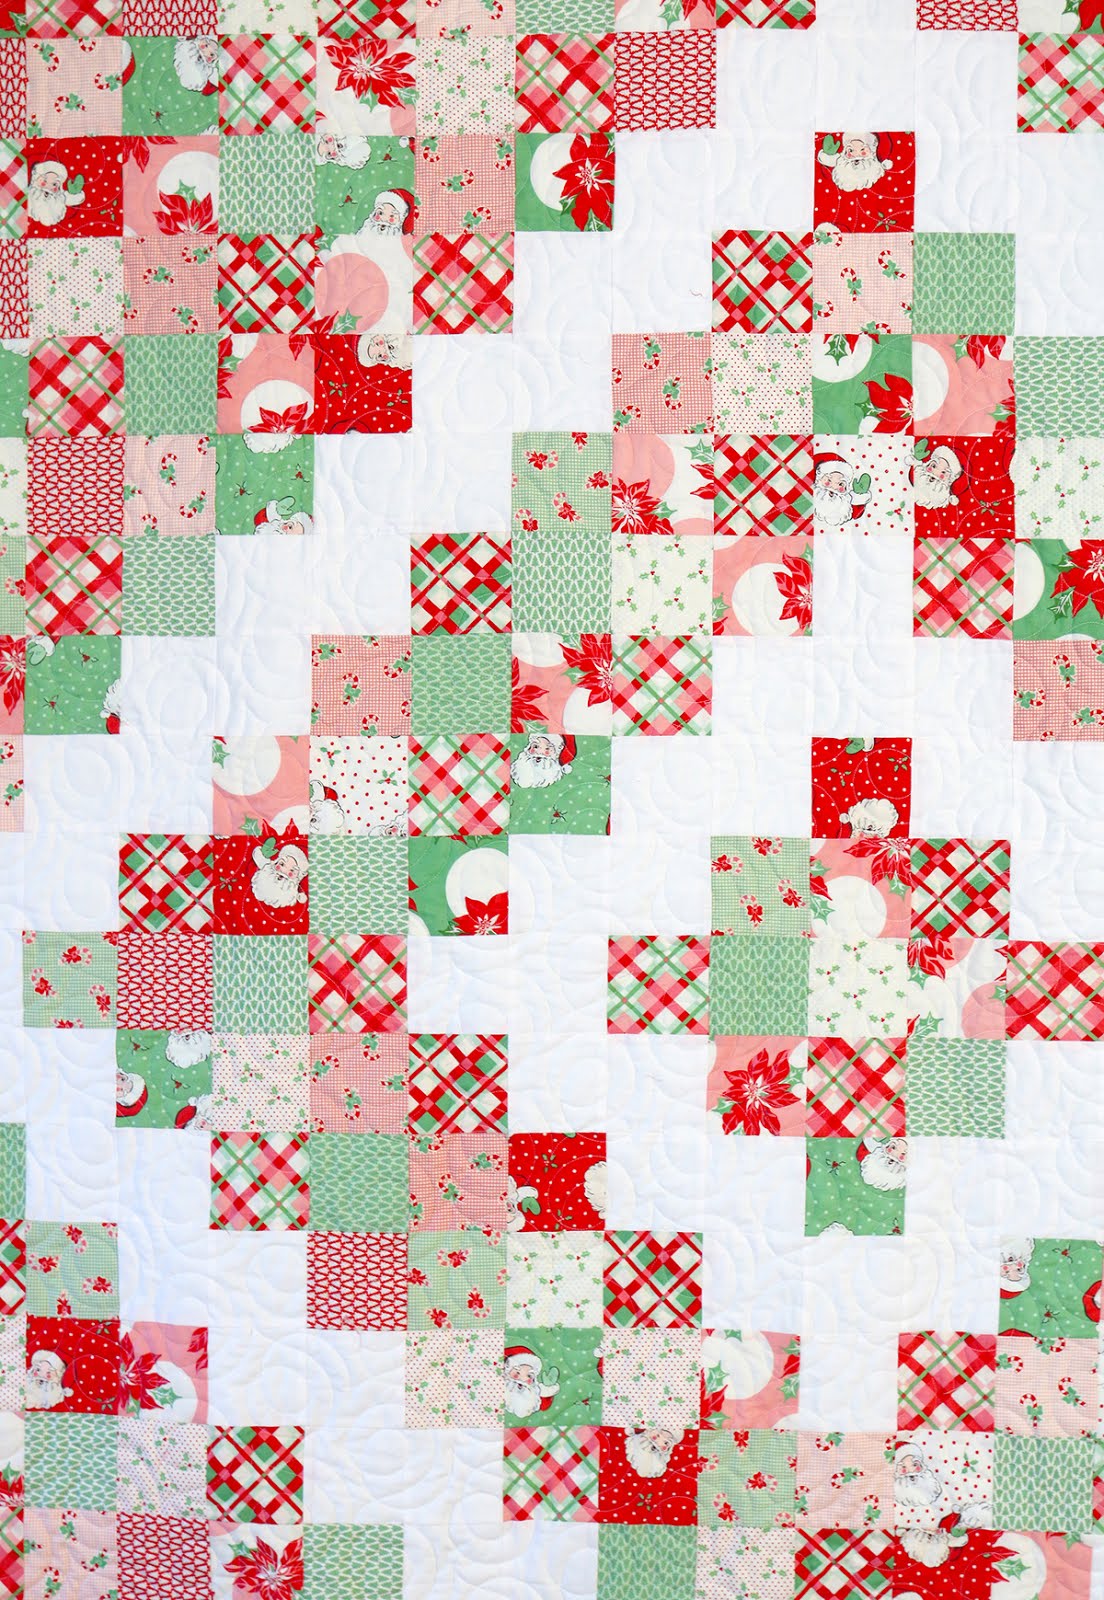
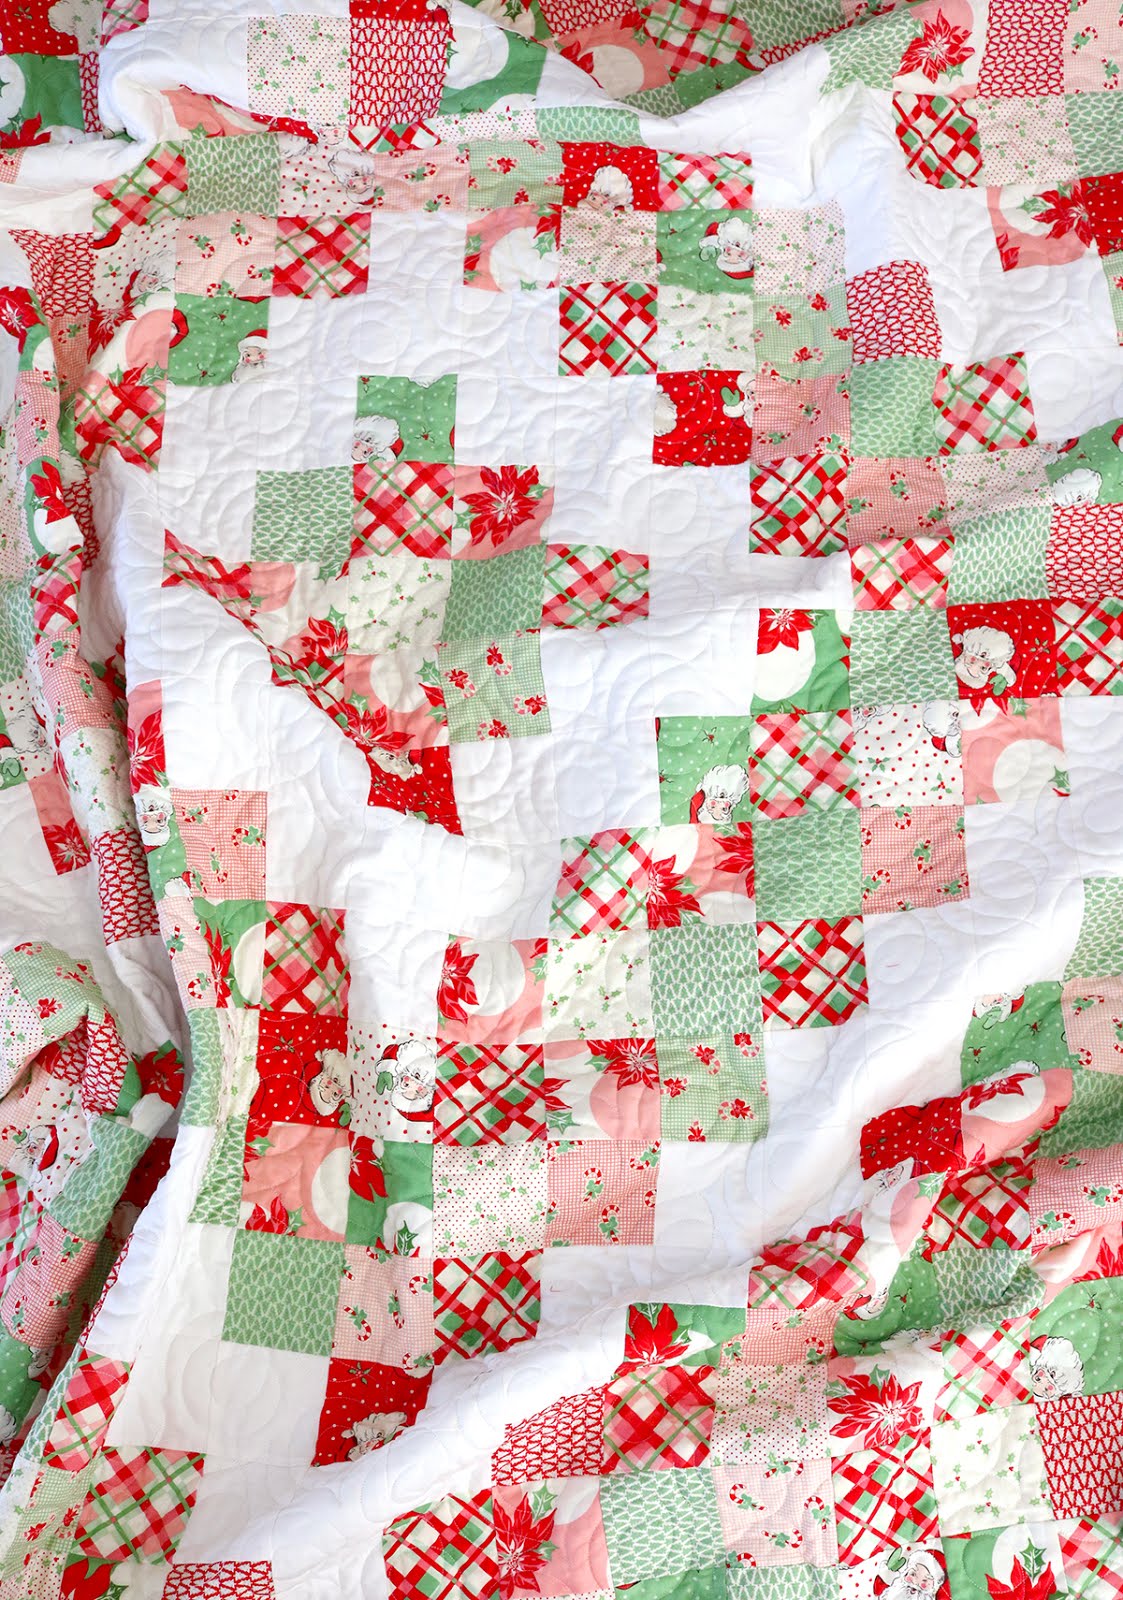
I fell in love with the Swell Christmas fabrics from the moment I first saw them and knew they'd be perfect in a quilt of just patchwork squares. The addition of the diamond design was just what was needed to give the quilt that little extra something.
Want to make your own Diamond Patchwork quilt?
You'll need:
17 Fat Quarters
1 yard of white solid (I used Moda Bella 97)
5/8 yard of binding fabric
4 yards of backing fabric
Cut each FQ into 3 1/2" squares (25 squares from each FQ, need 421 total)
Cut the white solid fabric into 3 1/2" squares (need 104 total)
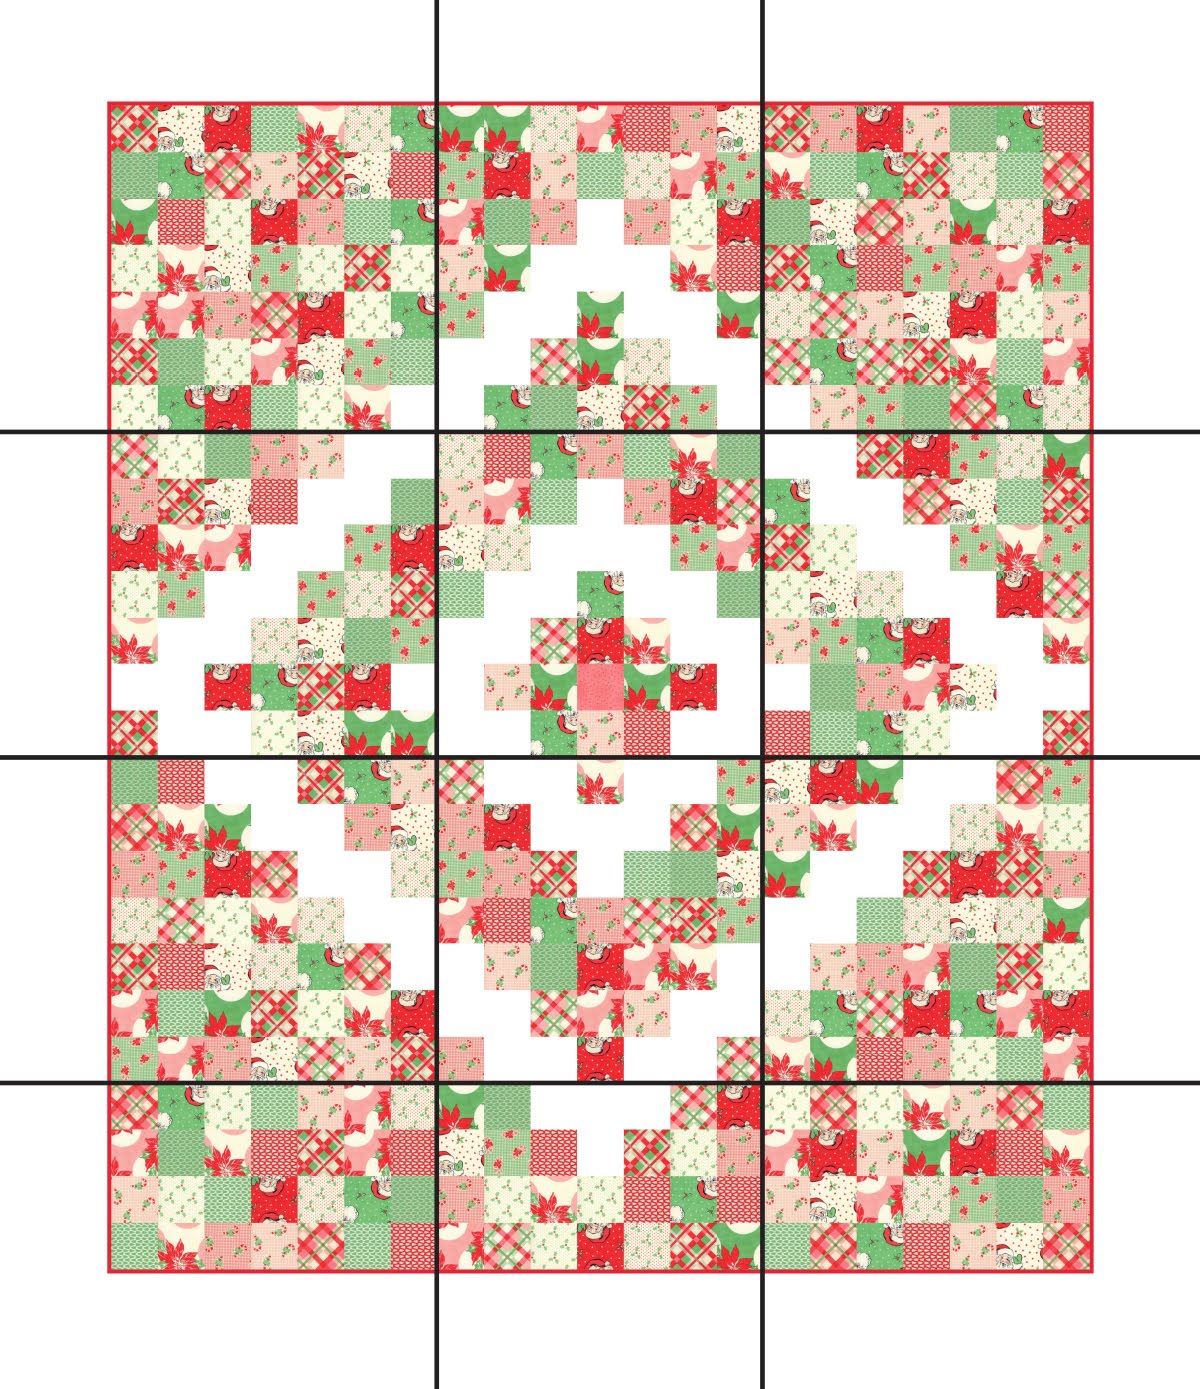
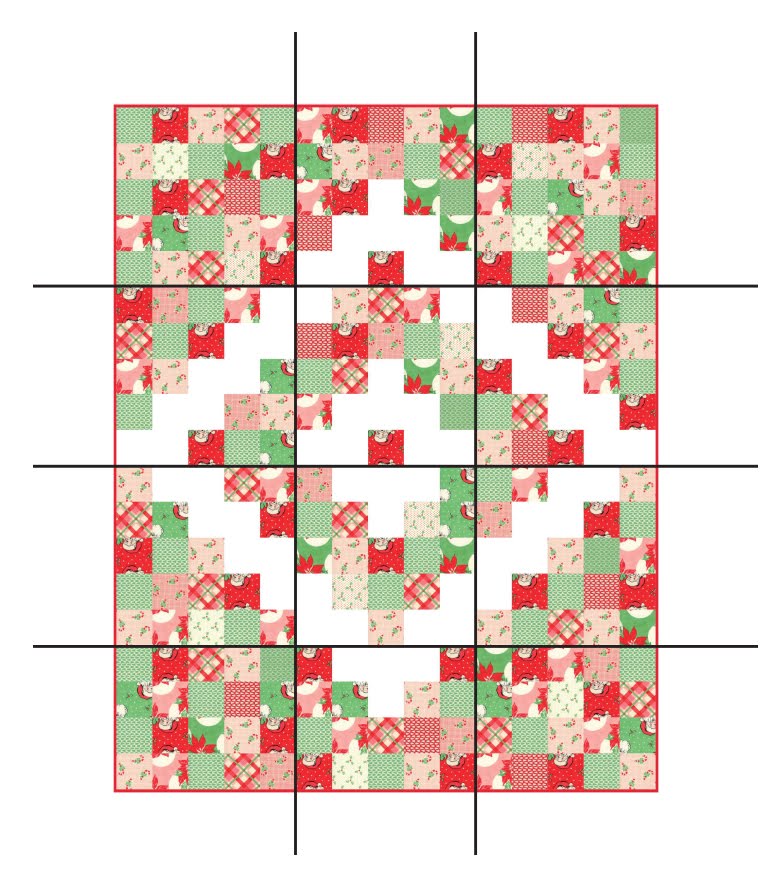
To make the quilt, lay out squares into 25 rows with 21 squares in each. A design wall is handy to have for this step, but a floor will work fine too.
Instead of constructing this quilt in rows like I usually do, I pieced it in sections. I broke the quilt diagram down into 12 sections and it was much more manageable.
As I finished piecing a section, I labeled each one in the top left corner (just a slip of paper and pin works fine - nothing fancy!) That did two things - it helped me keep the sections organized, and knowing that it was marked in the top left corner helped me know which way was "up" on each section.
Once all of the sections are pieced, then sew the sections together.
Quilt top will measure 63.5" x 75.5"
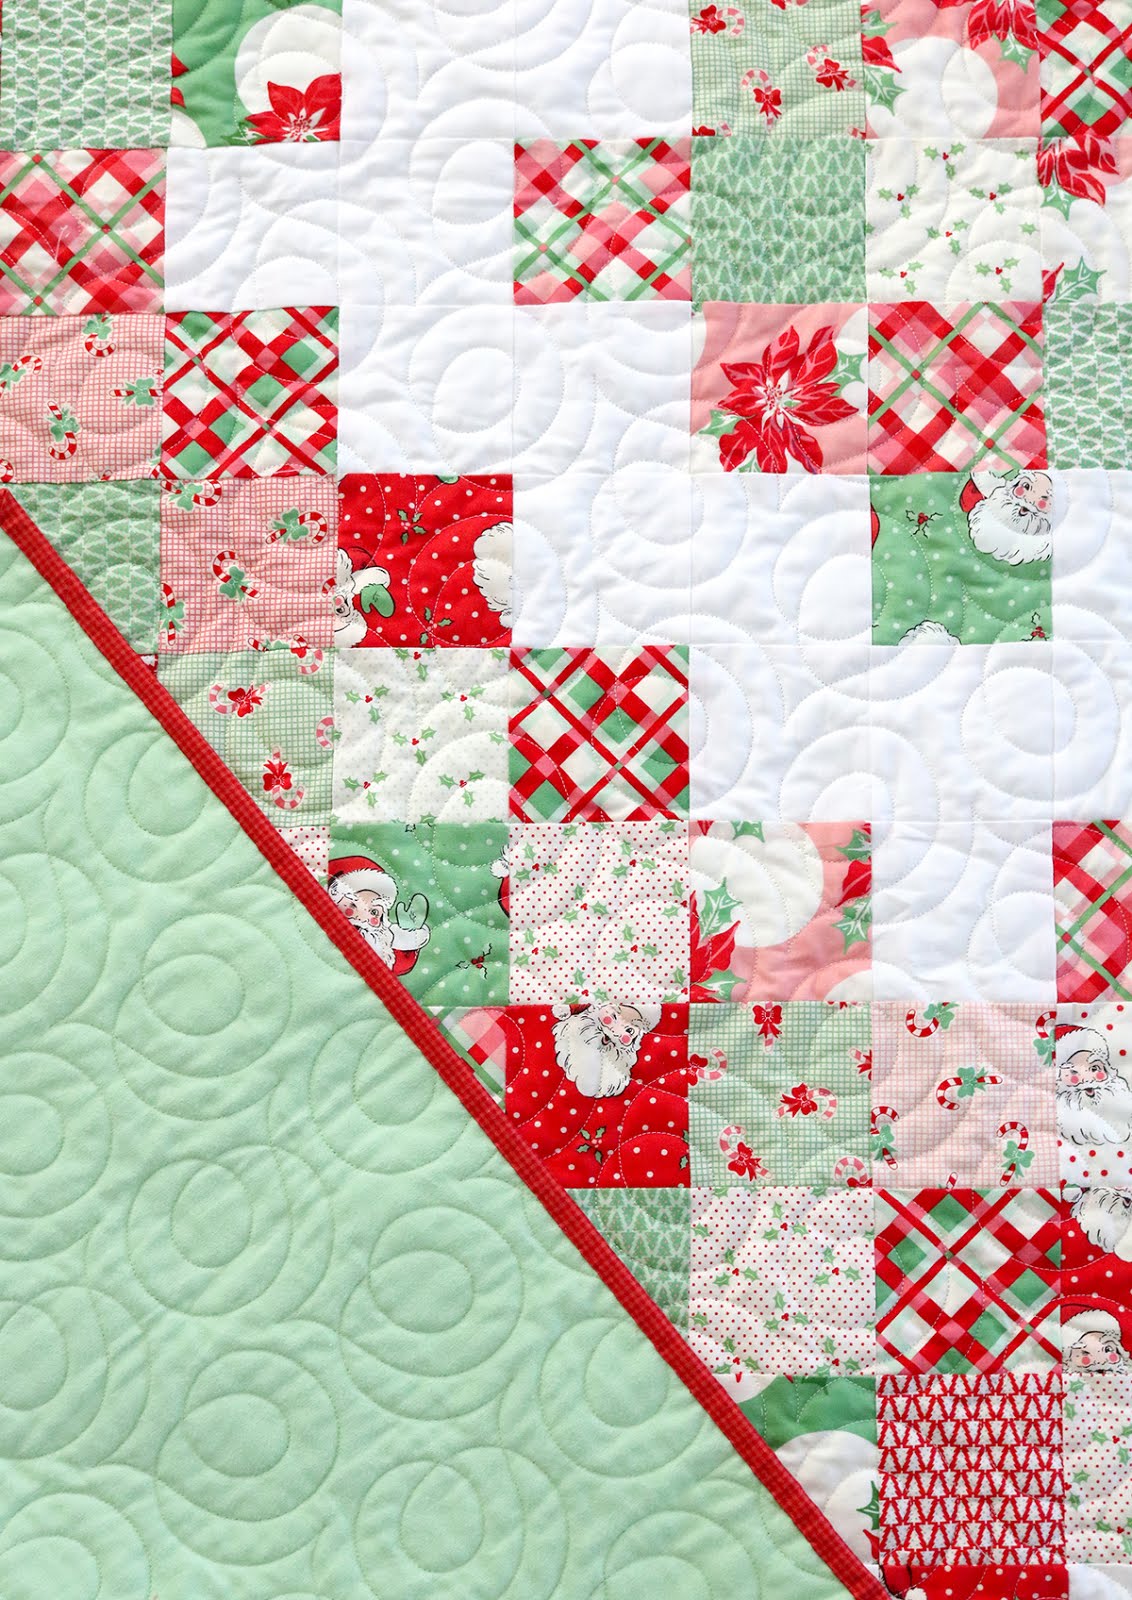
I quilted mine with swirls - it's a longarm design called Soho. The backing is a light green flannel so the quilt will be nice and cozy.
If you make a Diamond Patchwork quilt I'd love to see it! Tag me on Instagram (@abrightcorner) and use the hashtags #diamondpatchworkquilt and #abrightcornerpatterns so we can all see what you've created!
Happy sewing everyone!
Quilt details:
63" x 75"
Pattern: Diamond Patchwork quilt tutorial
Fabric: Swell Christmas (by Urban Chiks for Moda)
Quilting: Soho (edge to edge computerized design)
Backing: light green flannel
Hello everyone! I have a new quilt to share with you and since I've been getting a lot of questions about it over on Instagram I thought I'd also share a tutorial for how I made it.
I fell in love with the Swell Christmas fabrics from the moment I first saw them and knew they'd be perfect in a quilt of just patchwork squares. The addition of the diamond design was just what was needed to give the quilt that little extra something.
Want to make your own Diamond Patchwork quilt?
You'll need:
17 Fat Quarters
1 yard of white solid (I used Moda Bella 97)
5/8 yard of binding fabric
4 yards of backing fabric
Cut each FQ into 3 1/2" squares (25 squares from each FQ, need 421 total)
Cut the white solid fabric into 3 1/2" squares (need 104 total)
To make the quilt, lay out squares into 25 rows with 21 squares in each. A design wall is handy to have for this step, but a floor will work fine too.
Instead of constructing this quilt in rows like I usually do, I pieced it in sections. I broke the quilt diagram down into 12 sections and it was much more manageable.
As I finished piecing a section, I labeled each one in the top left corner (just a slip of paper and pin works fine - nothing fancy!) That did two things - it helped me keep the sections organized, and knowing that it was marked in the top left corner helped me know which way was "up" on each section.
Quilt top will measure 63.5" x 75.5"
I quilted mine with swirls - it's a longarm design called Soho. The backing is a light green flannel so the quilt will be nice and cozy.
If you make a Diamond Patchwork quilt I'd love to see it! Tag me on Instagram (@abrightcorner) and use the hashtags #diamondpatchworkquilt and #abrightcornerpatterns so we can all see what you've created!
Happy sewing everyone!
Quilt details:
63" x 75"
Pattern: Diamond Patchwork quilt tutorial
Fabric: Swell Christmas (by Urban Chiks for Moda)
Quilting: Soho (edge to edge computerized design)
Backing: light green flannel
Edited to add:
Here are the details to make a crib size version of my Diamond Patchwork Quilt. Finished quilt will measure 45" x 57"
You'll need:
9 Fat Quarters
2/3 yard of white solid
1/2 yard binding fabric
3 yards of backing fabric
Cut each FQ into 3 1/2" squares (25 from each FQ, need 221 total)
Cut the white solid fabric into 3 1/2" squares (need 64 total)
To make the quilt, lay out the squares into 19 rows with 15 squares in each. Sew quilt together into sections as described above and following this diagram:
Subscribe to:
Posts (Atom)